Study 5: Simple Lighting
2023年9月29日
Associated lesson here: 🔆 Lesson 5: Let there be (dynamic lighting, 8k, rendered in octane) This study combines what we practiced in studies 2 and 3 together! Today, we’ll be combining an ambient occlusion map with a color key.
Using niji, generate an ambient occlusion map and a color key.
Ambient Occlusion Map/Color Key


Note: niji does not make perfect ambient occlusion maps, so you may need to knock out a few shadows in your steps below. Do not follow the lighting of the Ambient Occlusion map. Instead, follow the lighting on your color key.
Step 1: Setting your layer to multiply, paint the diffuse color on top of the ambient occlusion map.


Remember this is the “true color” of the object. So try your best to imagine what the reference would look like without any lighting.
Step 2: Use a Multiply layer to draw the shadows
To do this, first, we must get a good feeling of where the terminator line is in the color key


Then, we draw the same terminator line in our own study, using the multiply layer

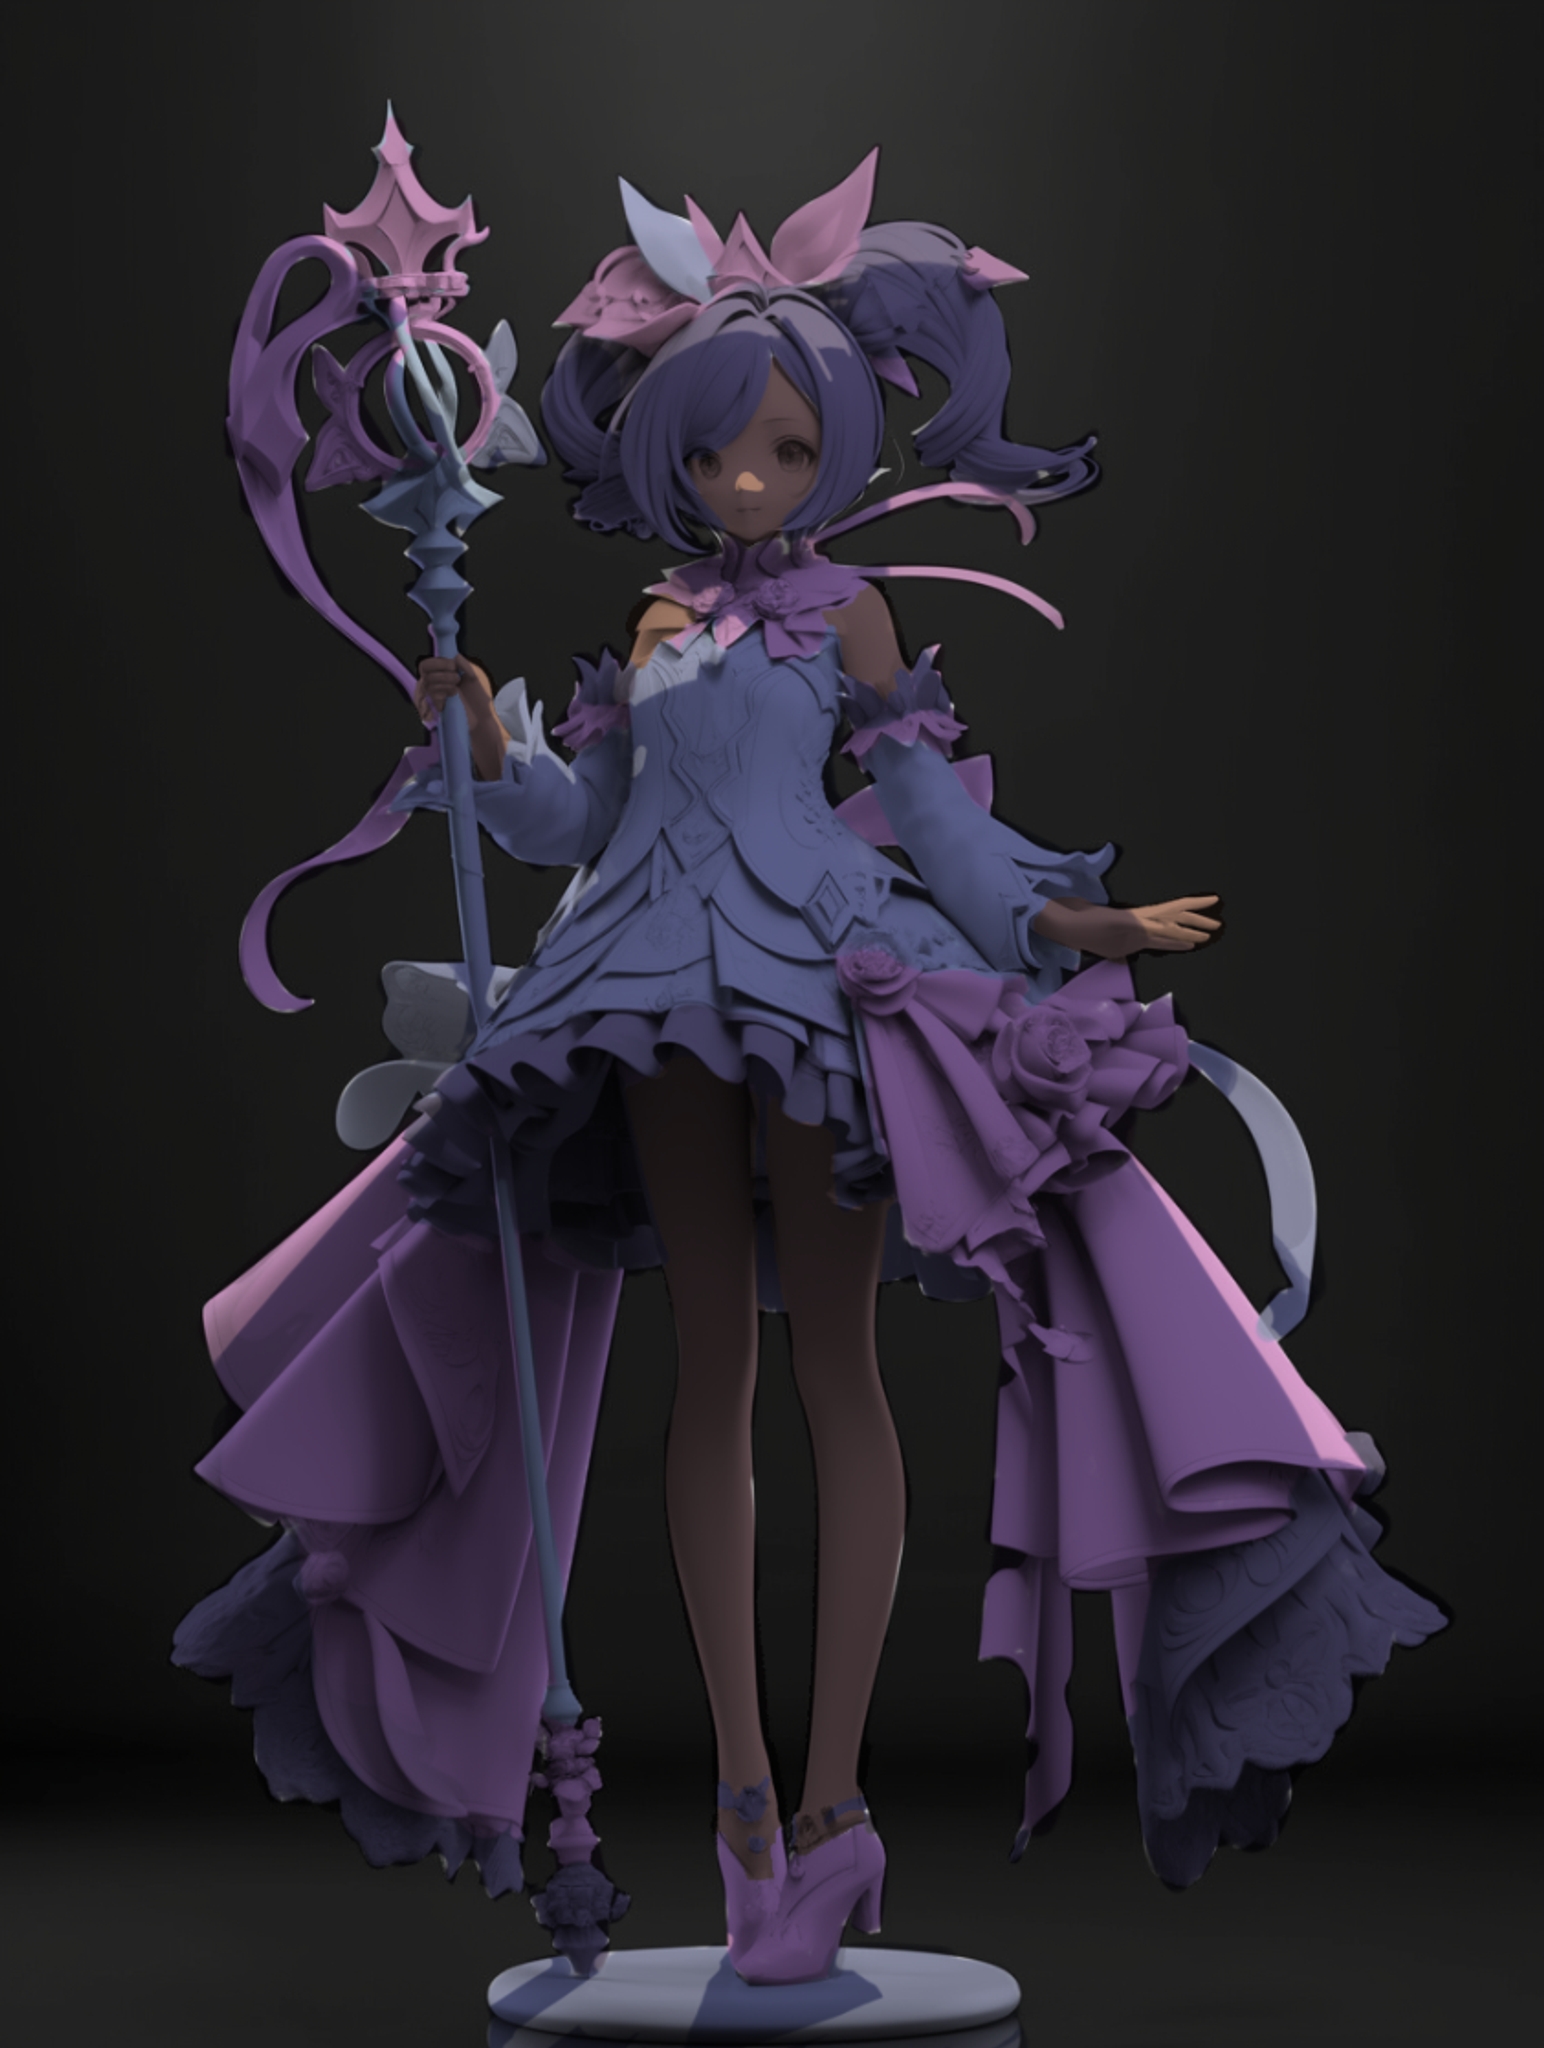
Save yourself some work by clipping this layer on top of the diffuse color layer. This means that the multiply shadow layer cannot draw outside of the diffuse color layer.

Keep in mind to reference the same terminator line!
Step 3: Use a Color Dodge layer to draw the lights


This layer is NOT clipped to diffuse color, to let things glow
Step 4: Use a Soft Light Layer to accentuate midtones with a VERY soft brush

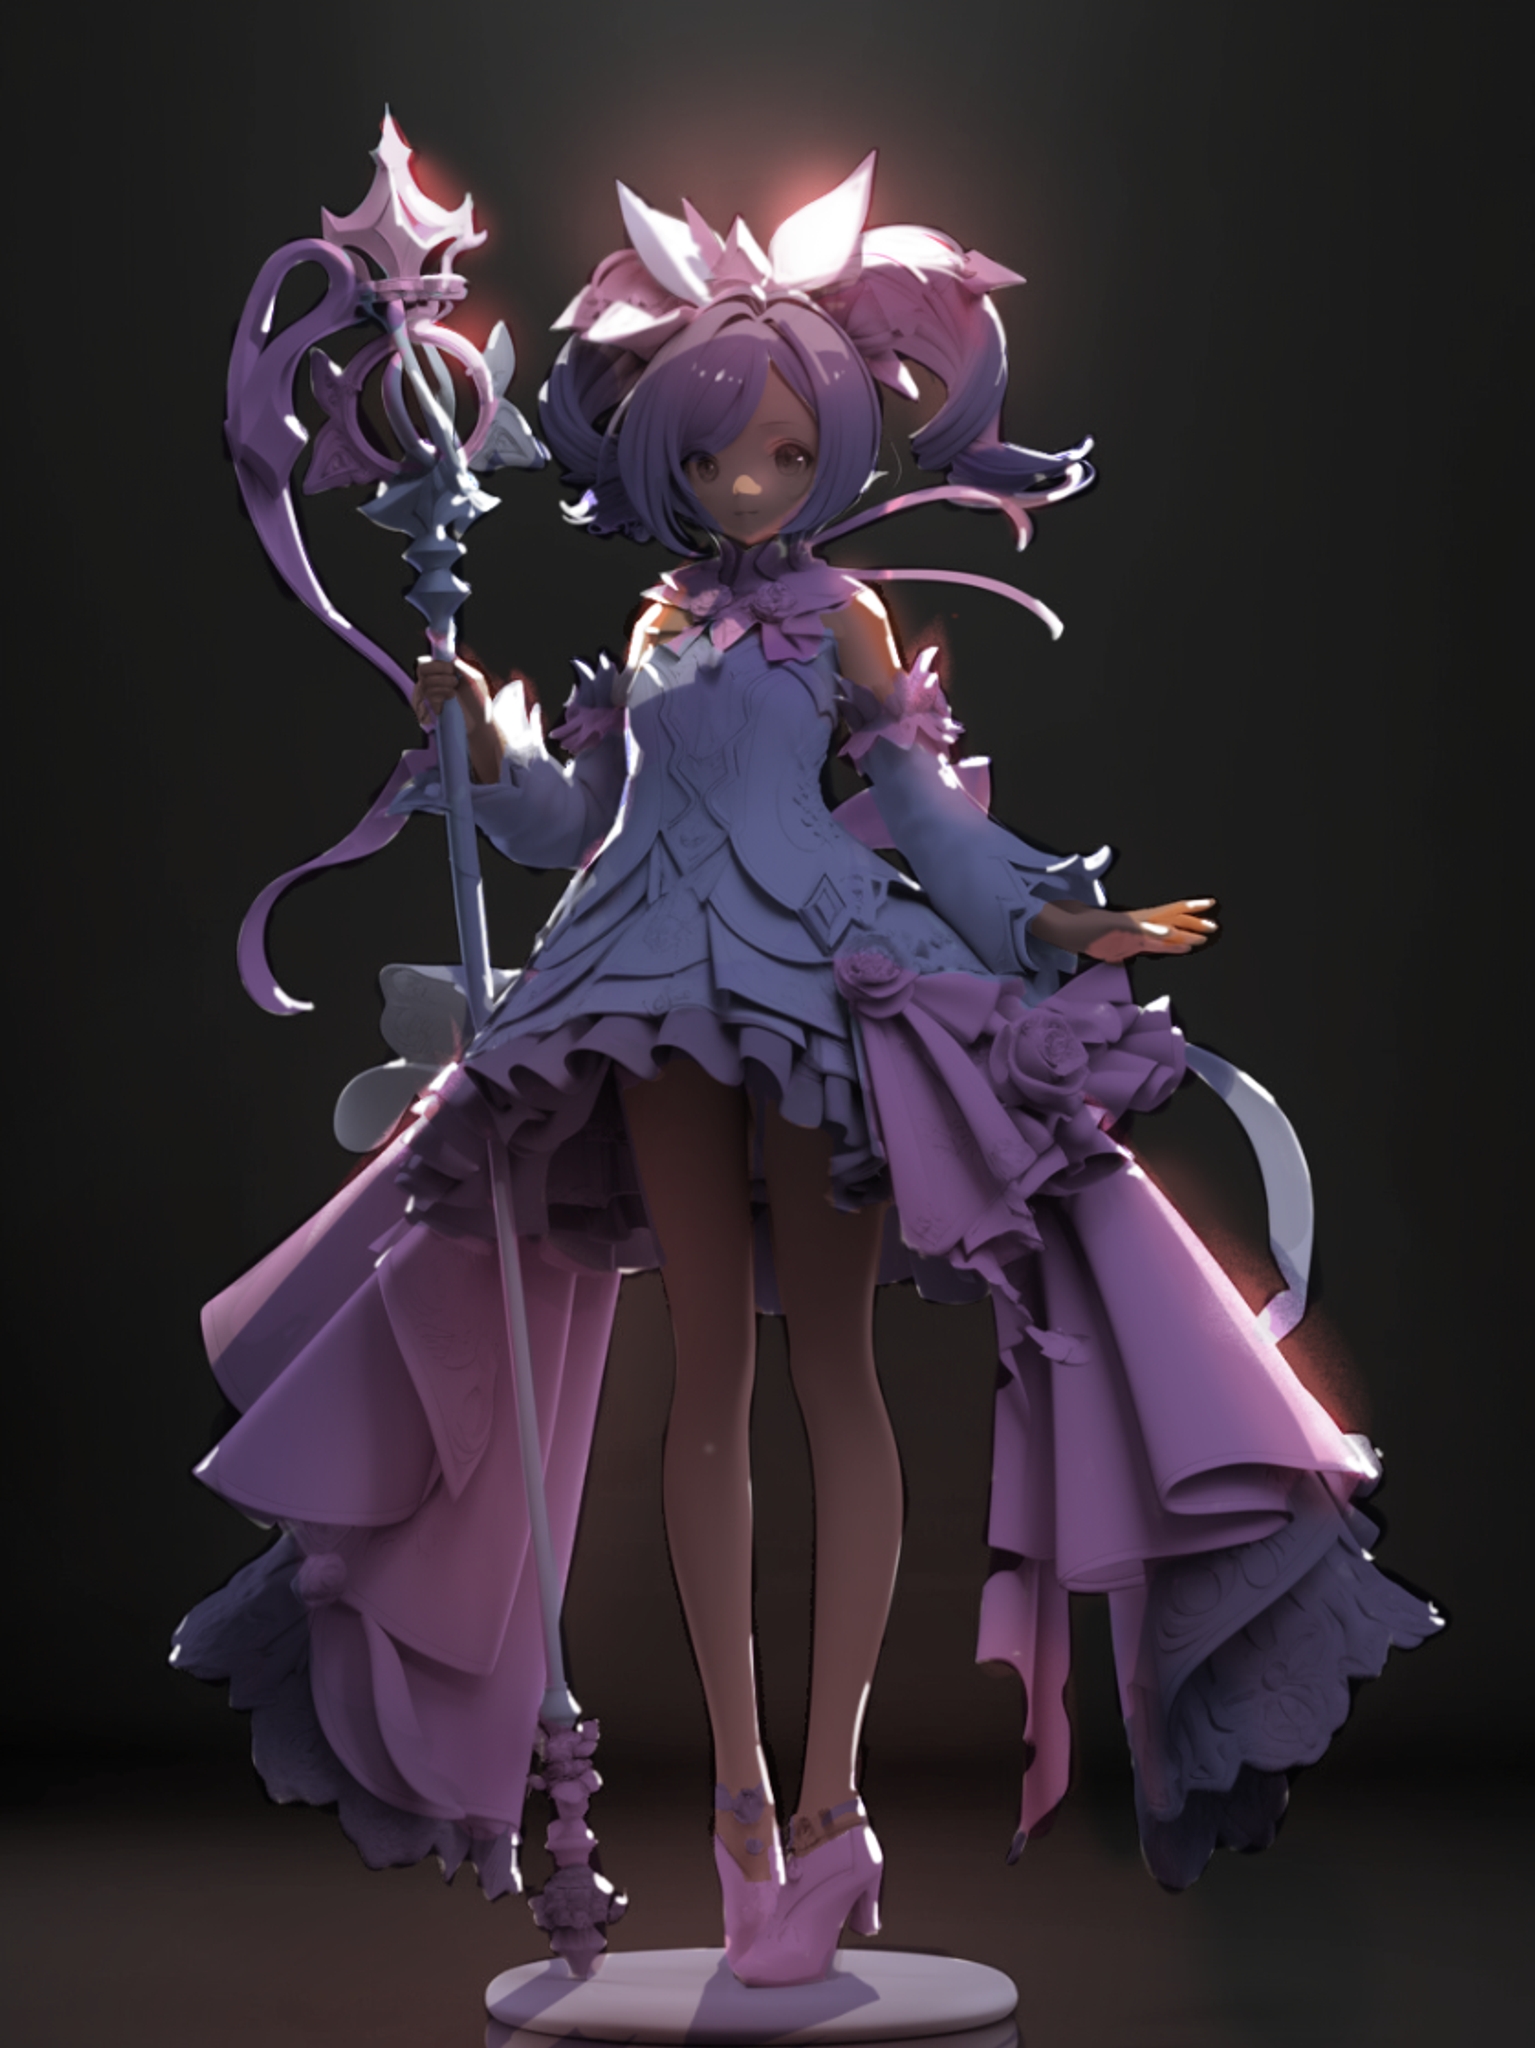
This layer is NOT clipped to diffuse color, to let things glow
Step 5: Add small details, as necessary.

Done! Show it to blk cat at https://discord.com/channels/1017943945214435438/1129477874823479387


Think of step 2 as the same idea as Study 2. In fact, when you make the multiply layer completely black, it becomes the result of Study 2!
If it helps, you can draw your terminator line, as if you were doing study 2, and then set the result to a lighter color! (I recommend blue) A refresher on study 2: ✒️ Study 2: Notan

Niji won’t generate a perfect ambient occlusion map, so make sure that your terminator line is stronger than the terminator line in the niji picture. Shown here: blue is the old line, red is the new line.

To make things glow, you need a bit more than just the white. Oversaturate the area around the white area to make the glow feel good. (I recommend orange)

When carving out rim light, be sure to mind the precision of little shapes. This is what does most of the heavy lifting on the picture in terms of informational content.
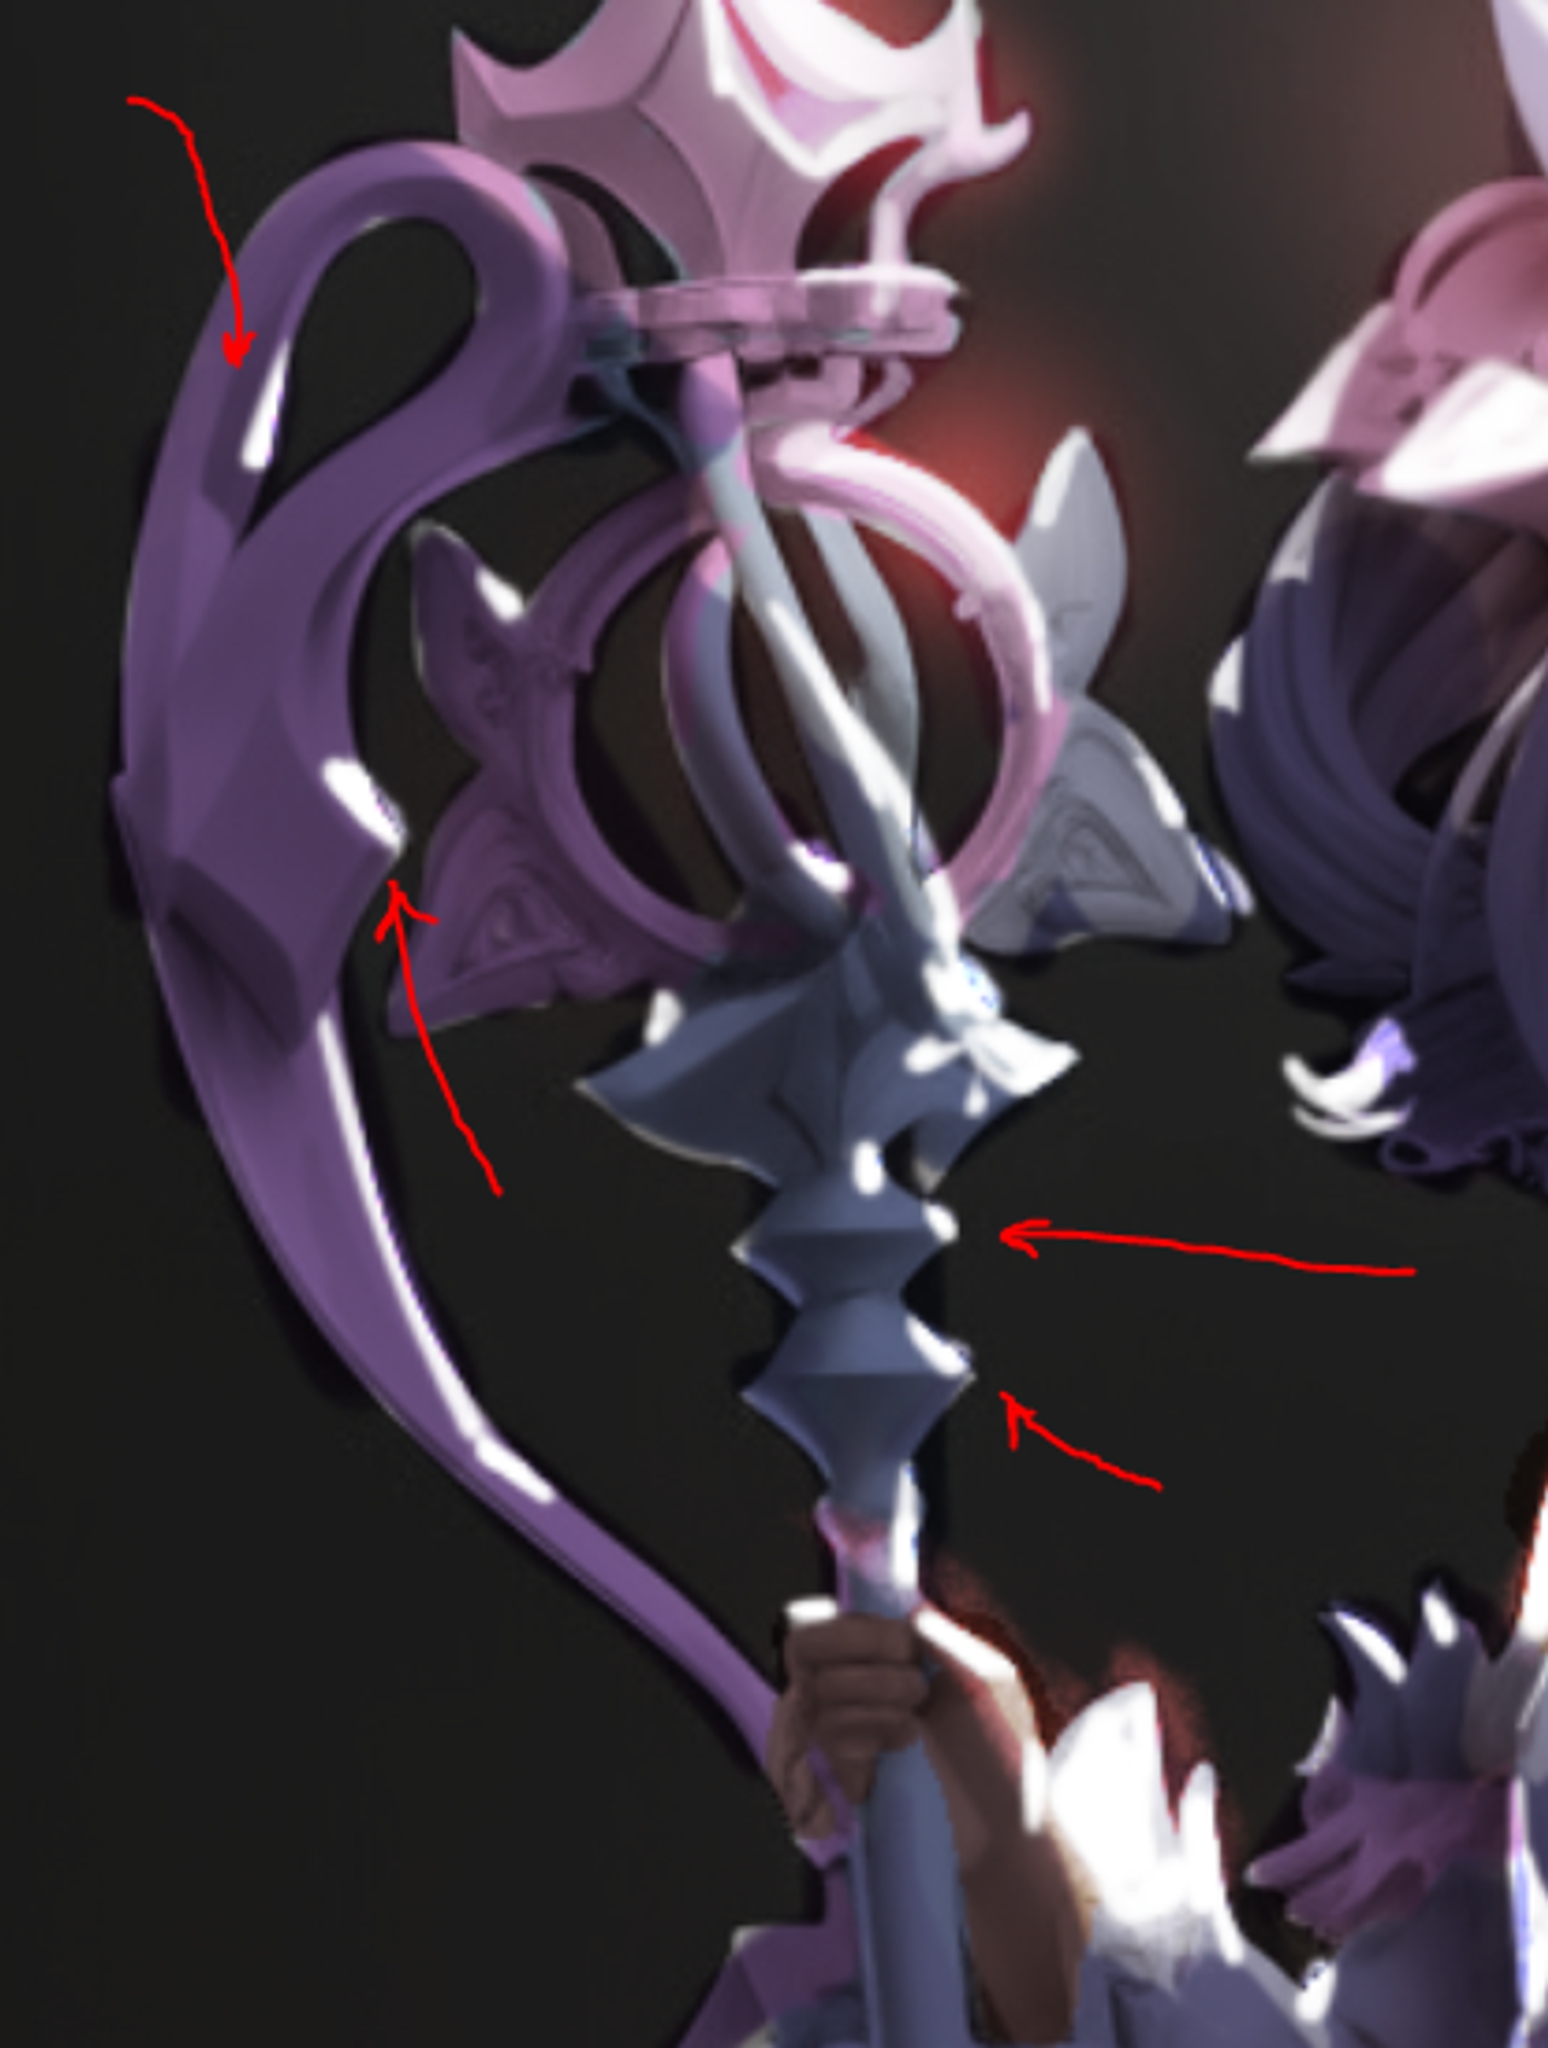
Be careful when using soft light: You can easily destroy the terminator line, if you are not careful. Soft light should never be brighter than the other side of the terminator line.
Be sure to use a soft, soft brush, when applying the soft light. Zoom out often to check the visual hierarchy.
Try to identify which of the effects the soft light is coming from.
This area is reflective light from the ground:
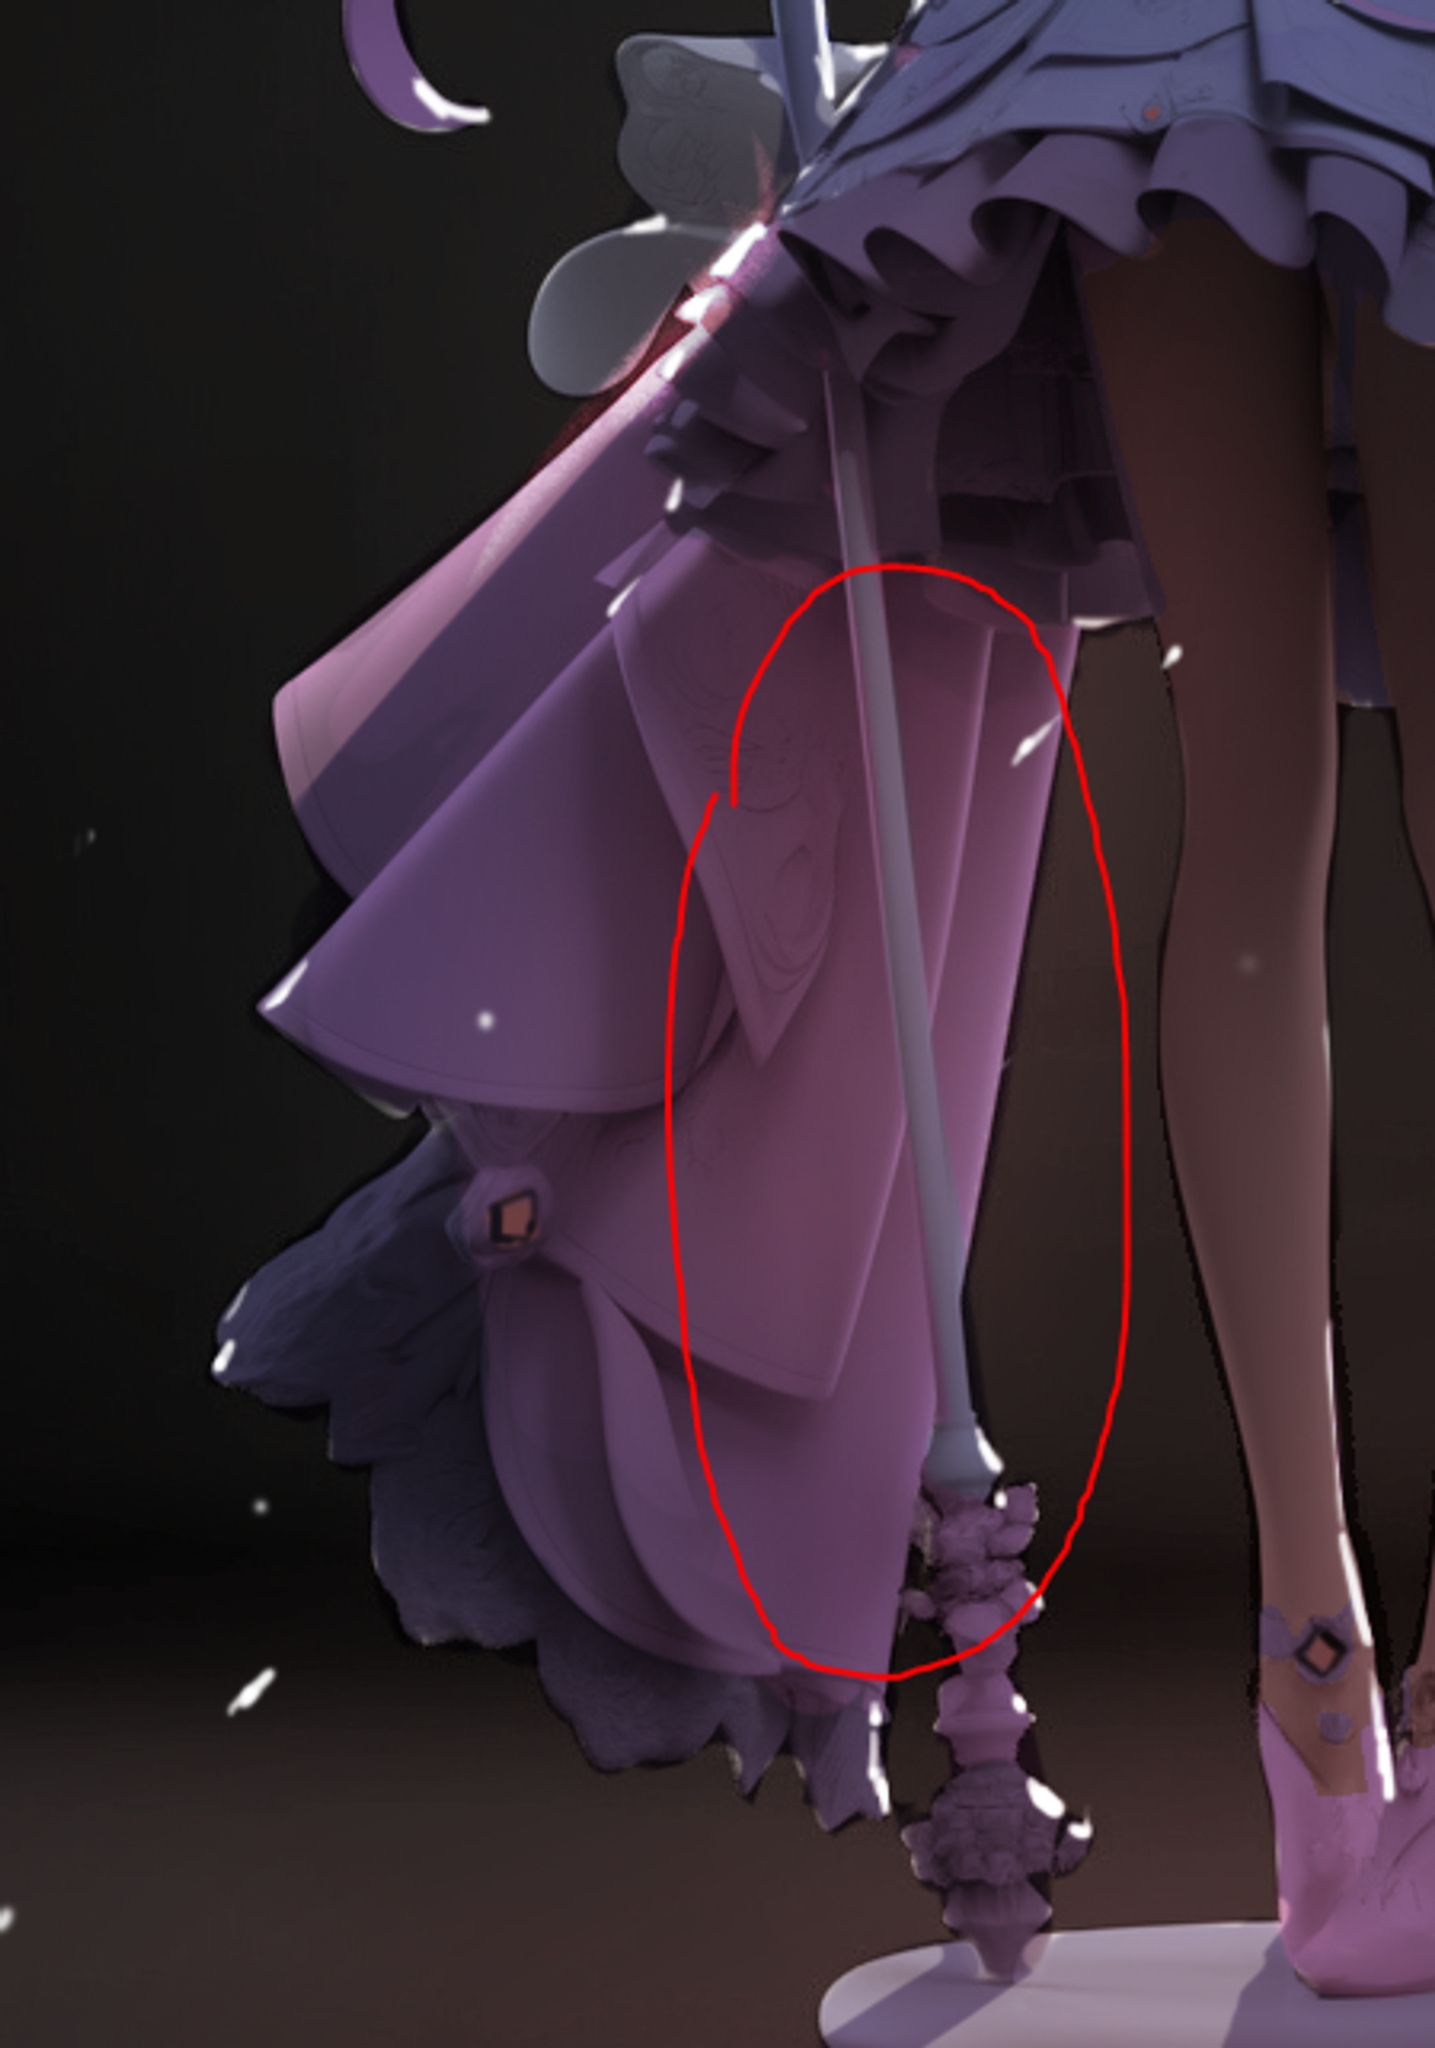
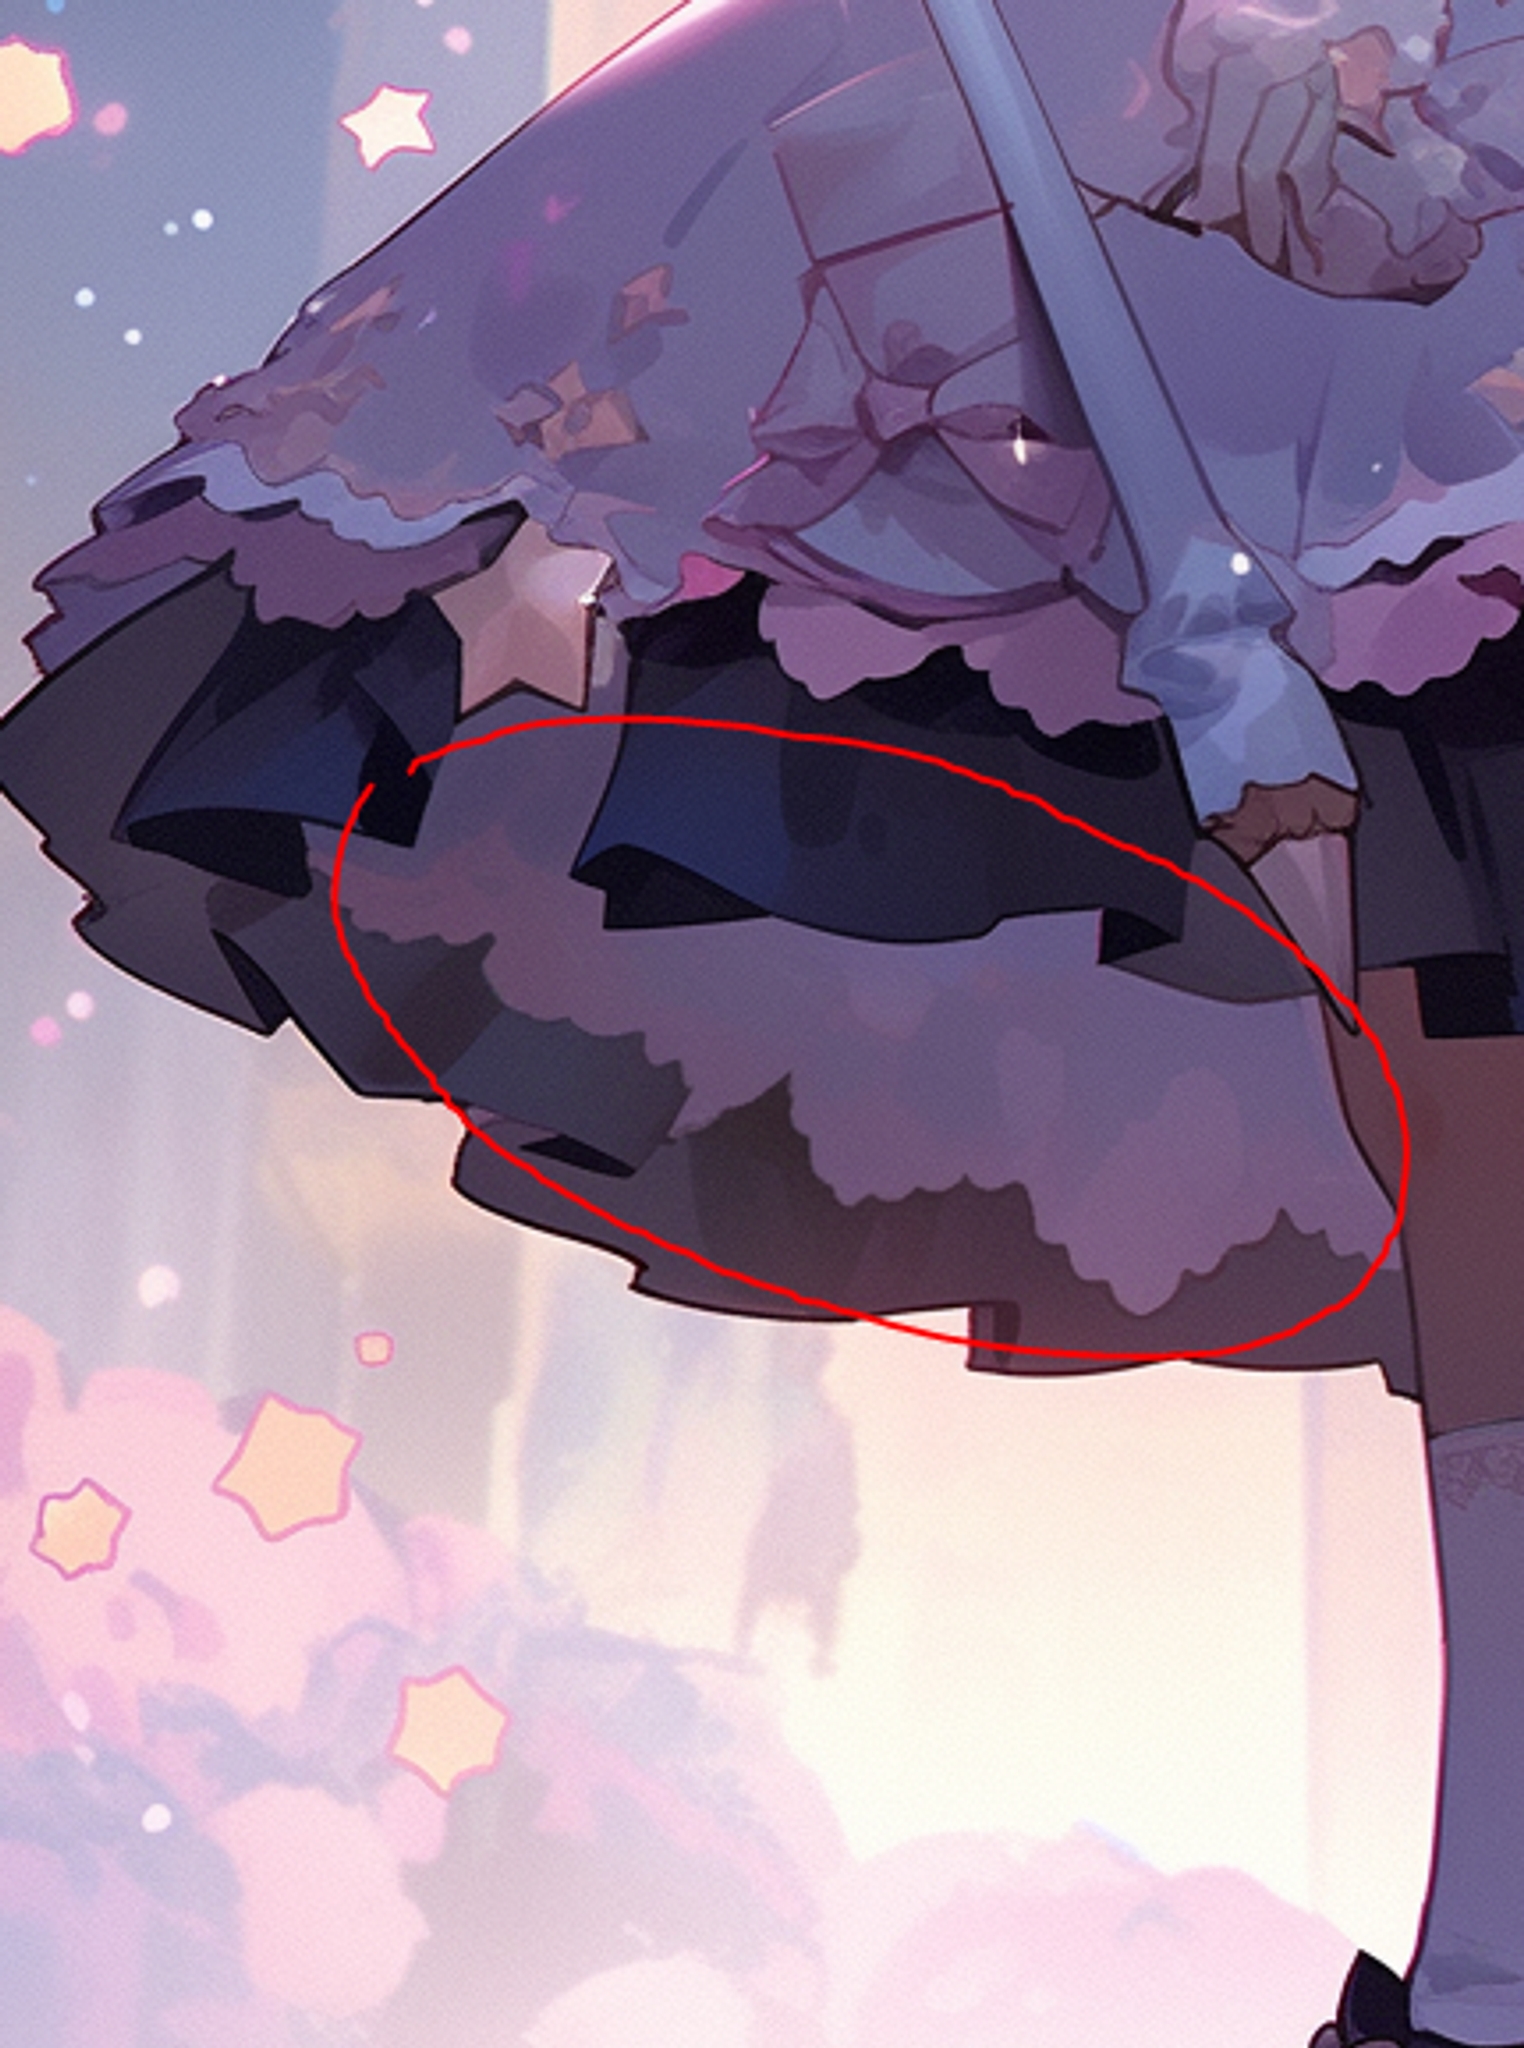
This area is reflective light on the chin


This area is subsurface scattering


Each color key will utilize different principles from the list above, so make sure that you observe carefully.
Use the lesson notes to reference WHY you are drawing the light, and make sure to use your powers of observation to identify HOW to draw the light.
If you have time, you can attempt to paint the background, too!
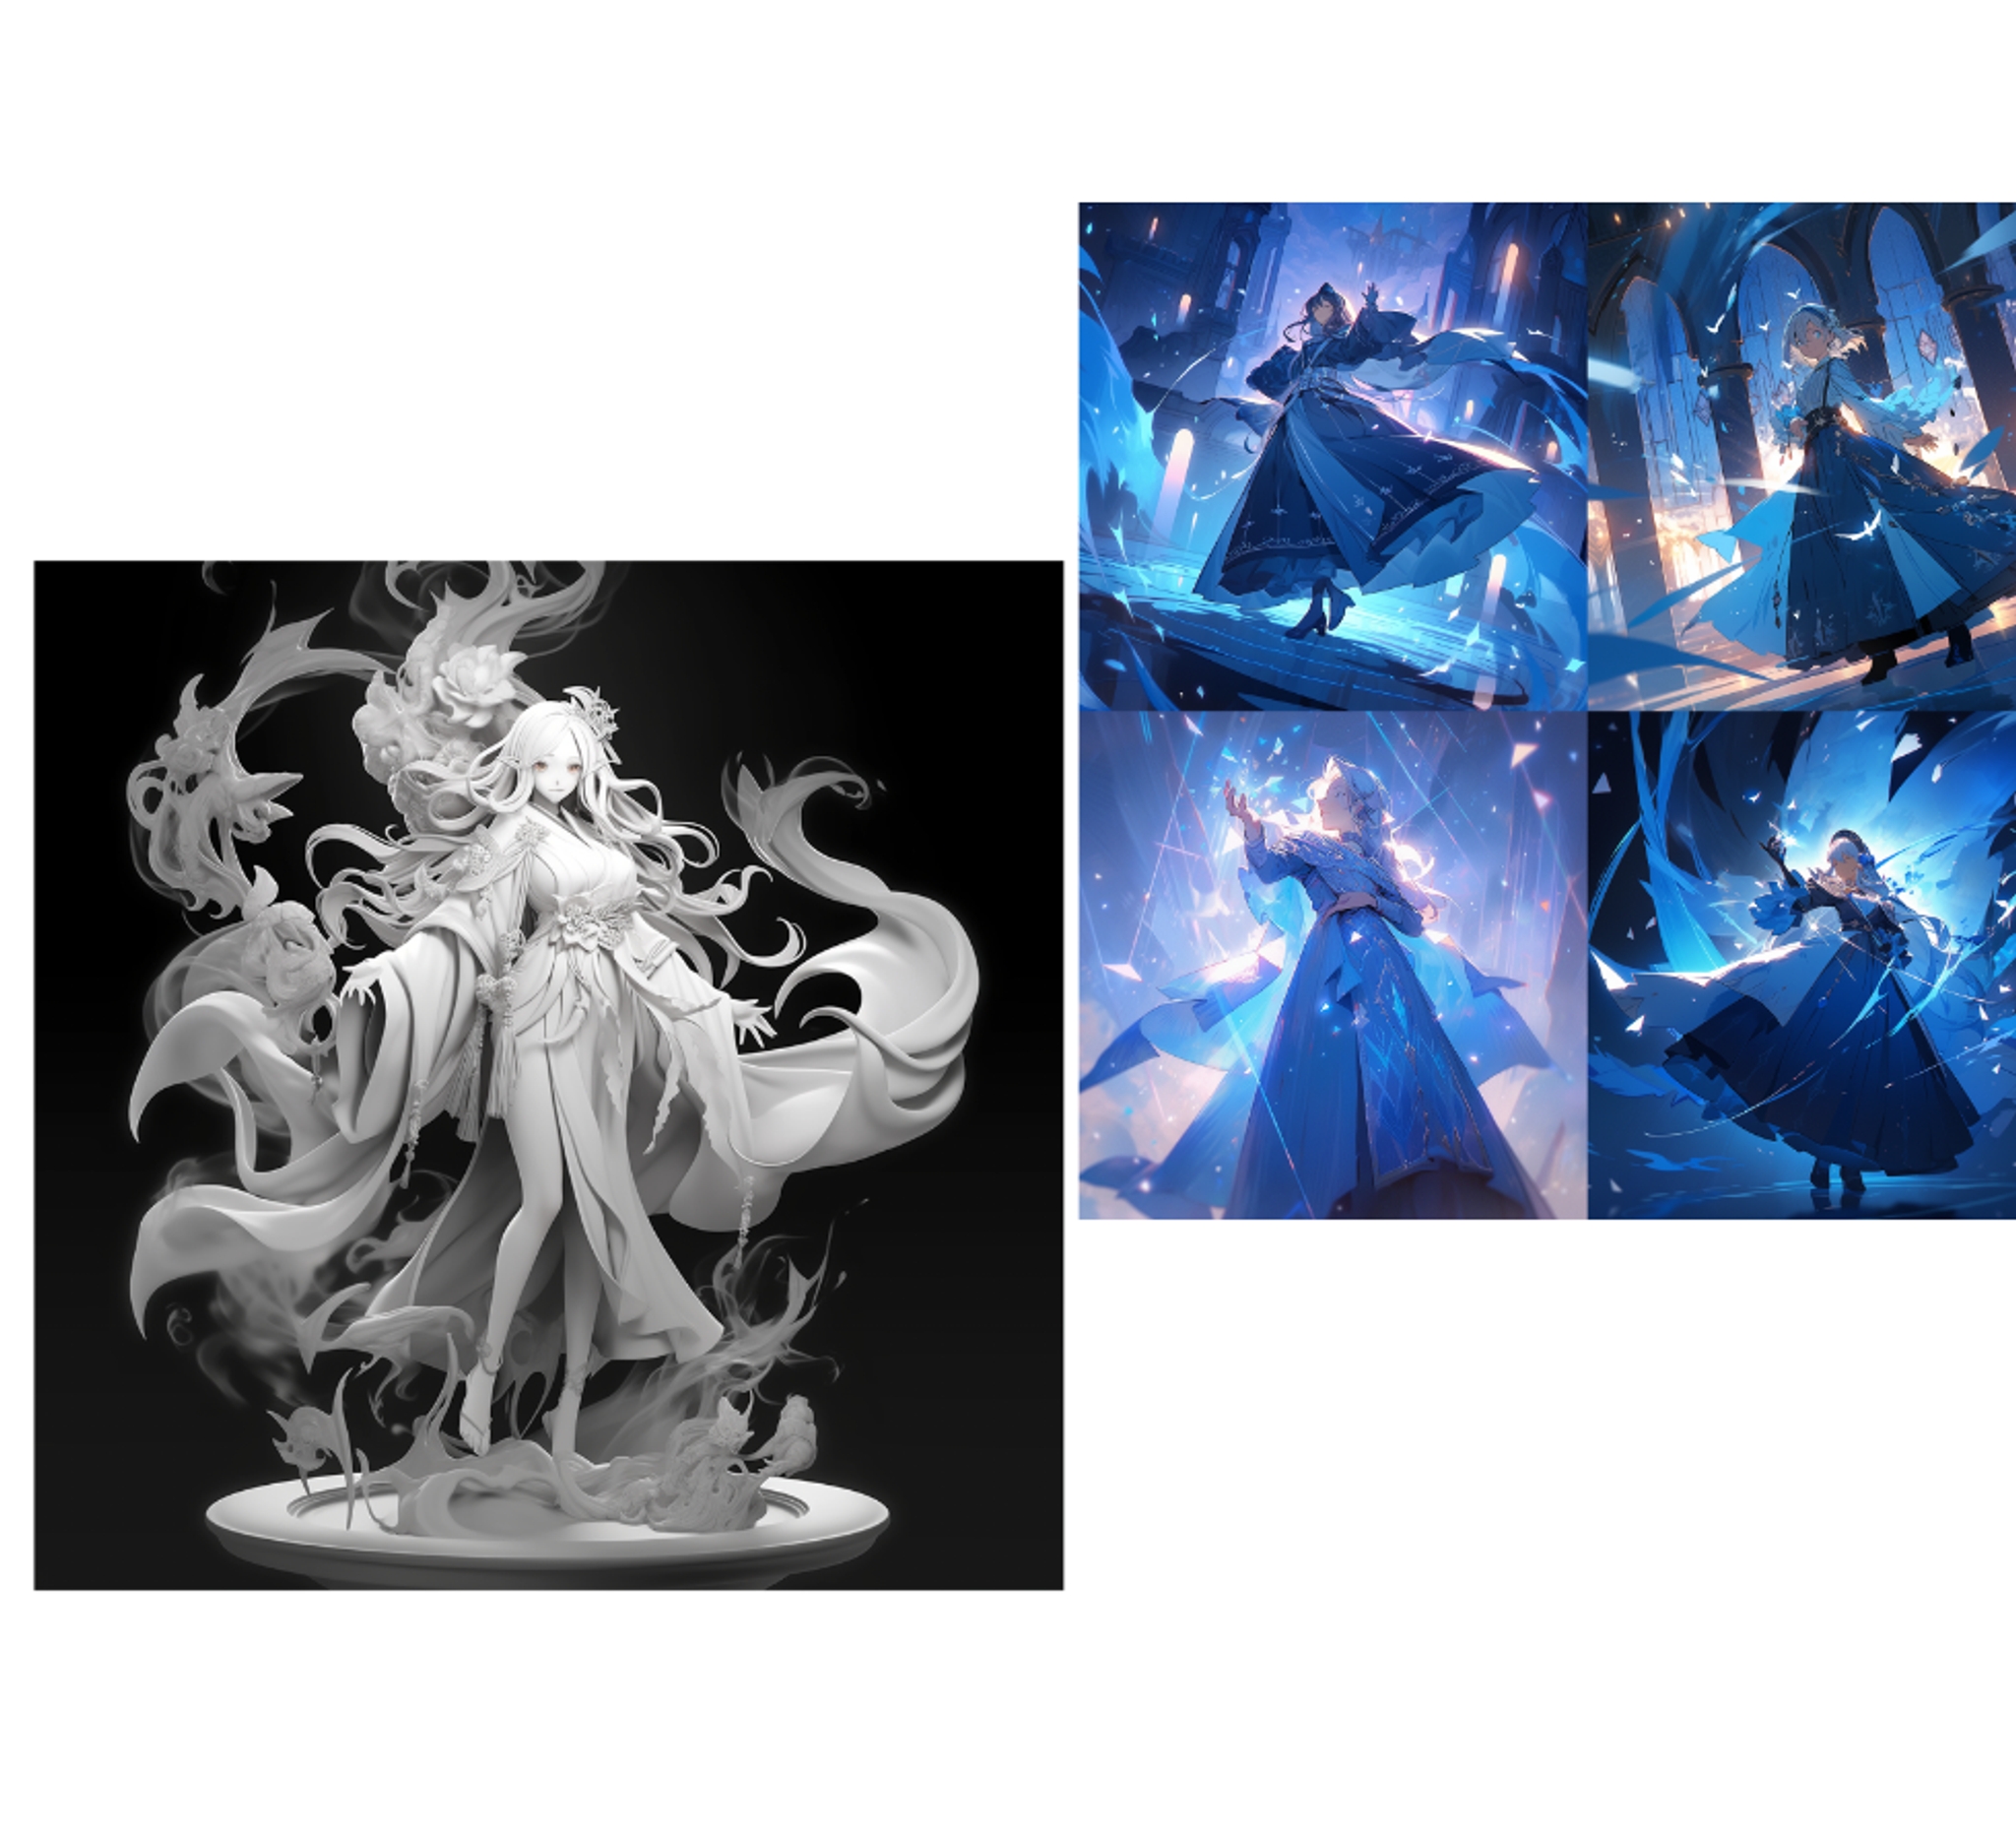

You can use a gradient on your diffuse color layer for a smoother look!


相关文章
niji・journey
niji・journey 是什么?
欢迎来到 niji・journey。这是一款最先进的 AI 生成器,可以绘制任何二次元风格的图像!本魔法般的工具是由 Spellbrush 与 Midjourney 所共同设计开发的。无论您是在寻找可爱的 Q 版角色还是充满动感的动漫场景,niji・journey 都能将您的想象变为现实。我们迫不及待地想看看您创造了什么!


我们可以在哪里找到您?
如果您是一名 AI 研究人员并且喜欢二次元,欢迎将履历寄至 [email protected]。
如果您是位才华横溢的求知者,可以前往我们的招聘页面上查看其他空缺职位。
如需商业咨询和工作室授权等,请联系 [email protected]。