Study 5: Simple Lighting
2023. 9. 29.
Associated lesson here: 🔆 Lesson 5: Let there be (dynamic lighting, 8k, rendered in octane) This study combines what we practiced in studies 2 and 3 together! Today, we’ll be combining an ambient occlusion map with a color key.
Using niji, generate an ambient occlusion map and a color key.
Ambient Occlusion Map/Color Key


Note: niji does not make perfect ambient occlusion maps, so you may need to knock out a few shadows in your steps below. Do not follow the lighting of the Ambient Occlusion map. Instead, follow the lighting on your color key.
Step 1: Setting your layer to multiply, paint the diffuse color on top of the ambient occlusion map.


Remember this is the “true color” of the object. So try your best to imagine what the reference would look like without any lighting.
Step 2: Use a Multiply layer to draw the shadows
To do this, first, we must get a good feeling of where the terminator line is in the color key


Then, we draw the same terminator line in our own study, using the multiply layer

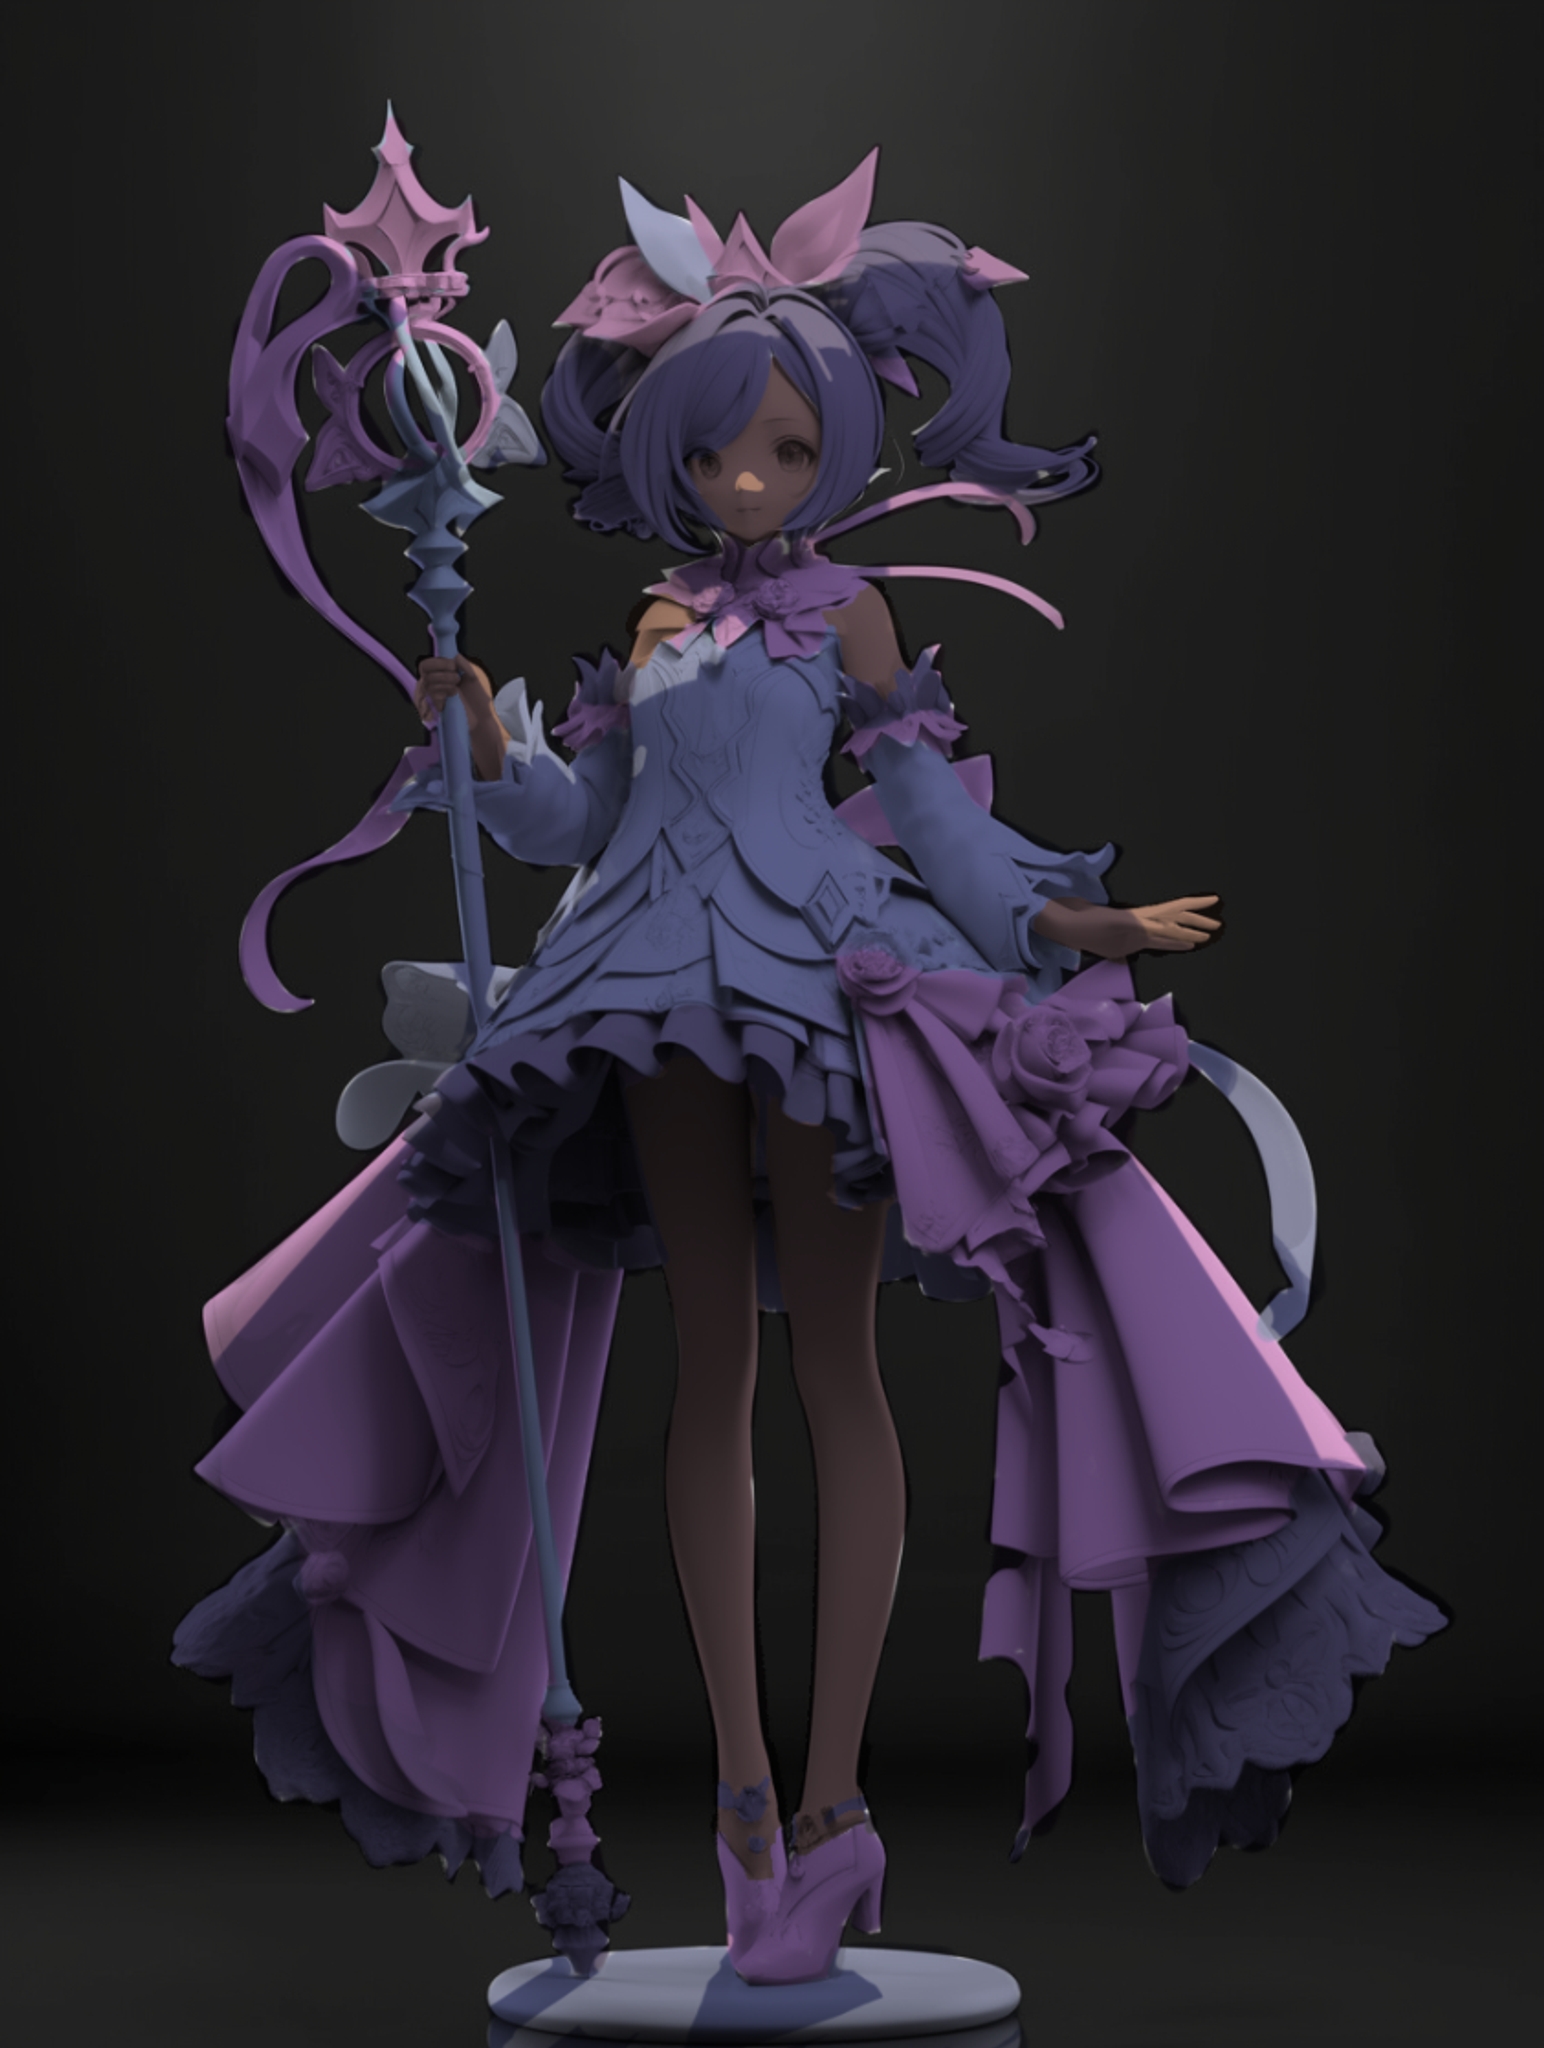
Save yourself some work by clipping this layer on top of the diffuse color layer. This means that the multiply shadow layer cannot draw outside of the diffuse color layer.

Keep in mind to reference the same terminator line!
Step 3: Use a Color Dodge layer to draw the lights


This layer is NOT clipped to diffuse color, to let things glow
Step 4: Use a Soft Light Layer to accentuate midtones with a VERY soft brush

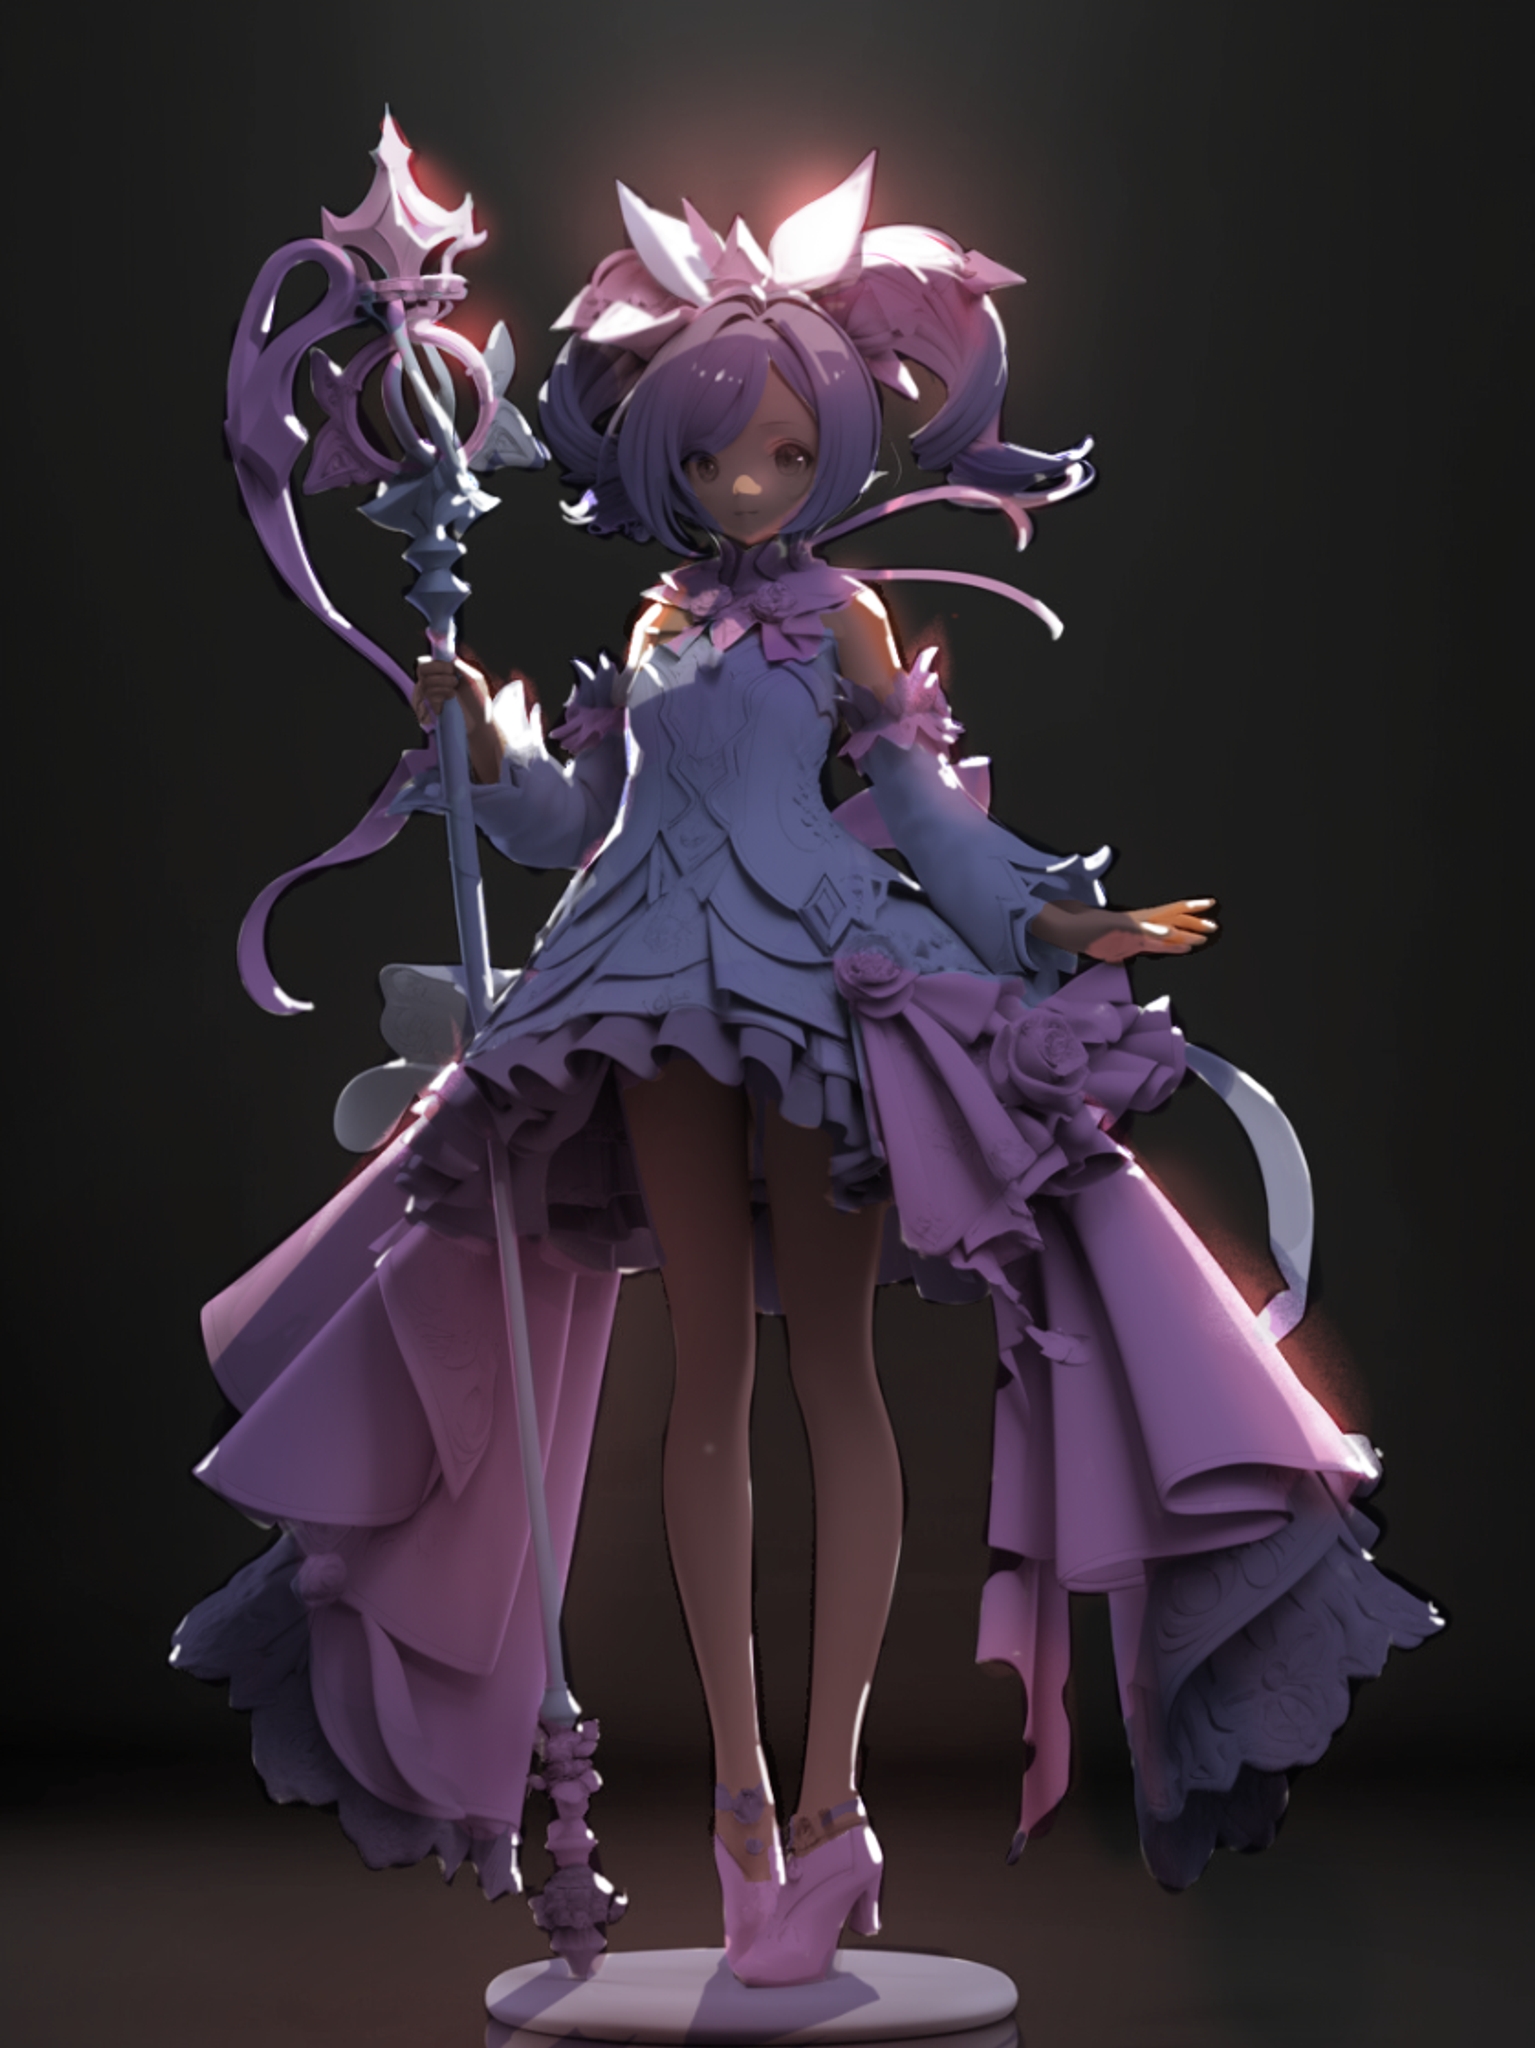
This layer is NOT clipped to diffuse color, to let things glow
Step 5: Add small details, as necessary.

Done! Show it to blk cat at https://discord.com/channels/1017943945214435438/1129477874823479387


Think of step 2 as the same idea as Study 2. In fact, when you make the multiply layer completely black, it becomes the result of Study 2!
If it helps, you can draw your terminator line, as if you were doing study 2, and then set the result to a lighter color! (I recommend blue) A refresher on study 2: ✒️ Study 2: Notan

Niji won’t generate a perfect ambient occlusion map, so make sure that your terminator line is stronger than the terminator line in the niji picture. Shown here: blue is the old line, red is the new line.

To make things glow, you need a bit more than just the white. Oversaturate the area around the white area to make the glow feel good. (I recommend orange)

When carving out rim light, be sure to mind the precision of little shapes. This is what does most of the heavy lifting on the picture in terms of informational content.
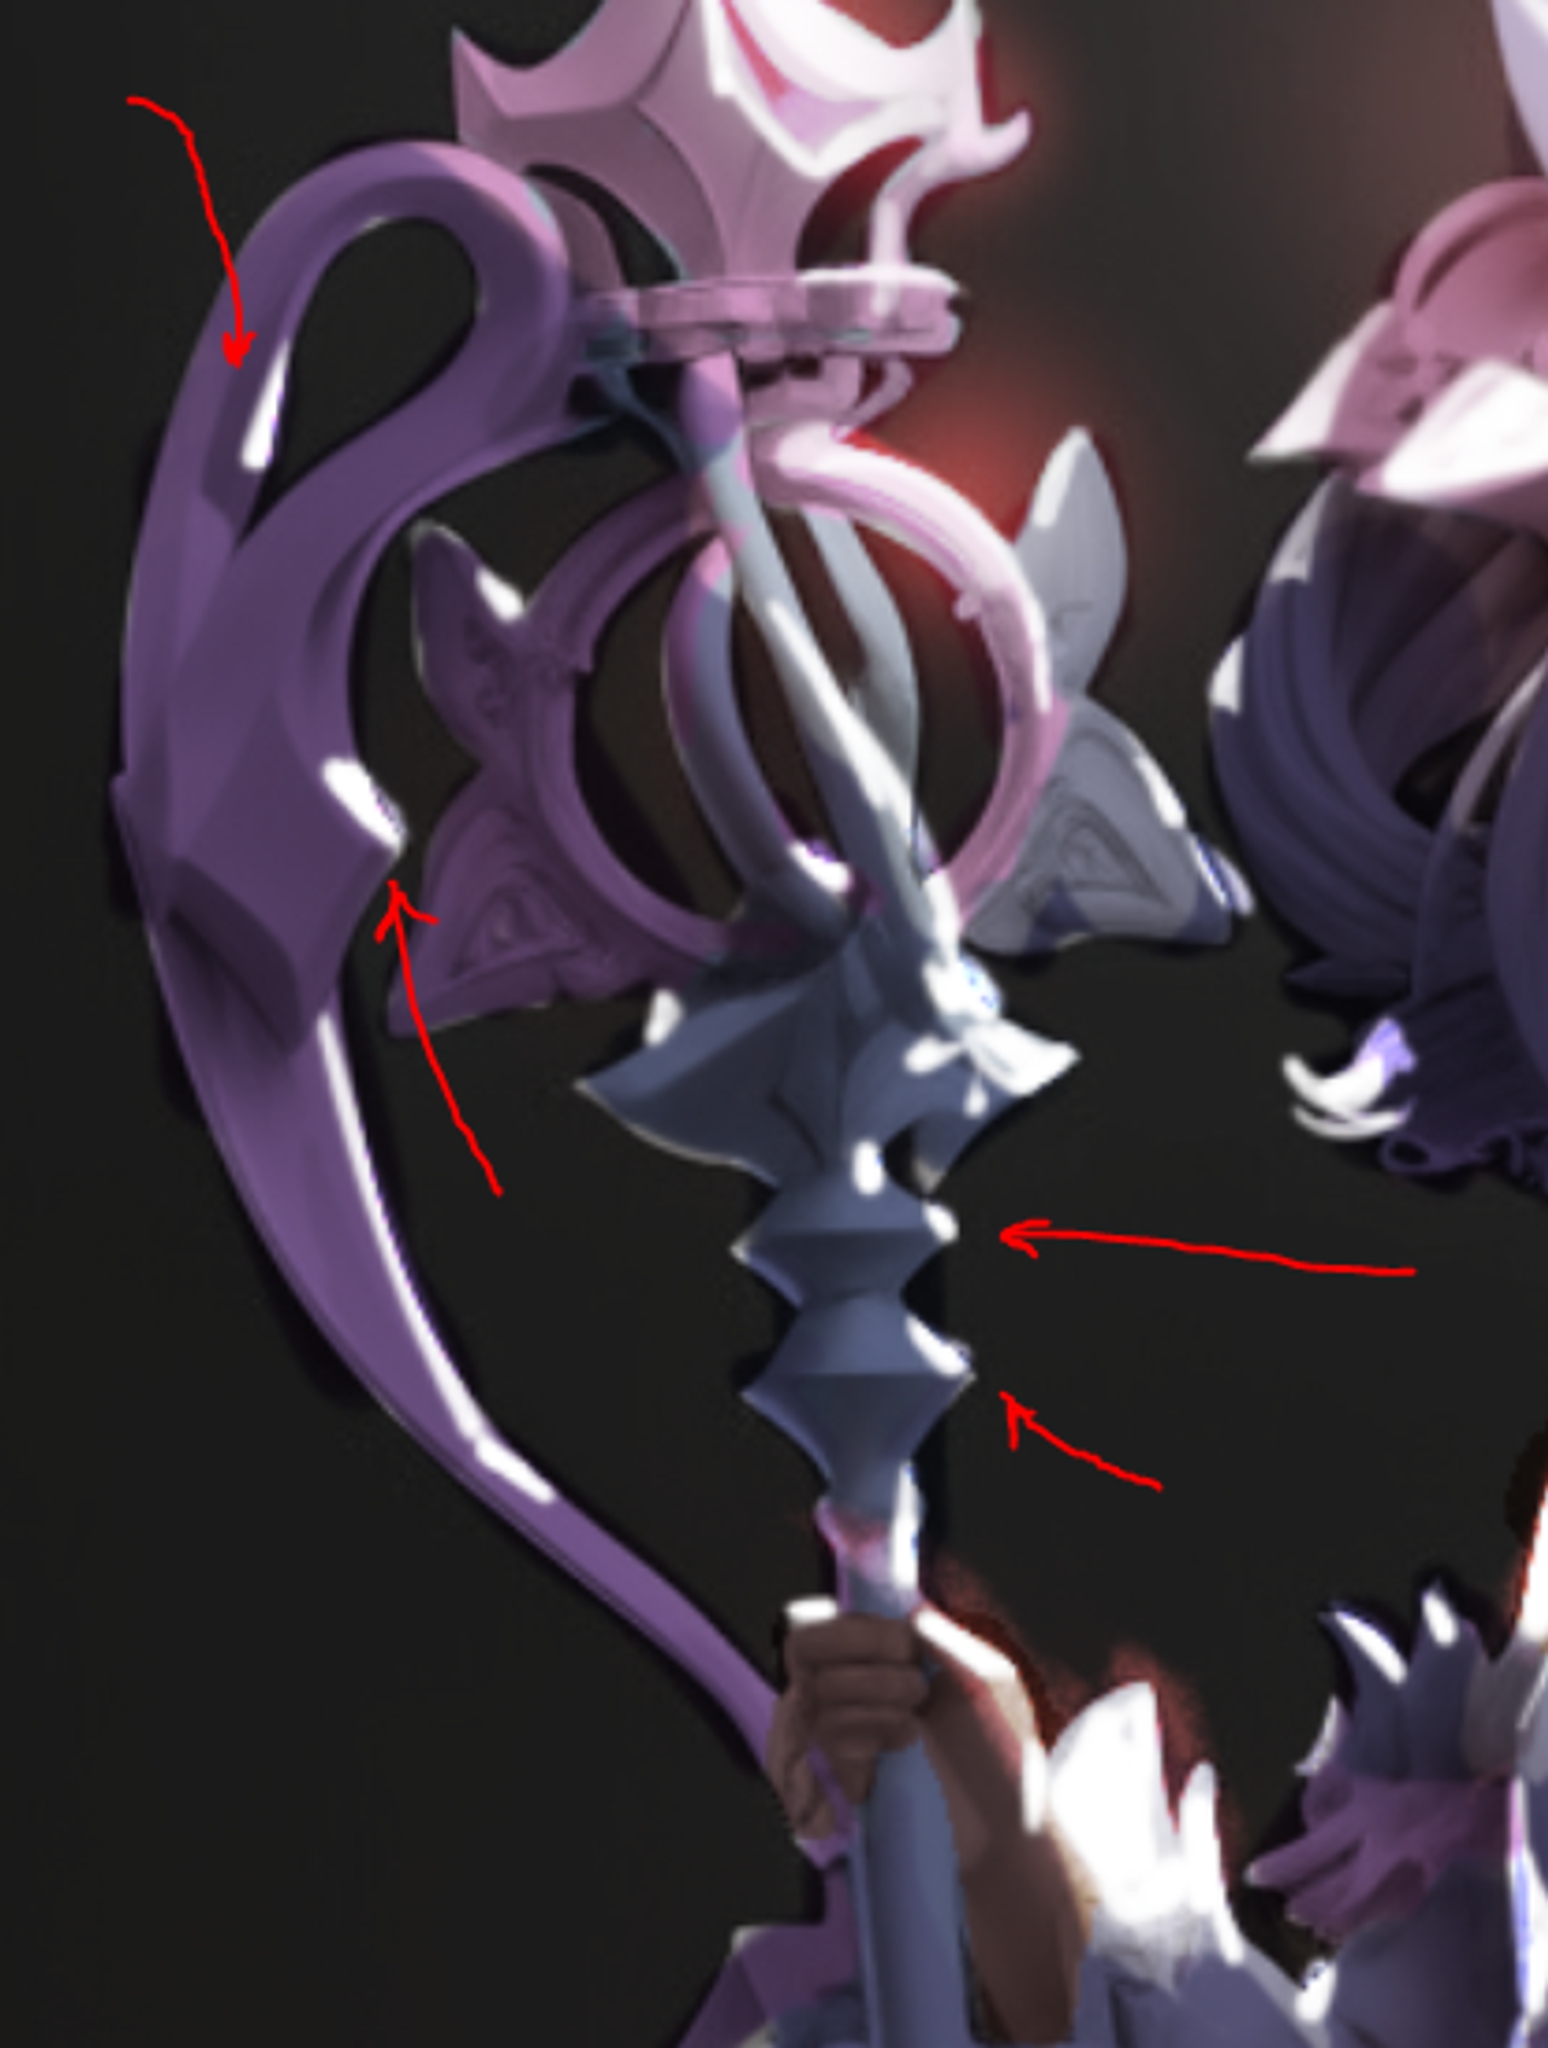
Be careful when using soft light: You can easily destroy the terminator line, if you are not careful. Soft light should never be brighter than the other side of the terminator line.
Be sure to use a soft, soft brush, when applying the soft light. Zoom out often to check the visual hierarchy.
Try to identify which of the effects the soft light is coming from.
This area is reflective light from the ground:
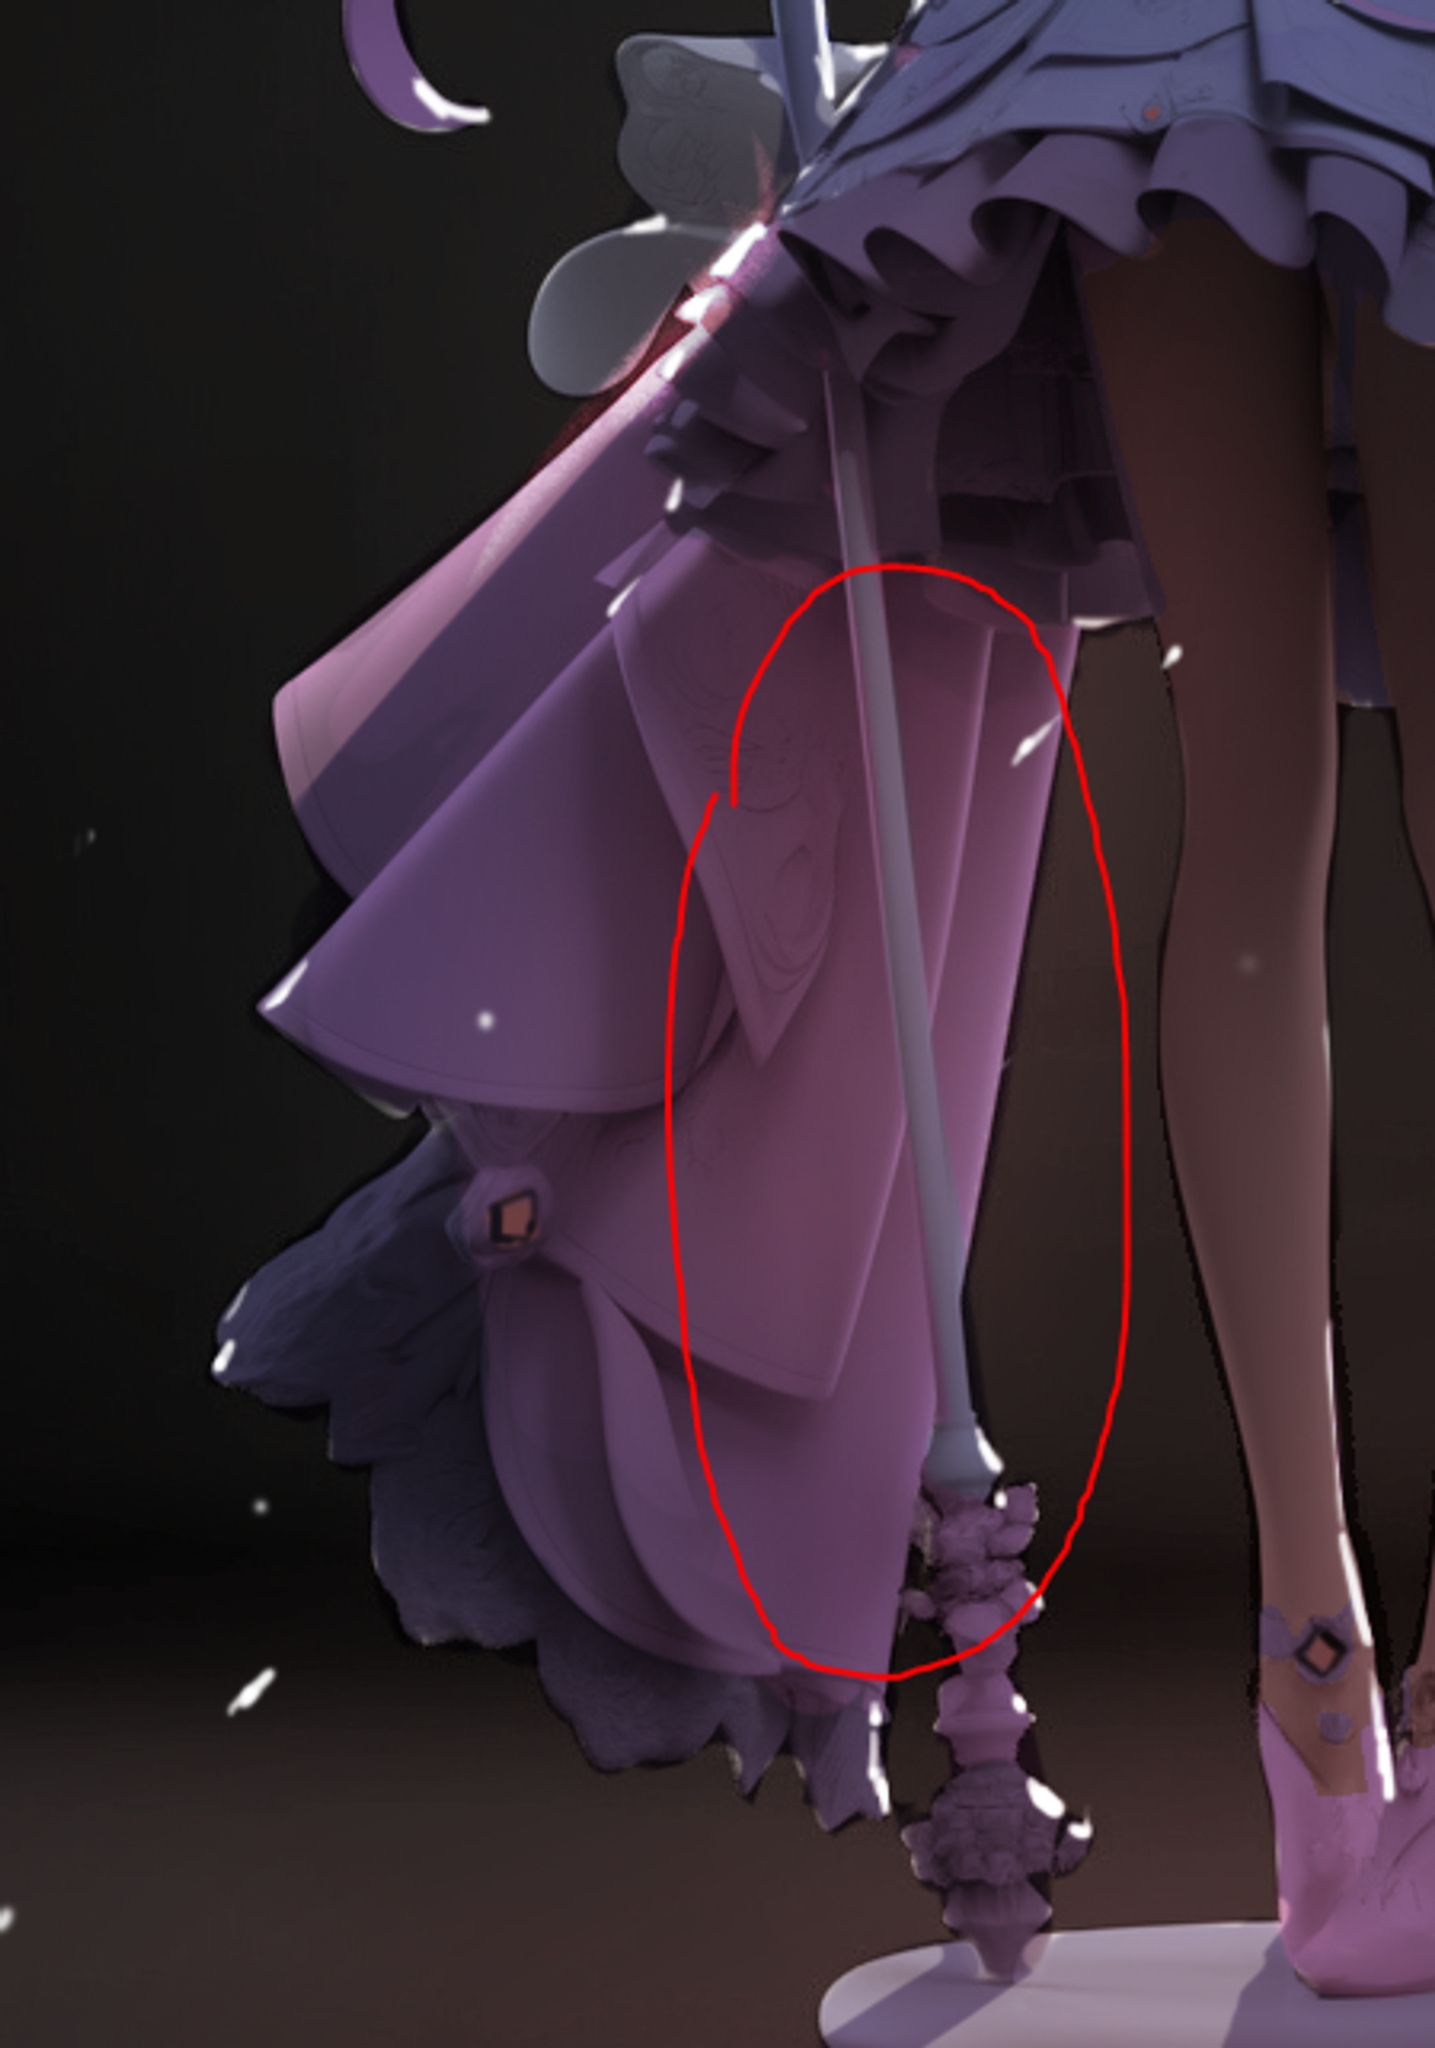
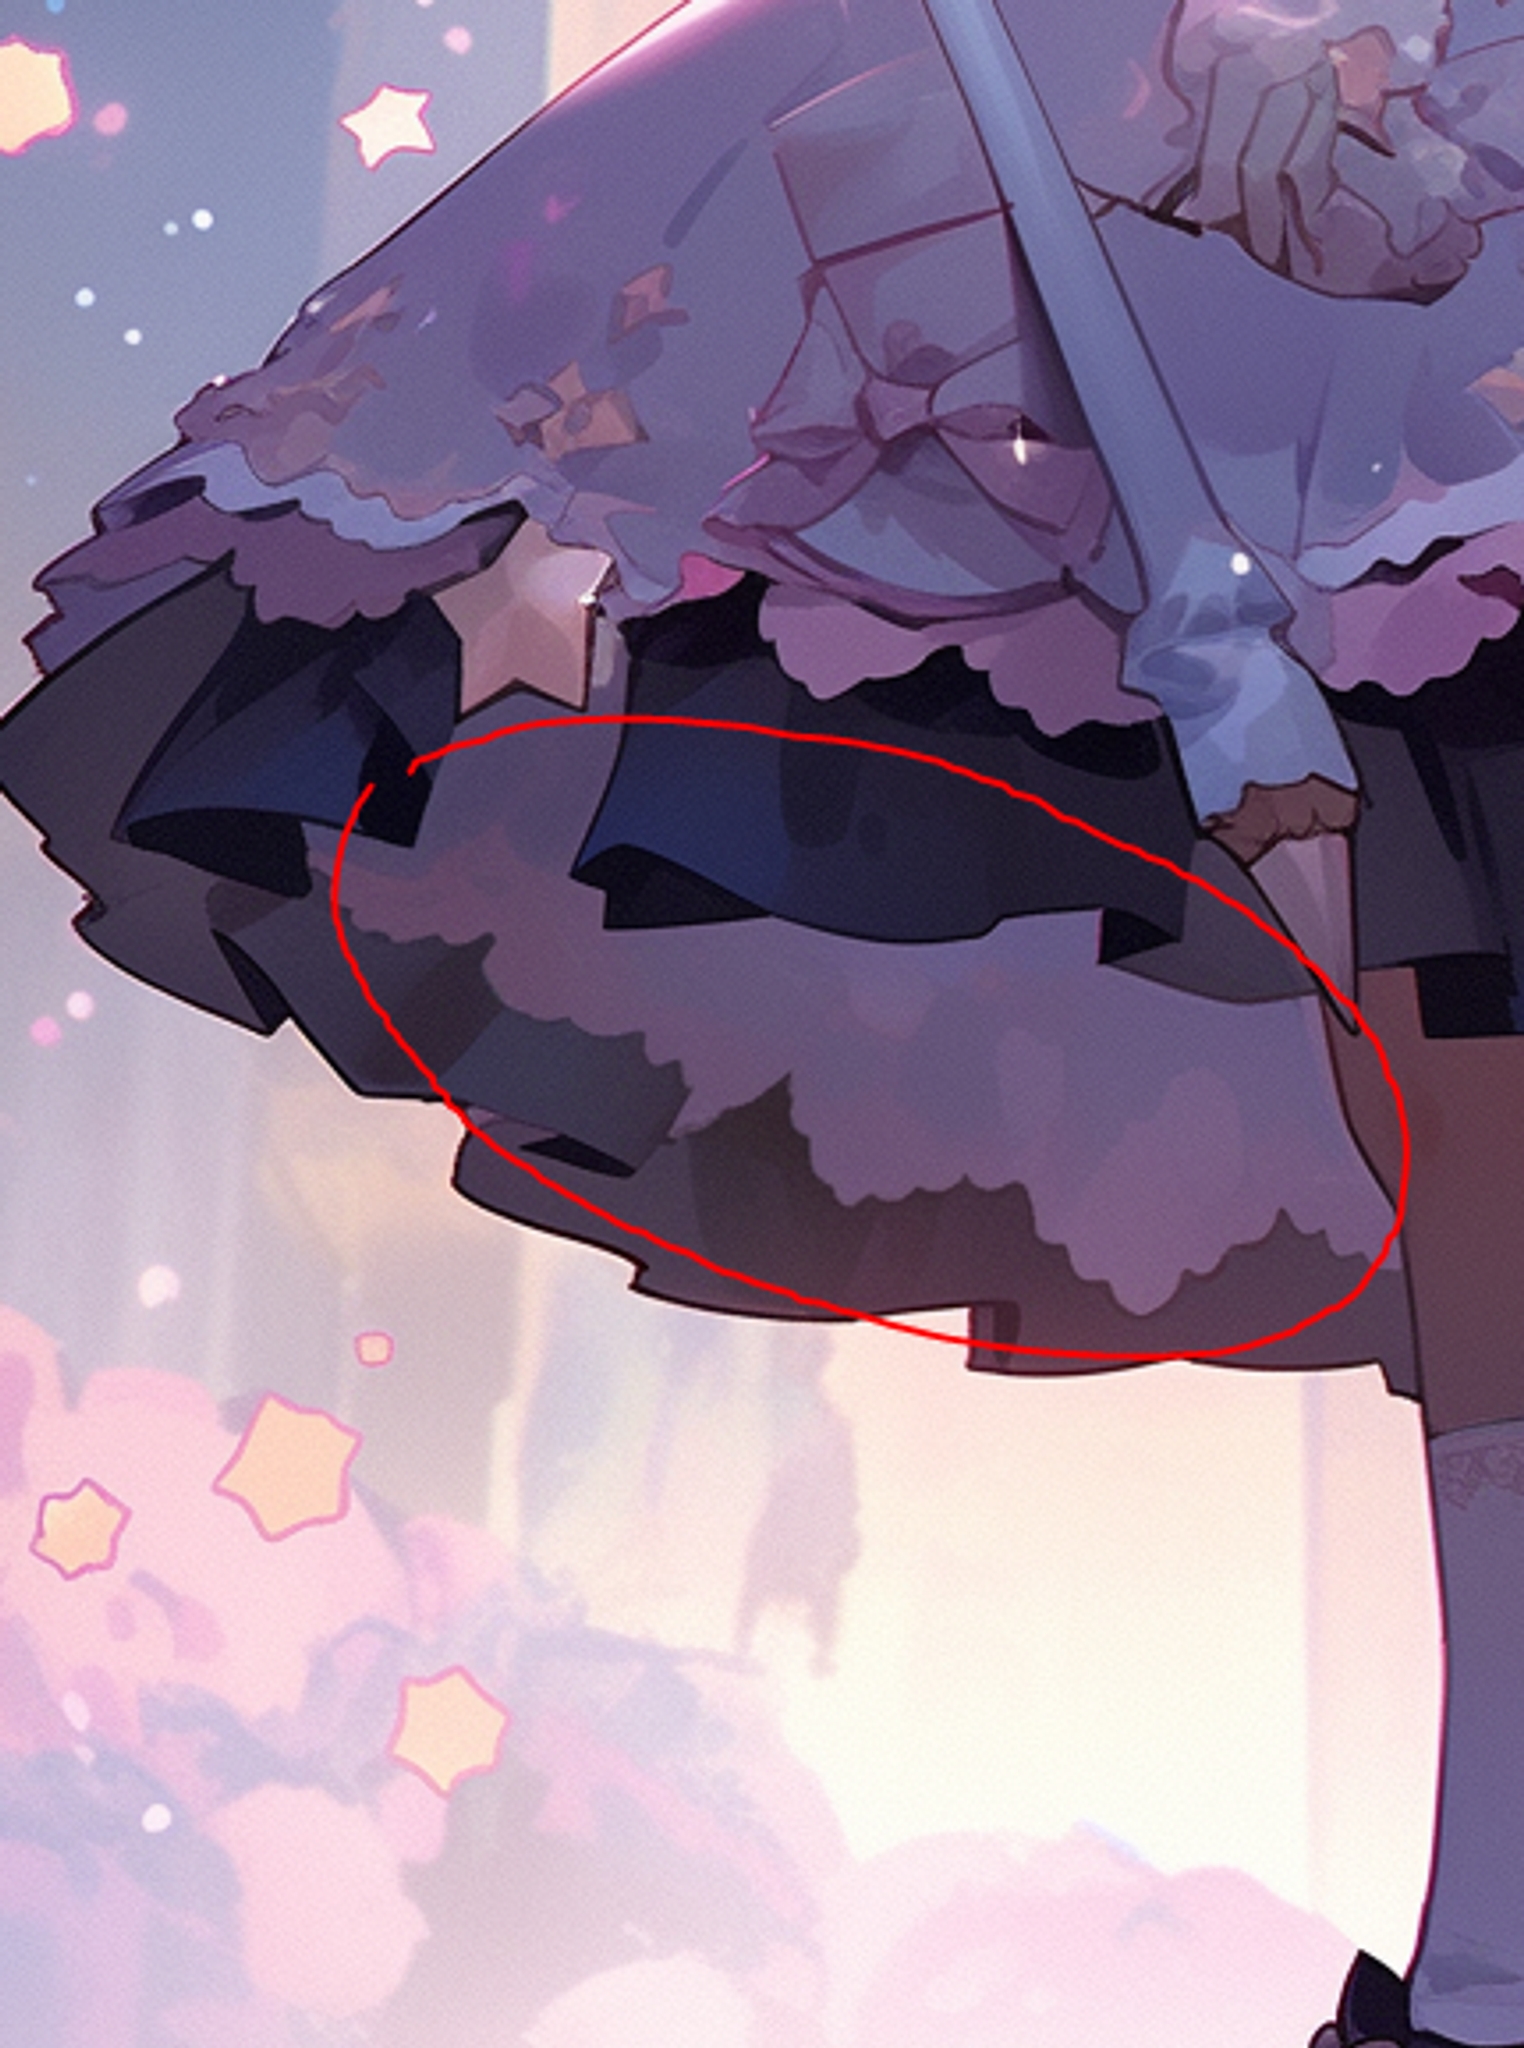
This area is reflective light on the chin


This area is subsurface scattering


Each color key will utilize different principles from the list above, so make sure that you observe carefully.
Use the lesson notes to reference WHY you are drawing the light, and make sure to use your powers of observation to identify HOW to draw the light.
If you have time, you can attempt to paint the background, too!
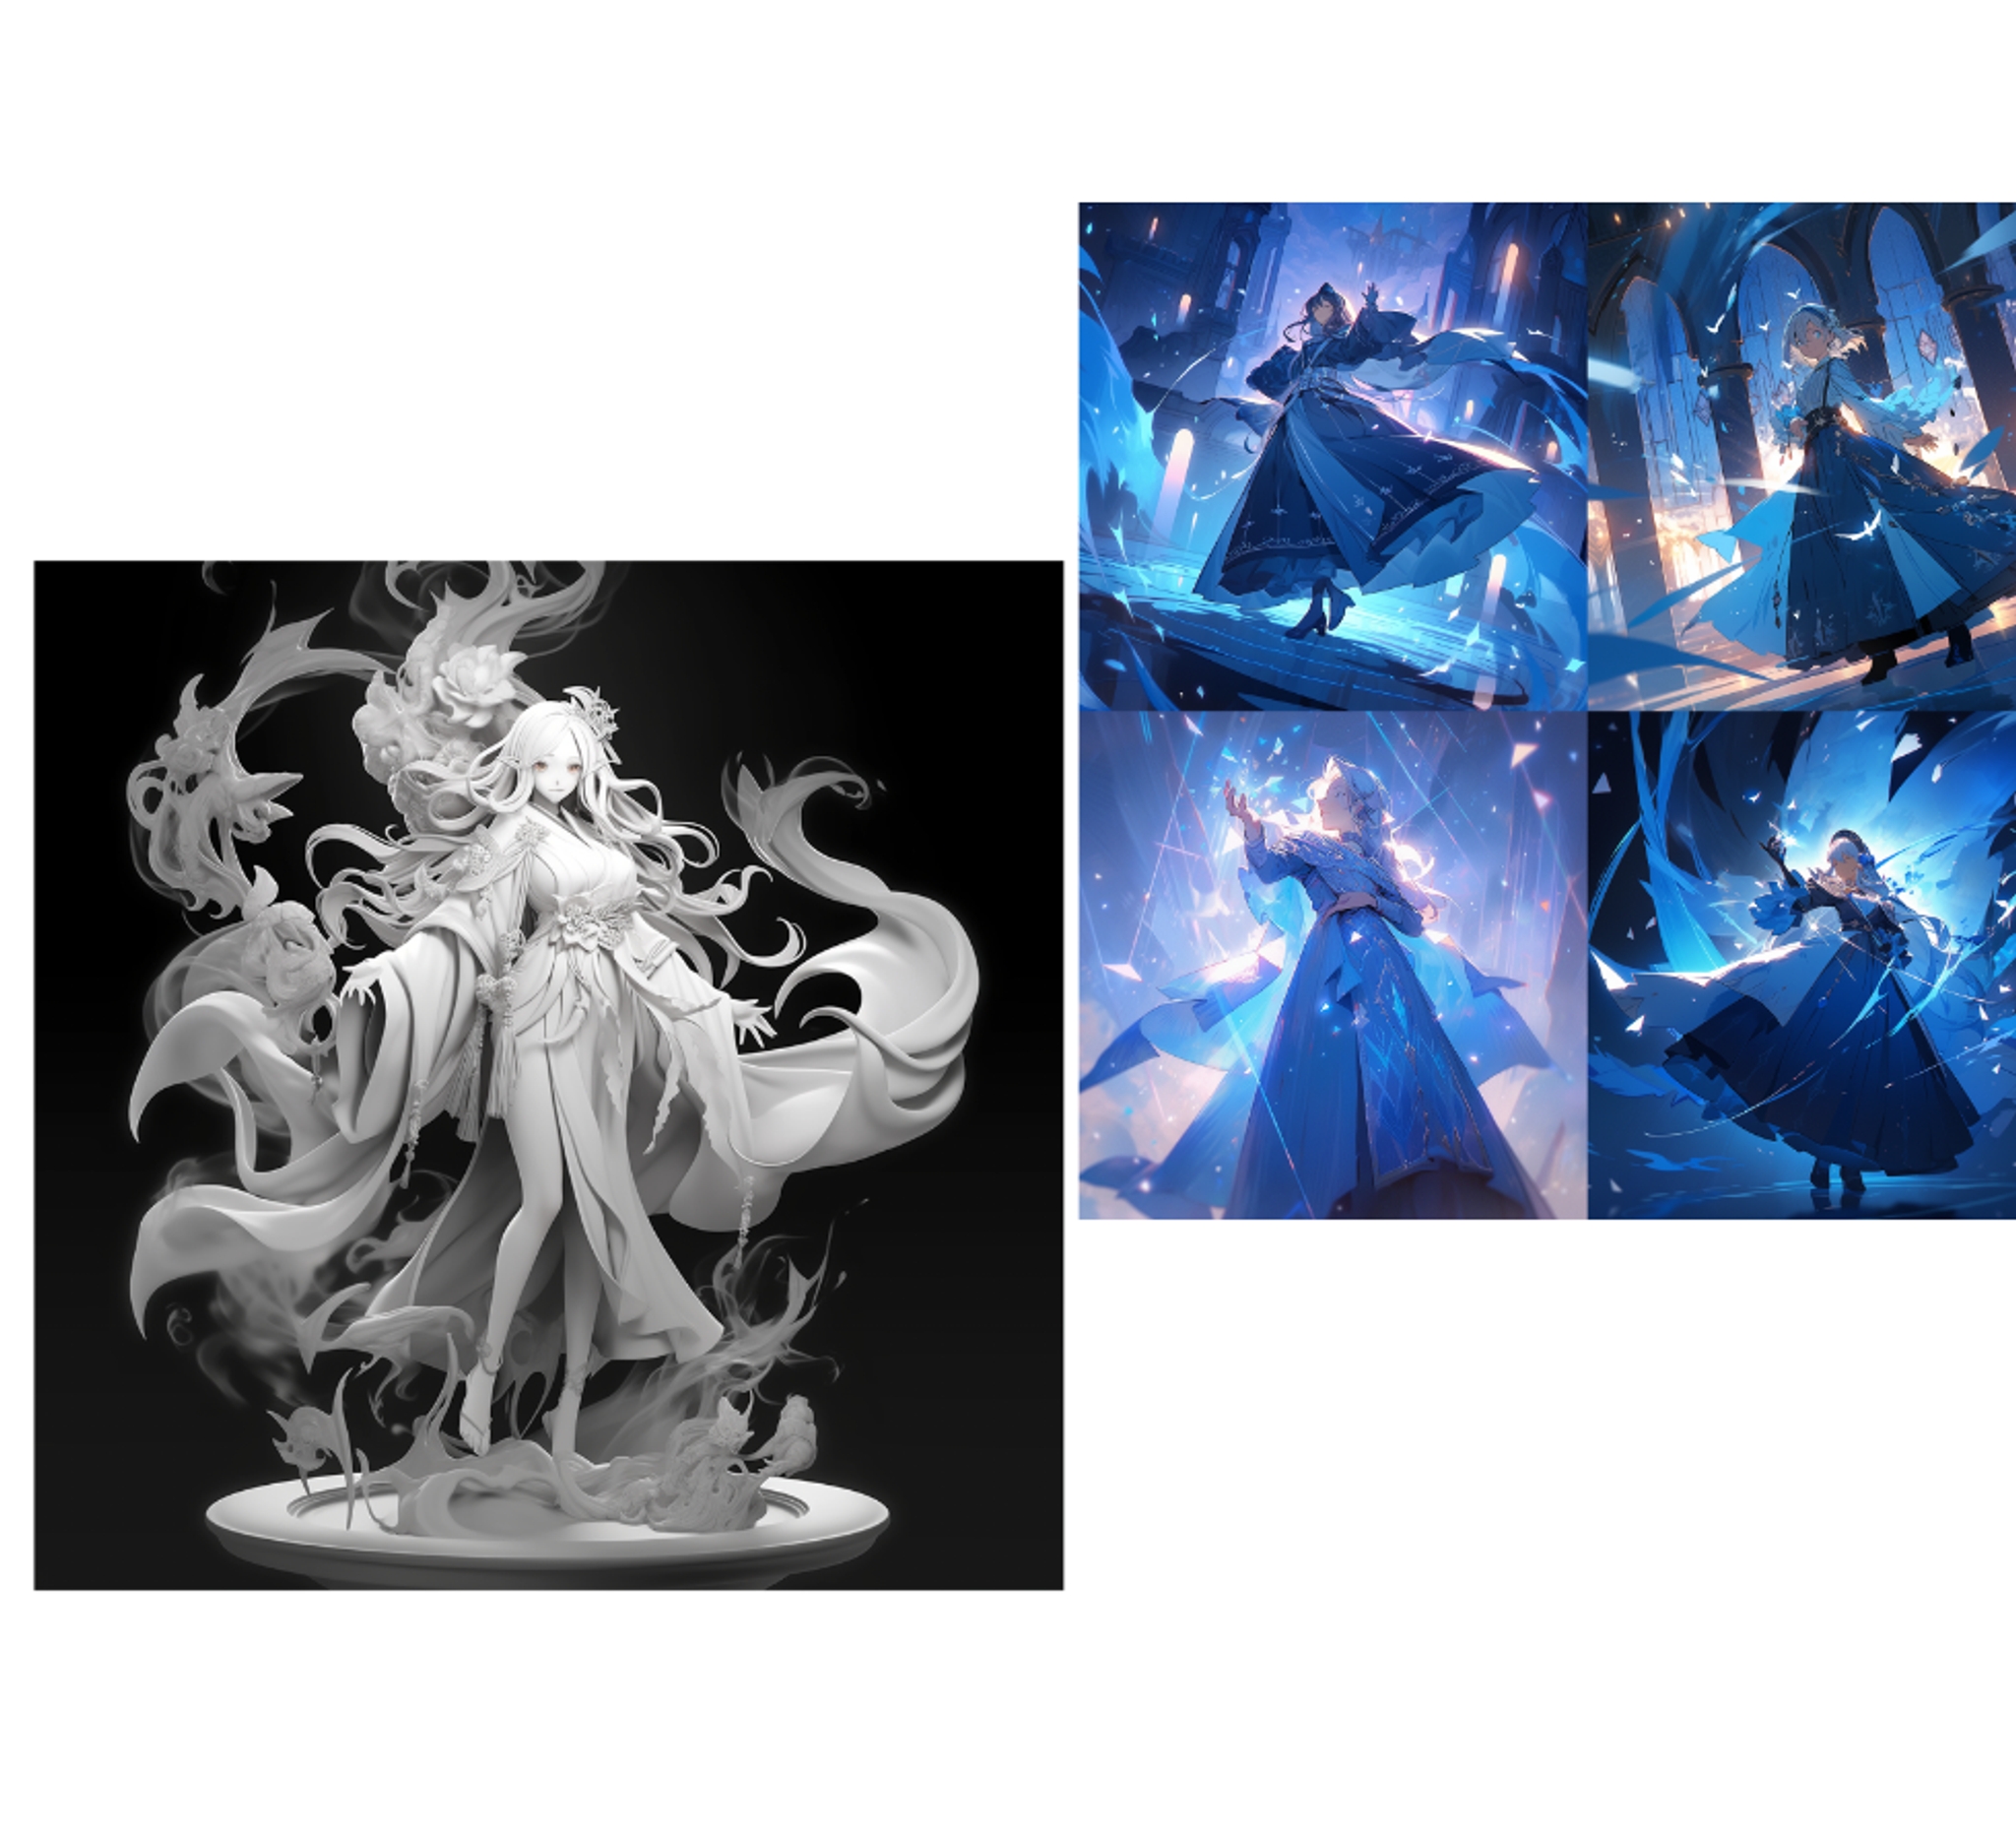

You can use a gradient on your diffuse color layer for a smoother look!


관련 기사
니지・저니
니지・저니는 무엇인가요?
당신만을 위한 맞춤형 애니메이션 일러스트레이션을 그리는 최첨단 AI인 니지・저니에 오신 것을 환영합니다! Spellbrush 및 Midjourney의 뛰어난 정신이 함께 디자인한 마법 같은 콜라보레이션. 귀여운 꼬마 캐릭터를 찾든 역동적인 액션 장면을 찾든 니지・저니는 당신의 비전을 실현할 수 있습니다. 무엇을 만드실지 기대되네요!


어디에서 당신을 만날 수 있을까요?
AI 연구원이고 애니메이션을 좋아한다면, [email protected]으로 이메일을 보내주세요.
아니면, 재능이 있고 구직 중이라면, 채용 페이지에서 다른 자리를 찾을 수 있습니다.
상업적 문의 및 스튜디오 라이선스는 [email protected]으로 문의하세요.