Study 7: 5.5 Hour Drawing
2023. 10. 7.
Associated Study: 🎏 Lesson 7: The Art (of Persuasion)
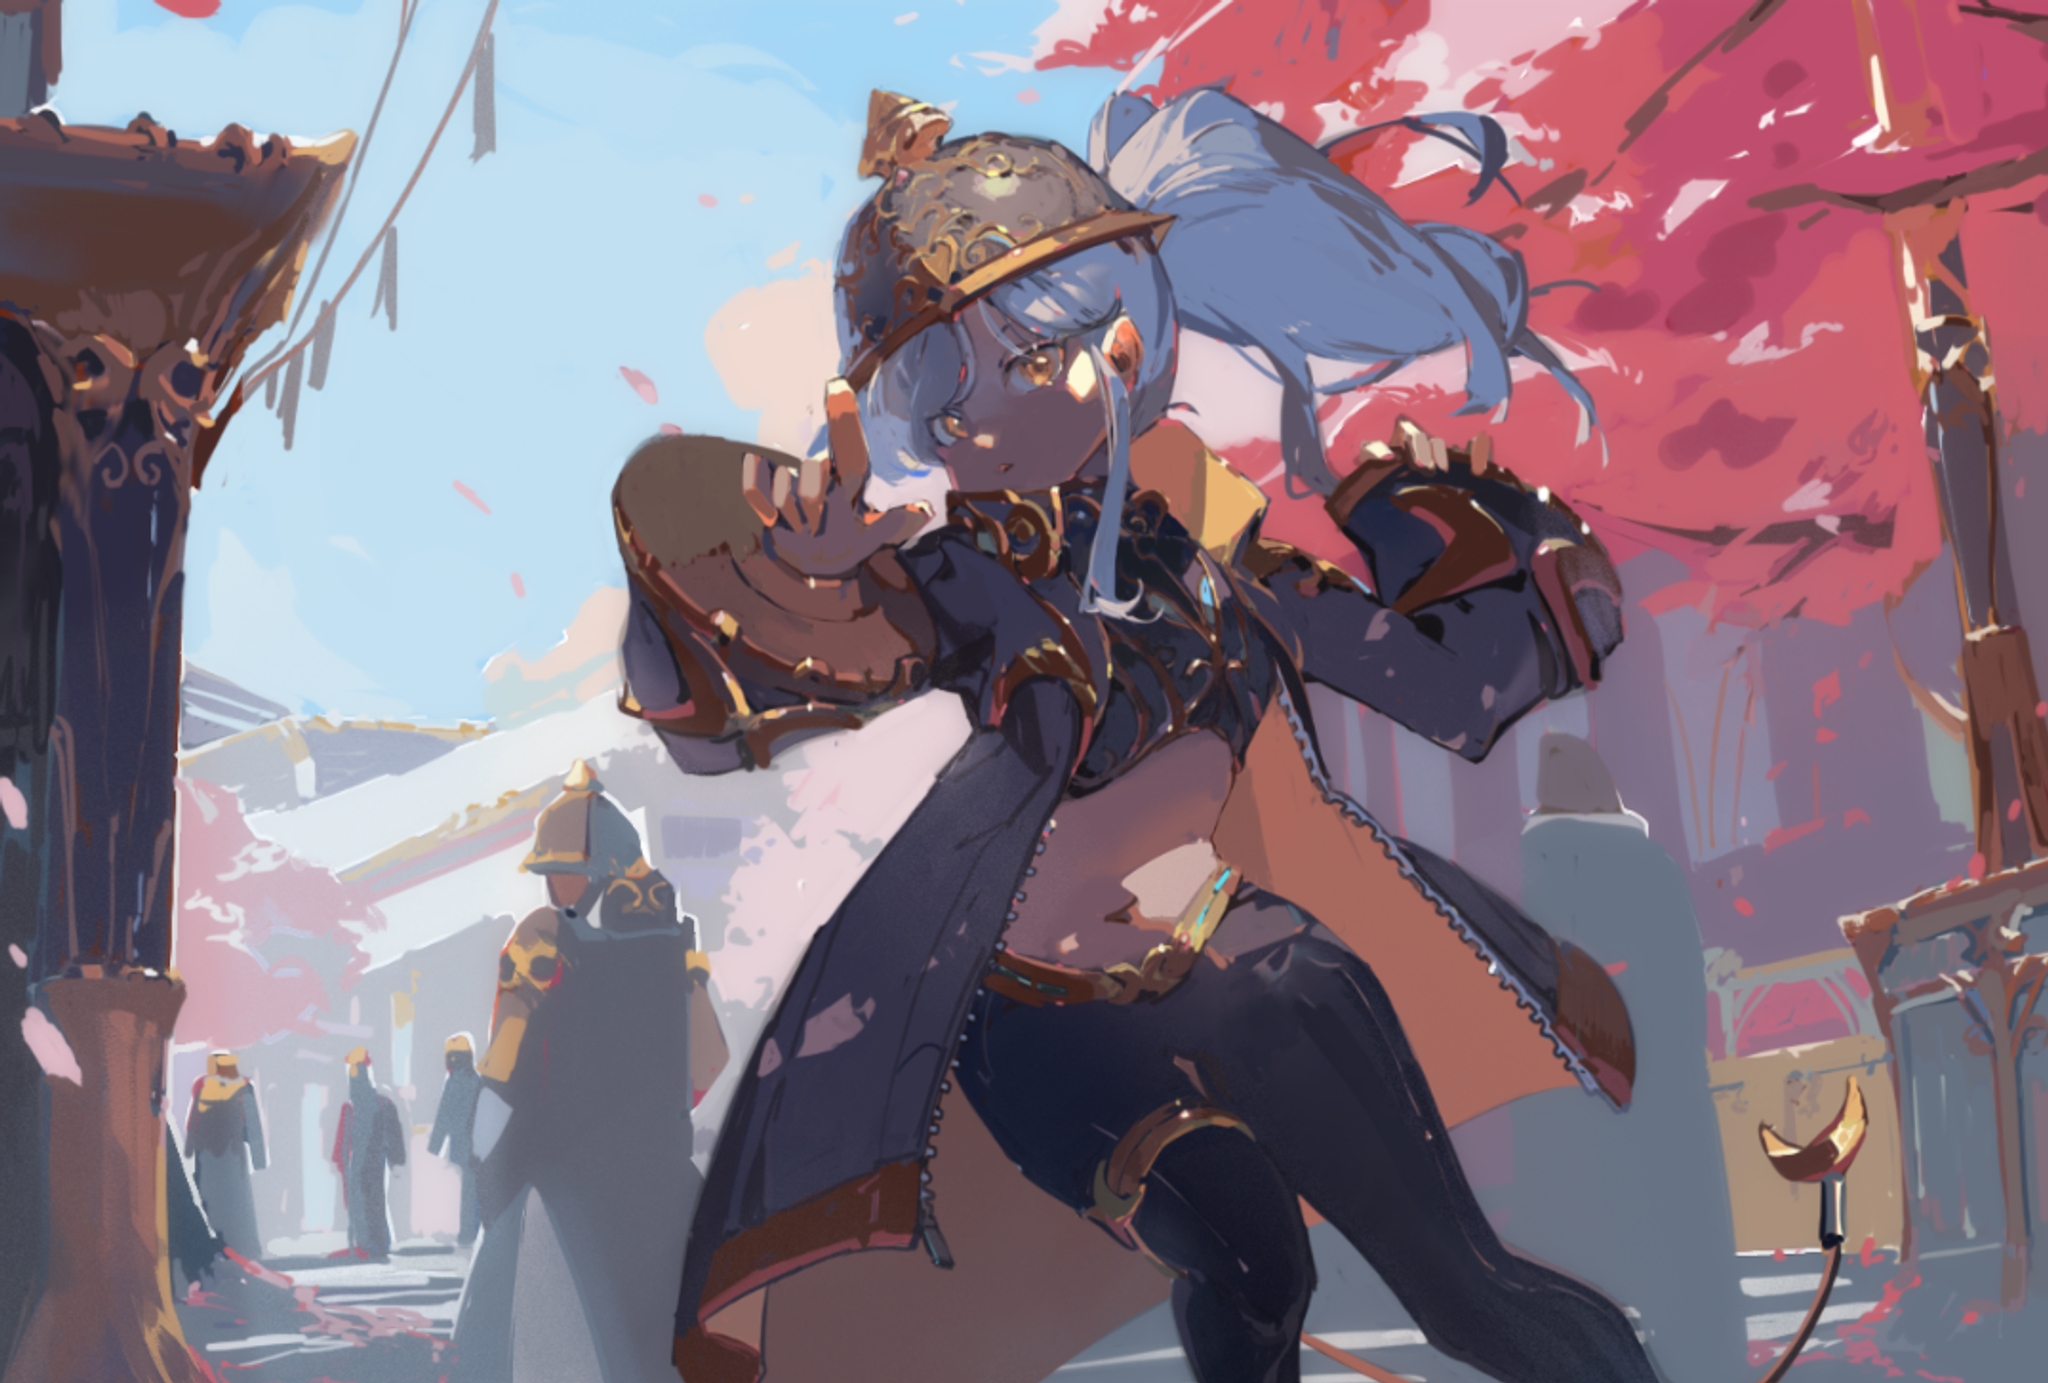
For our final project, you will be taking the pieces you’ve been building all semester, and turning it into a simple finished painting!
Since ages past, artists have composed finished works by “studying” the various components of the picture first. (This is why these are called “Studies”)

Michaelangelo’s studies for Libyan Sibyl (part of the Sistine Chapel)
In the final project of this class, we’ll be constructing a finished piece from the studies you’ve done so far! Since you’ve already drawn them once, you should be more familiar with them!
This project will take more than 1 hour, so we’ve broken it down to five 1-hour sections. At the end of each section, submit your in-progress work to blk cat!
You have the opportunity to submit the final picture for feedback from Chroma!
We will be constructing a picture like so:

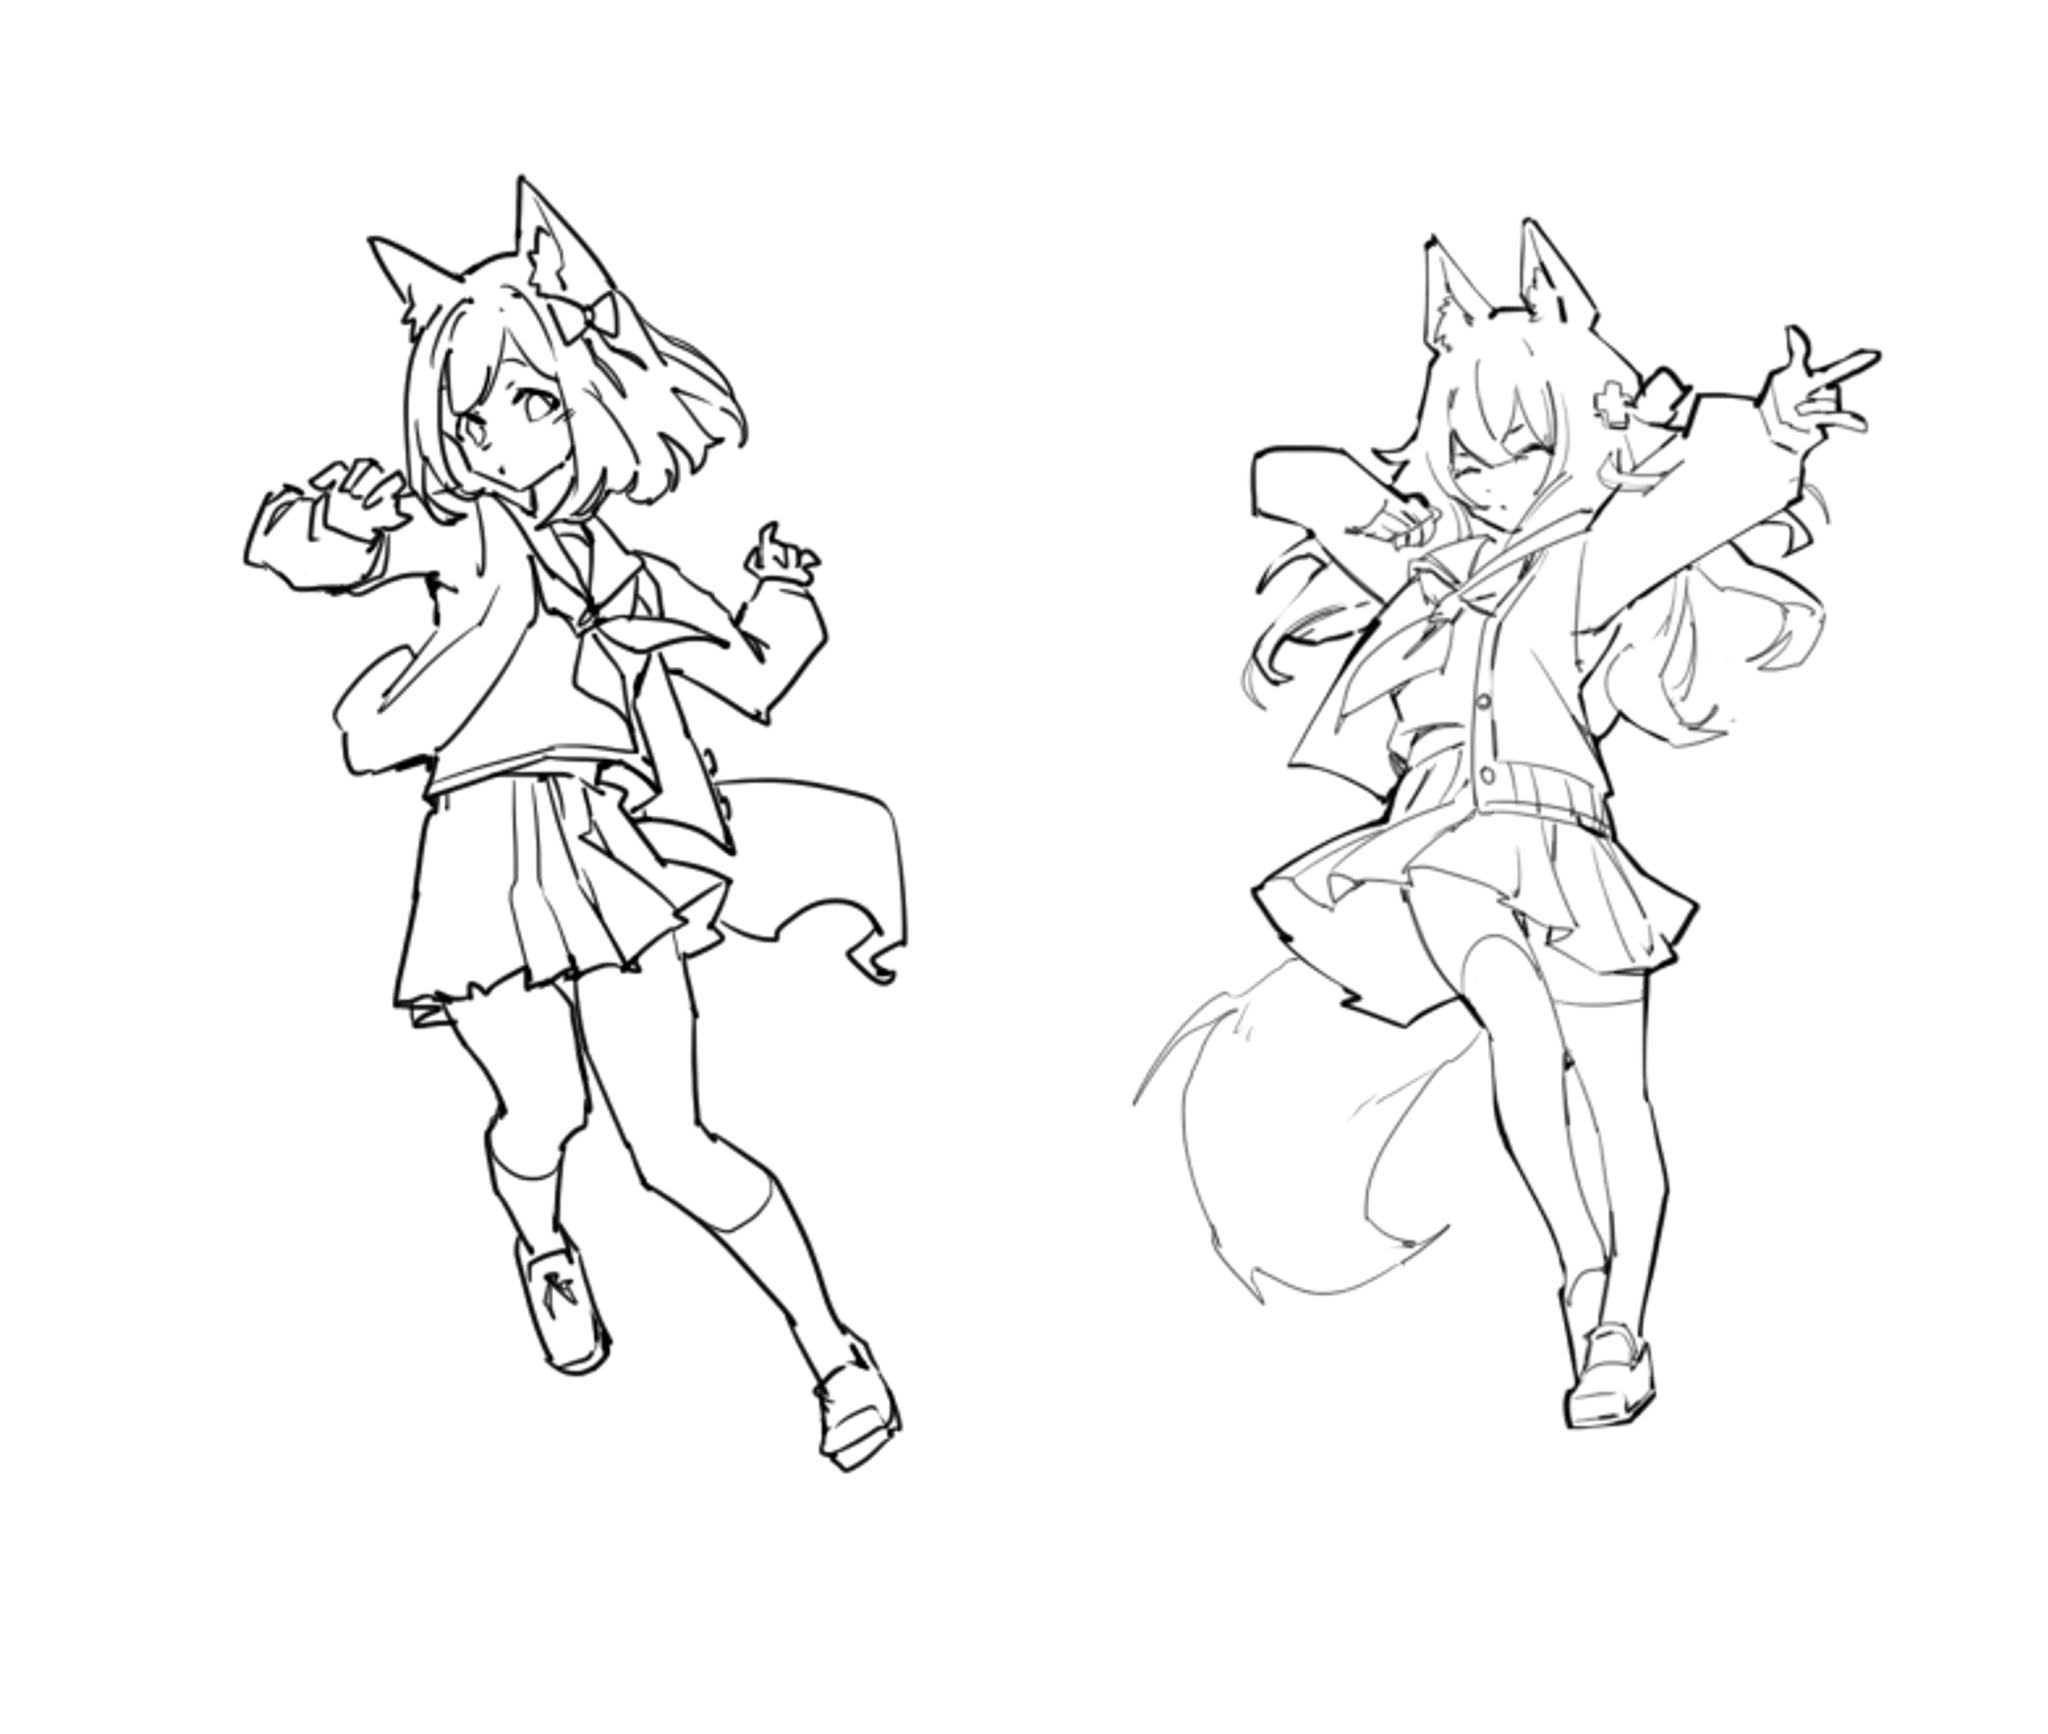
We will prepare the character by combining your week 6 study (character design) with your week 4 study (poses)
Step 1: select your character design.
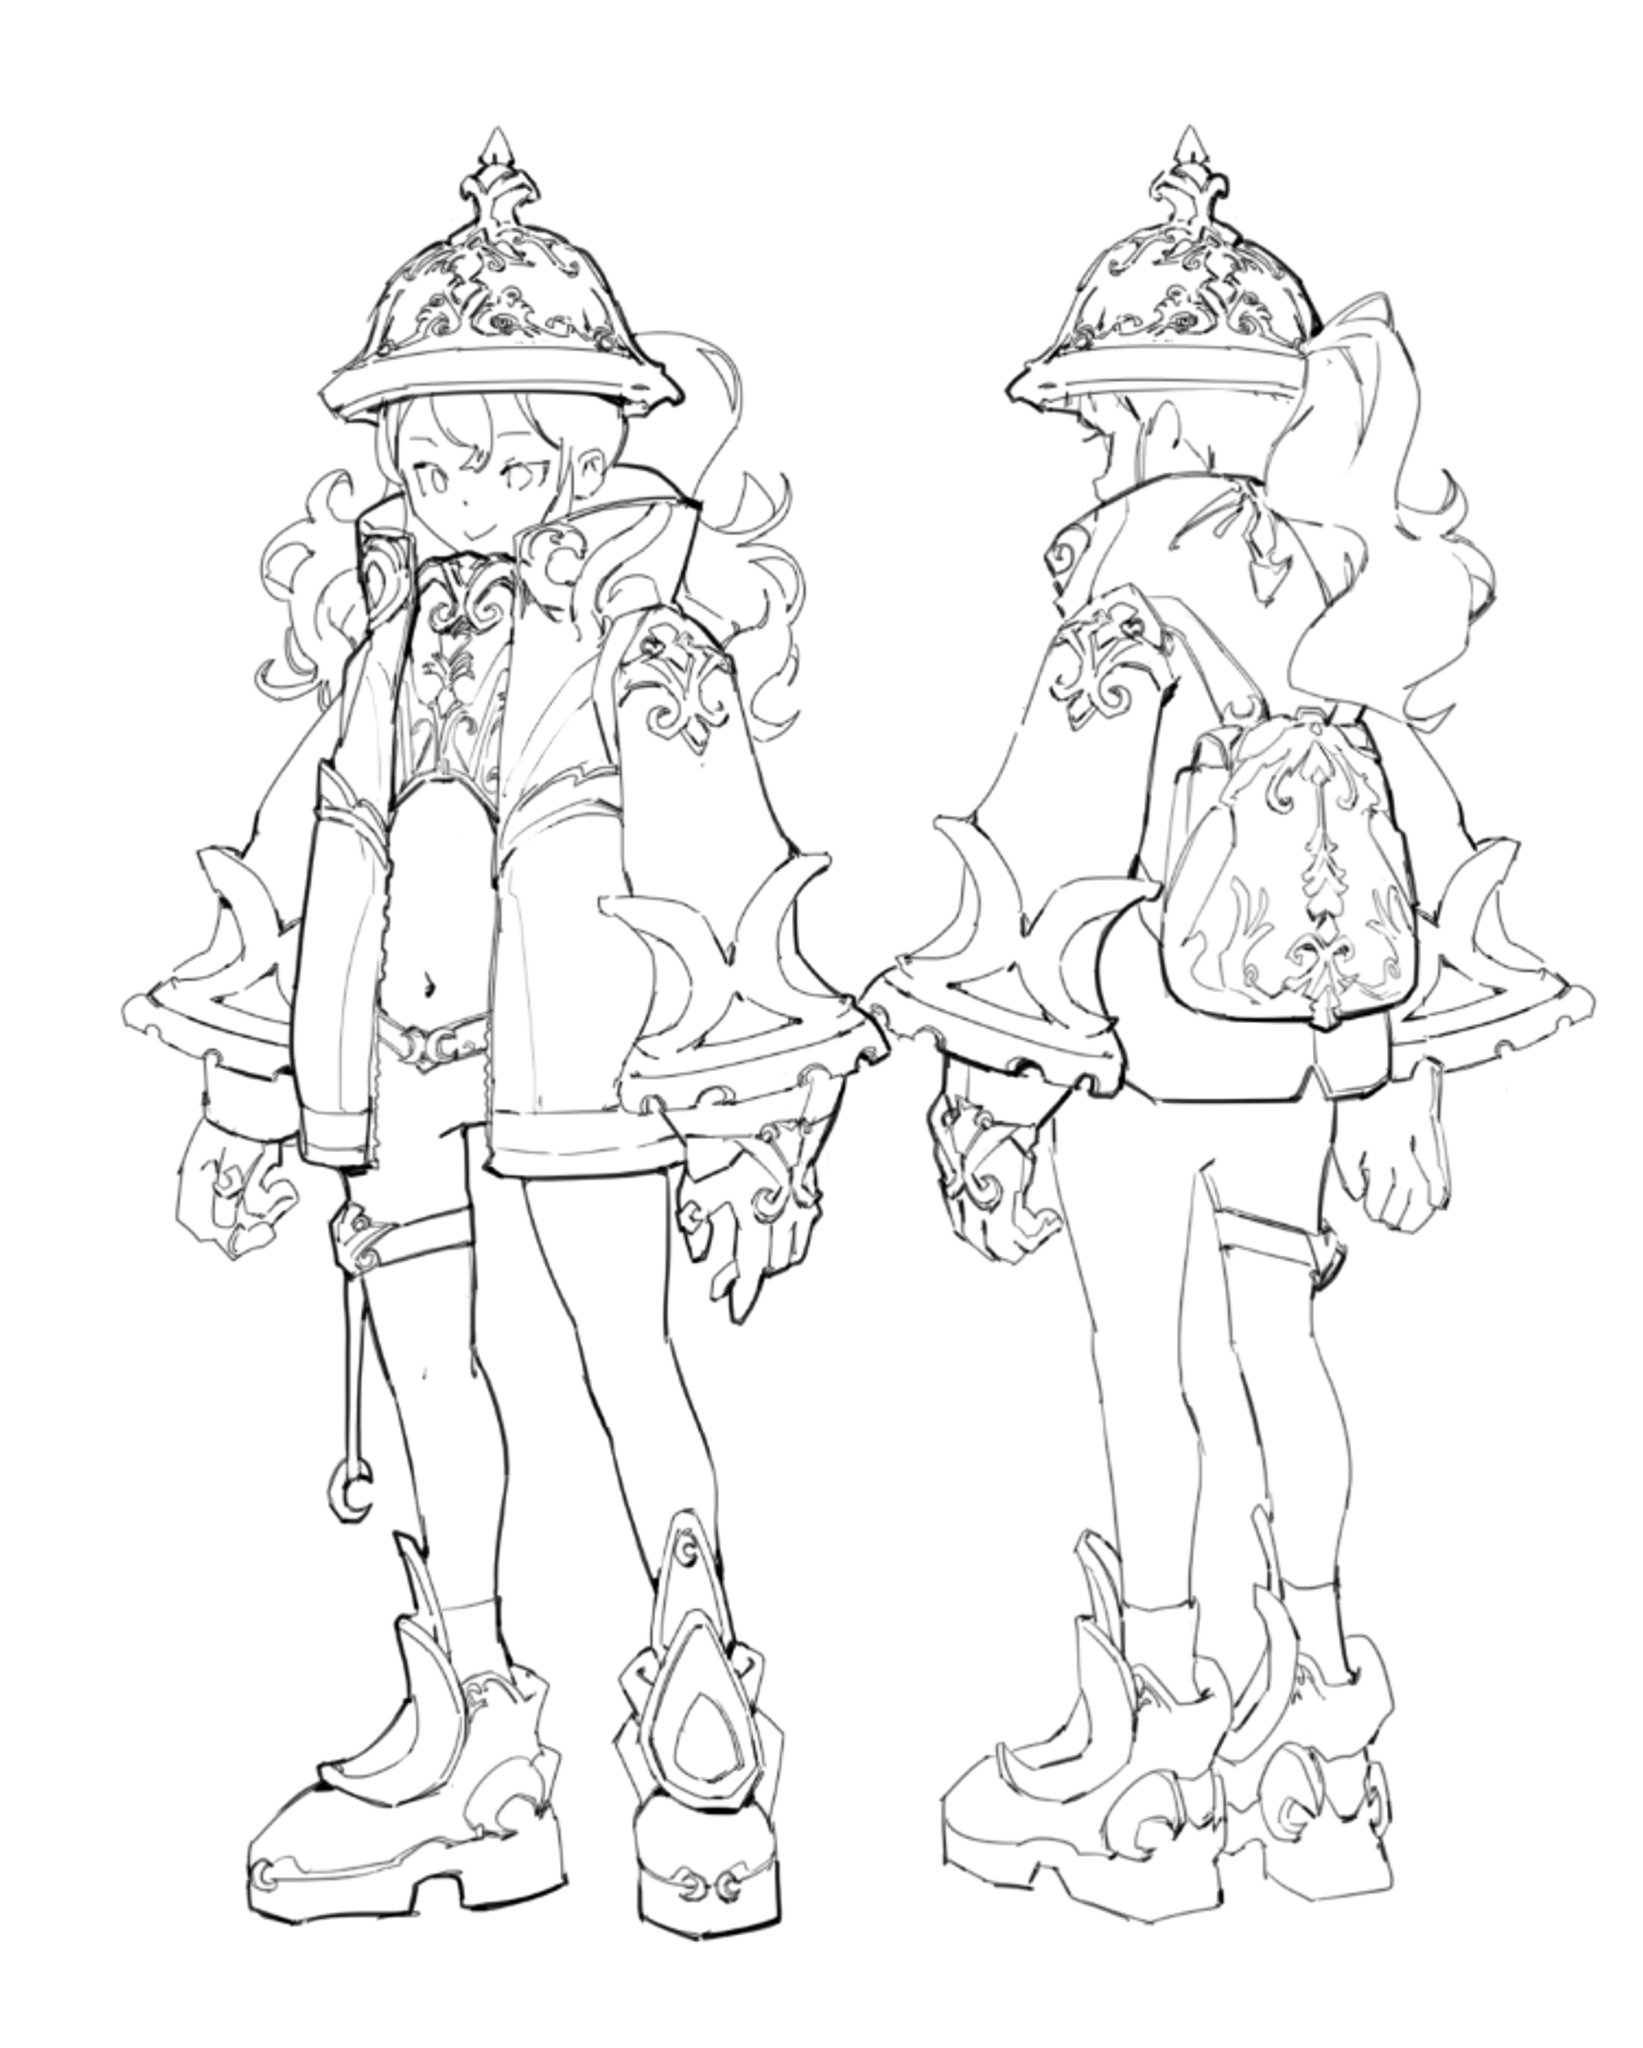
Select your favorite character design from last week!
Step 2: Select your favorite poses!
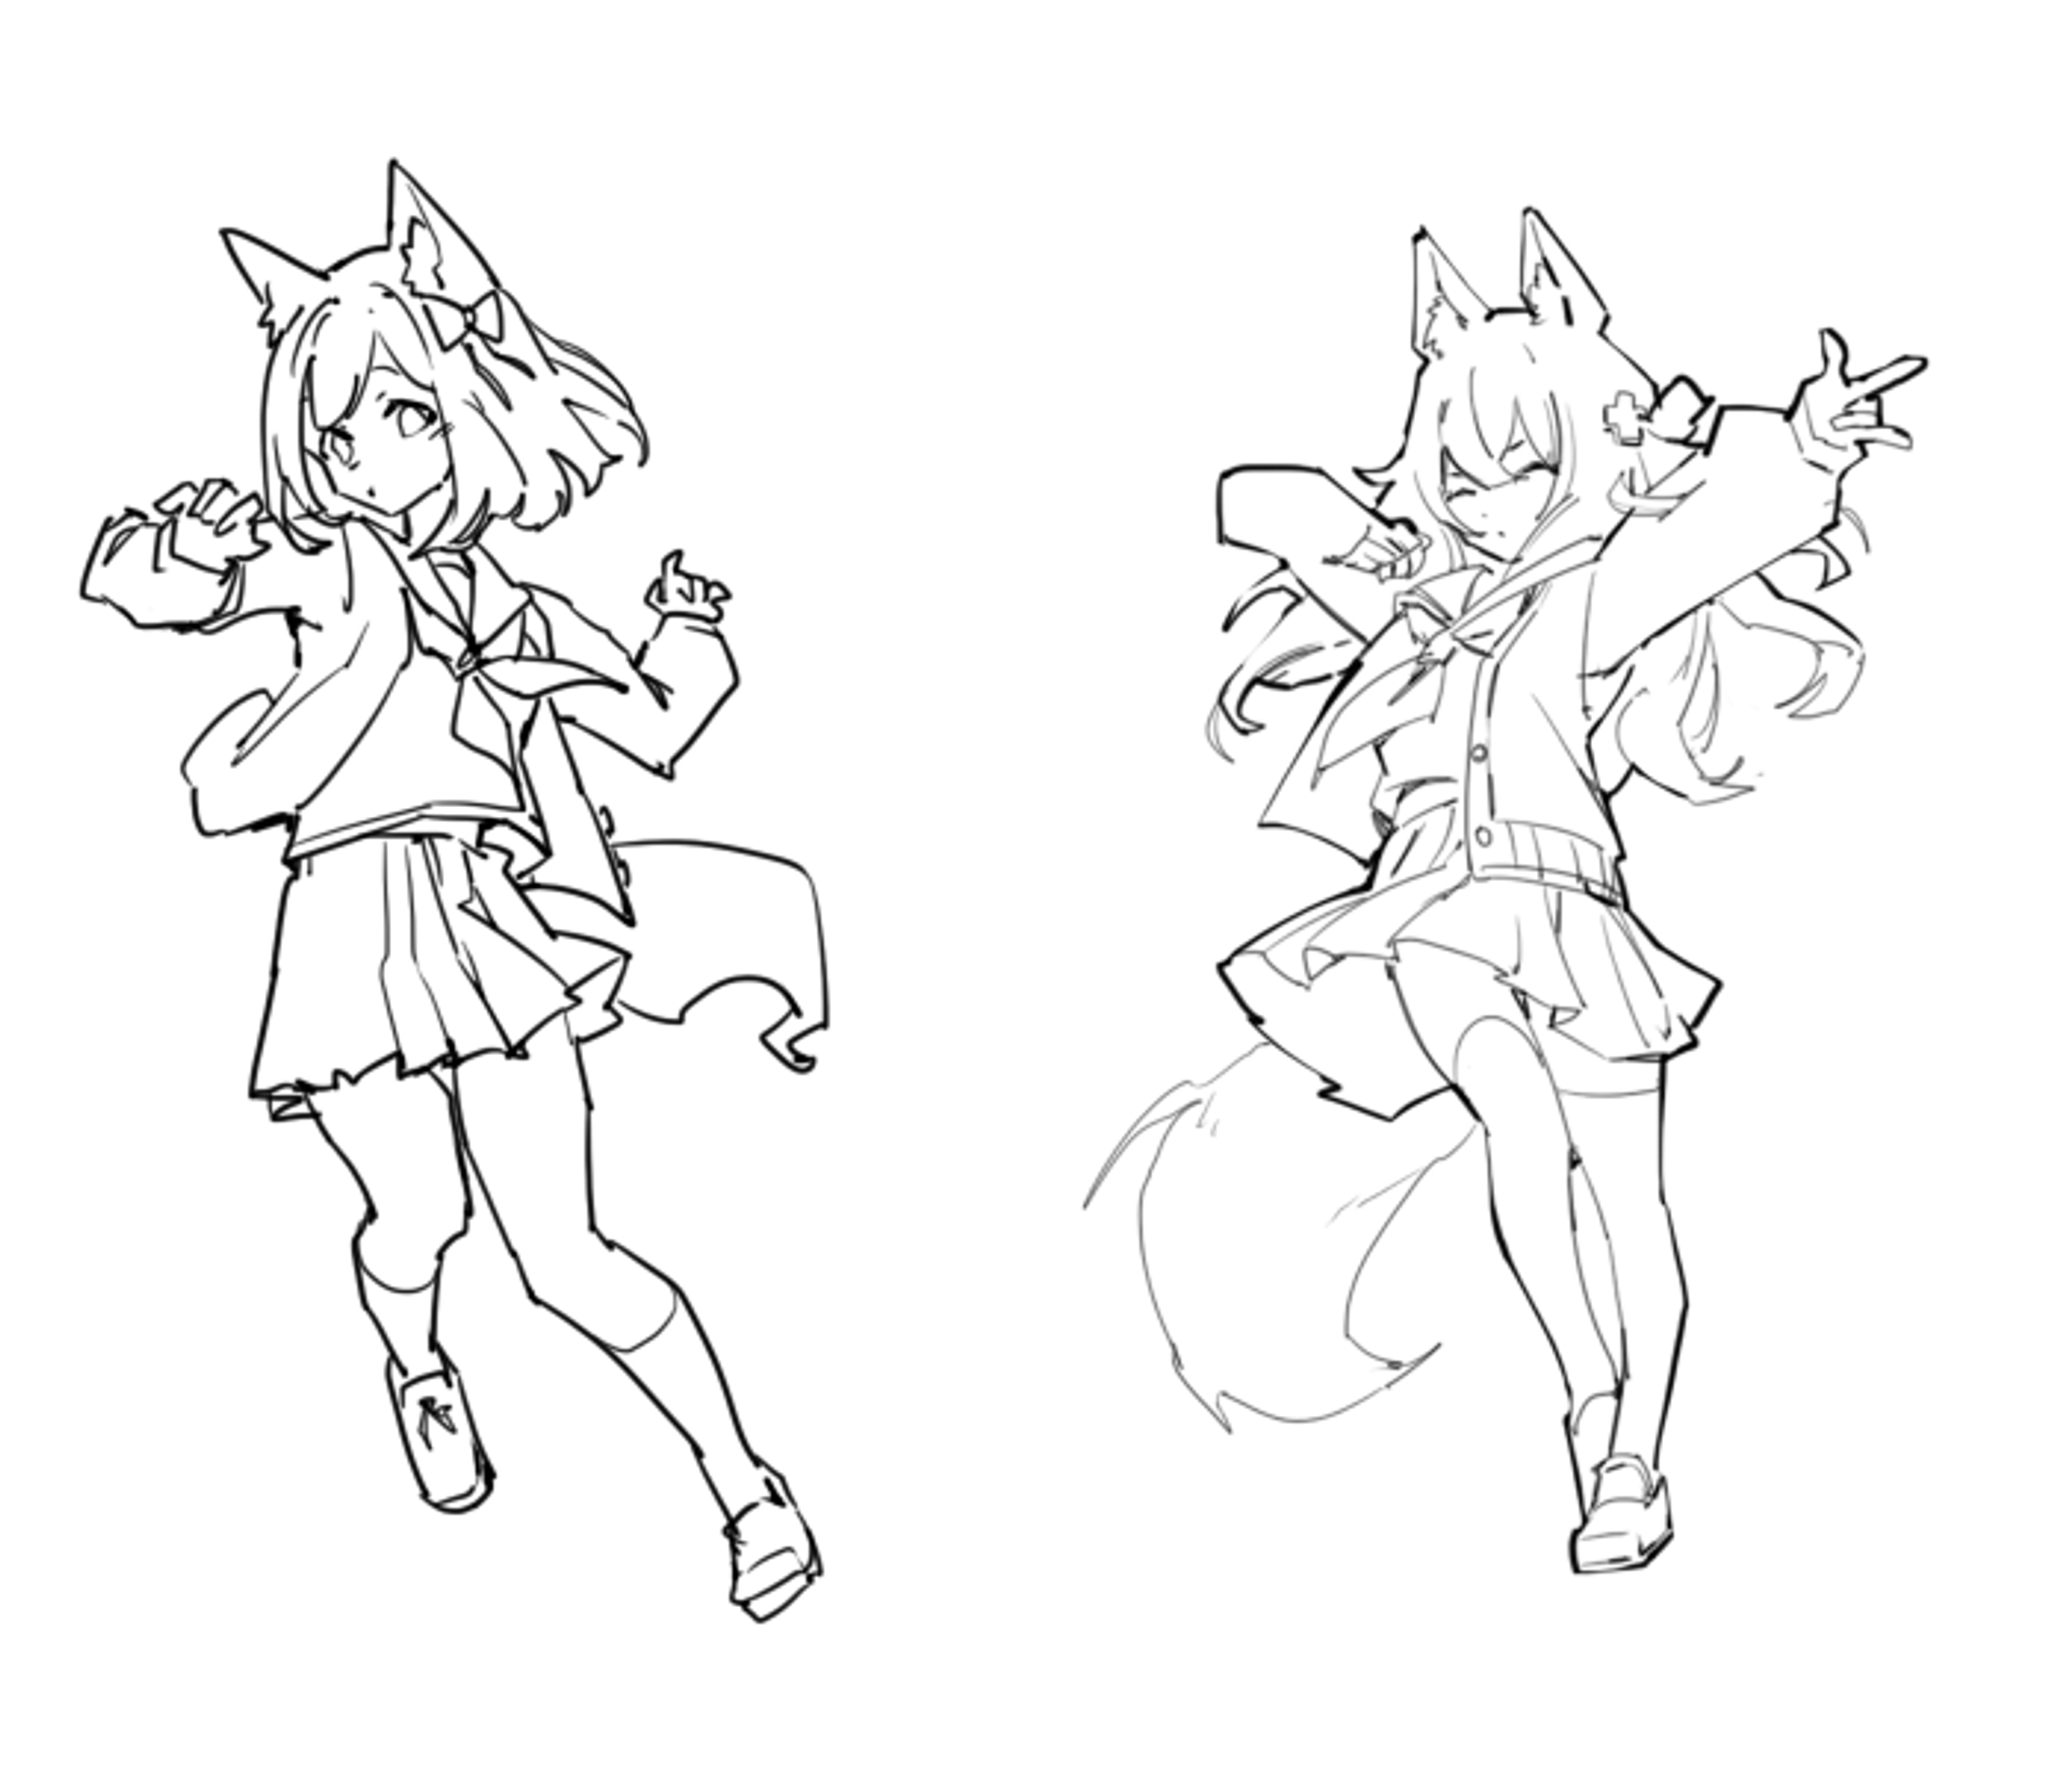
Step 3: Set the poses to 30% and draw the action skeleton

Step 4: Turn off the initial pose and set the action skeleton to 30%. Redraw the character, wearing the clothes from your character design sheet. Do not draw the details!
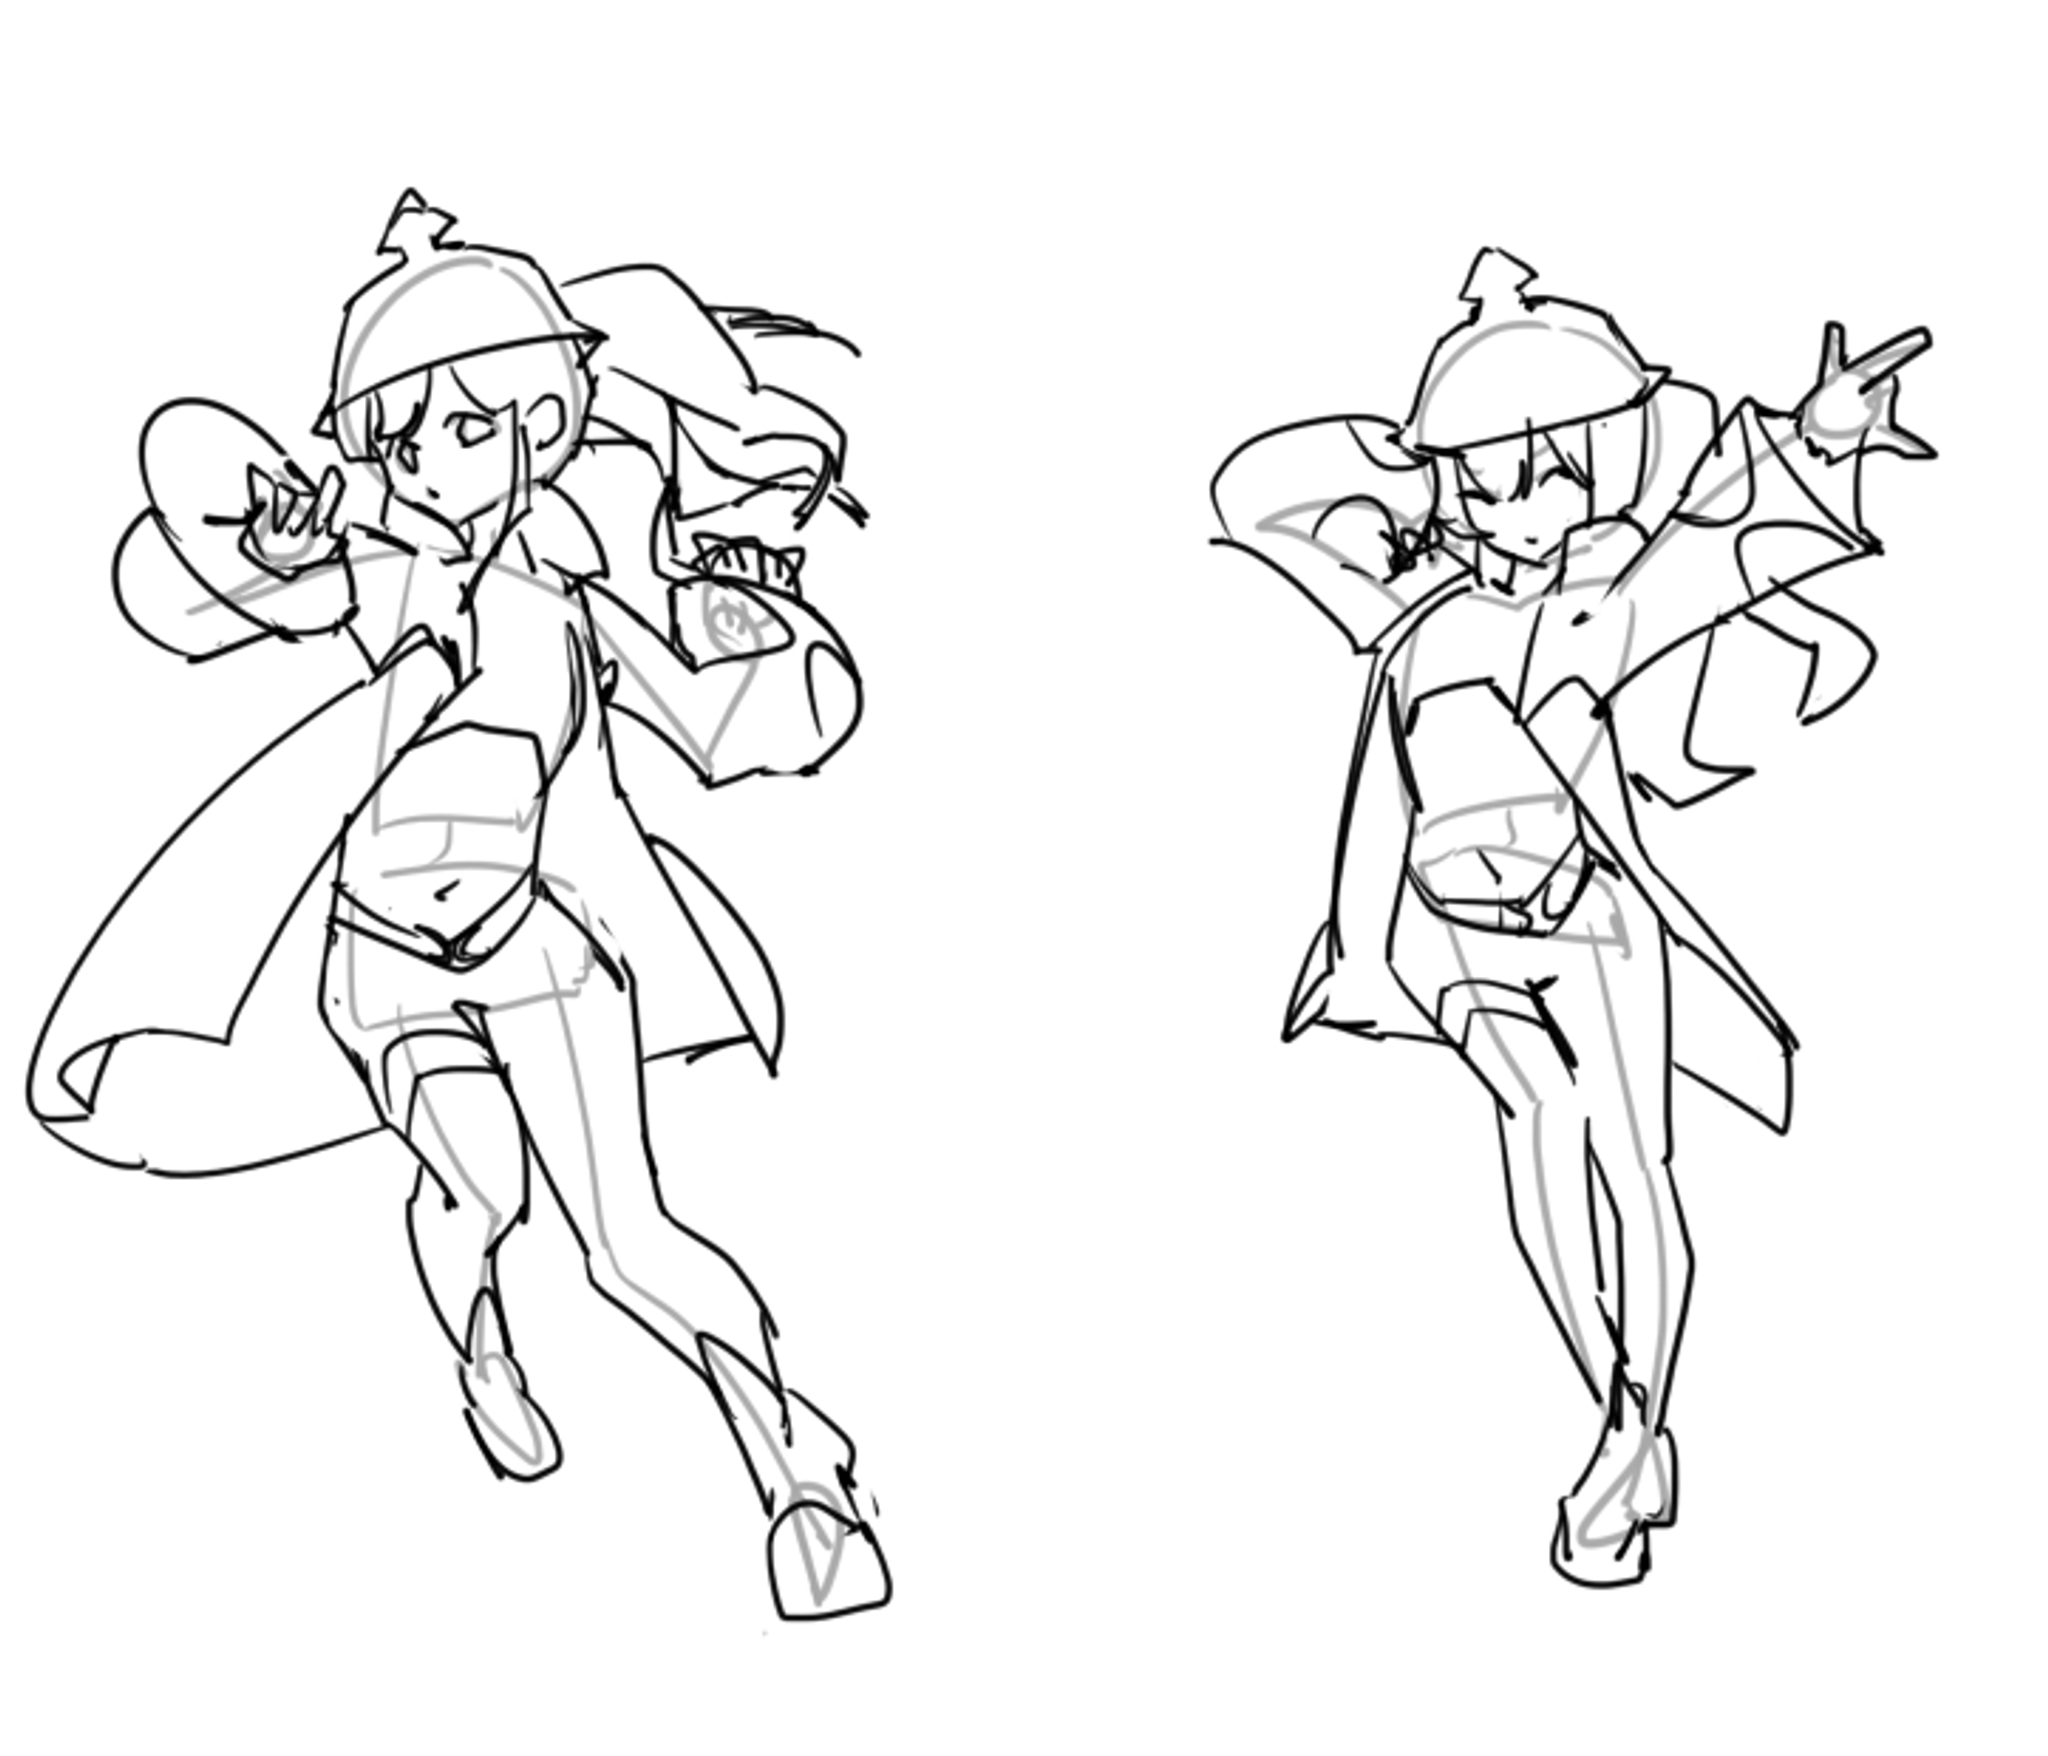
Step 5: Refine the lines slightly, correcting any anatomical anomalies. Do not draw the details!

Step 6:
Done! This is the character base we’ll be working off of! Submit this drawing to blk cat!


We will combine the last hour’s work with your week 3 study (scenery) and use the week 5 study technique (lighting) to construct the layout
Step 1: Select your favorite scenery from your studies
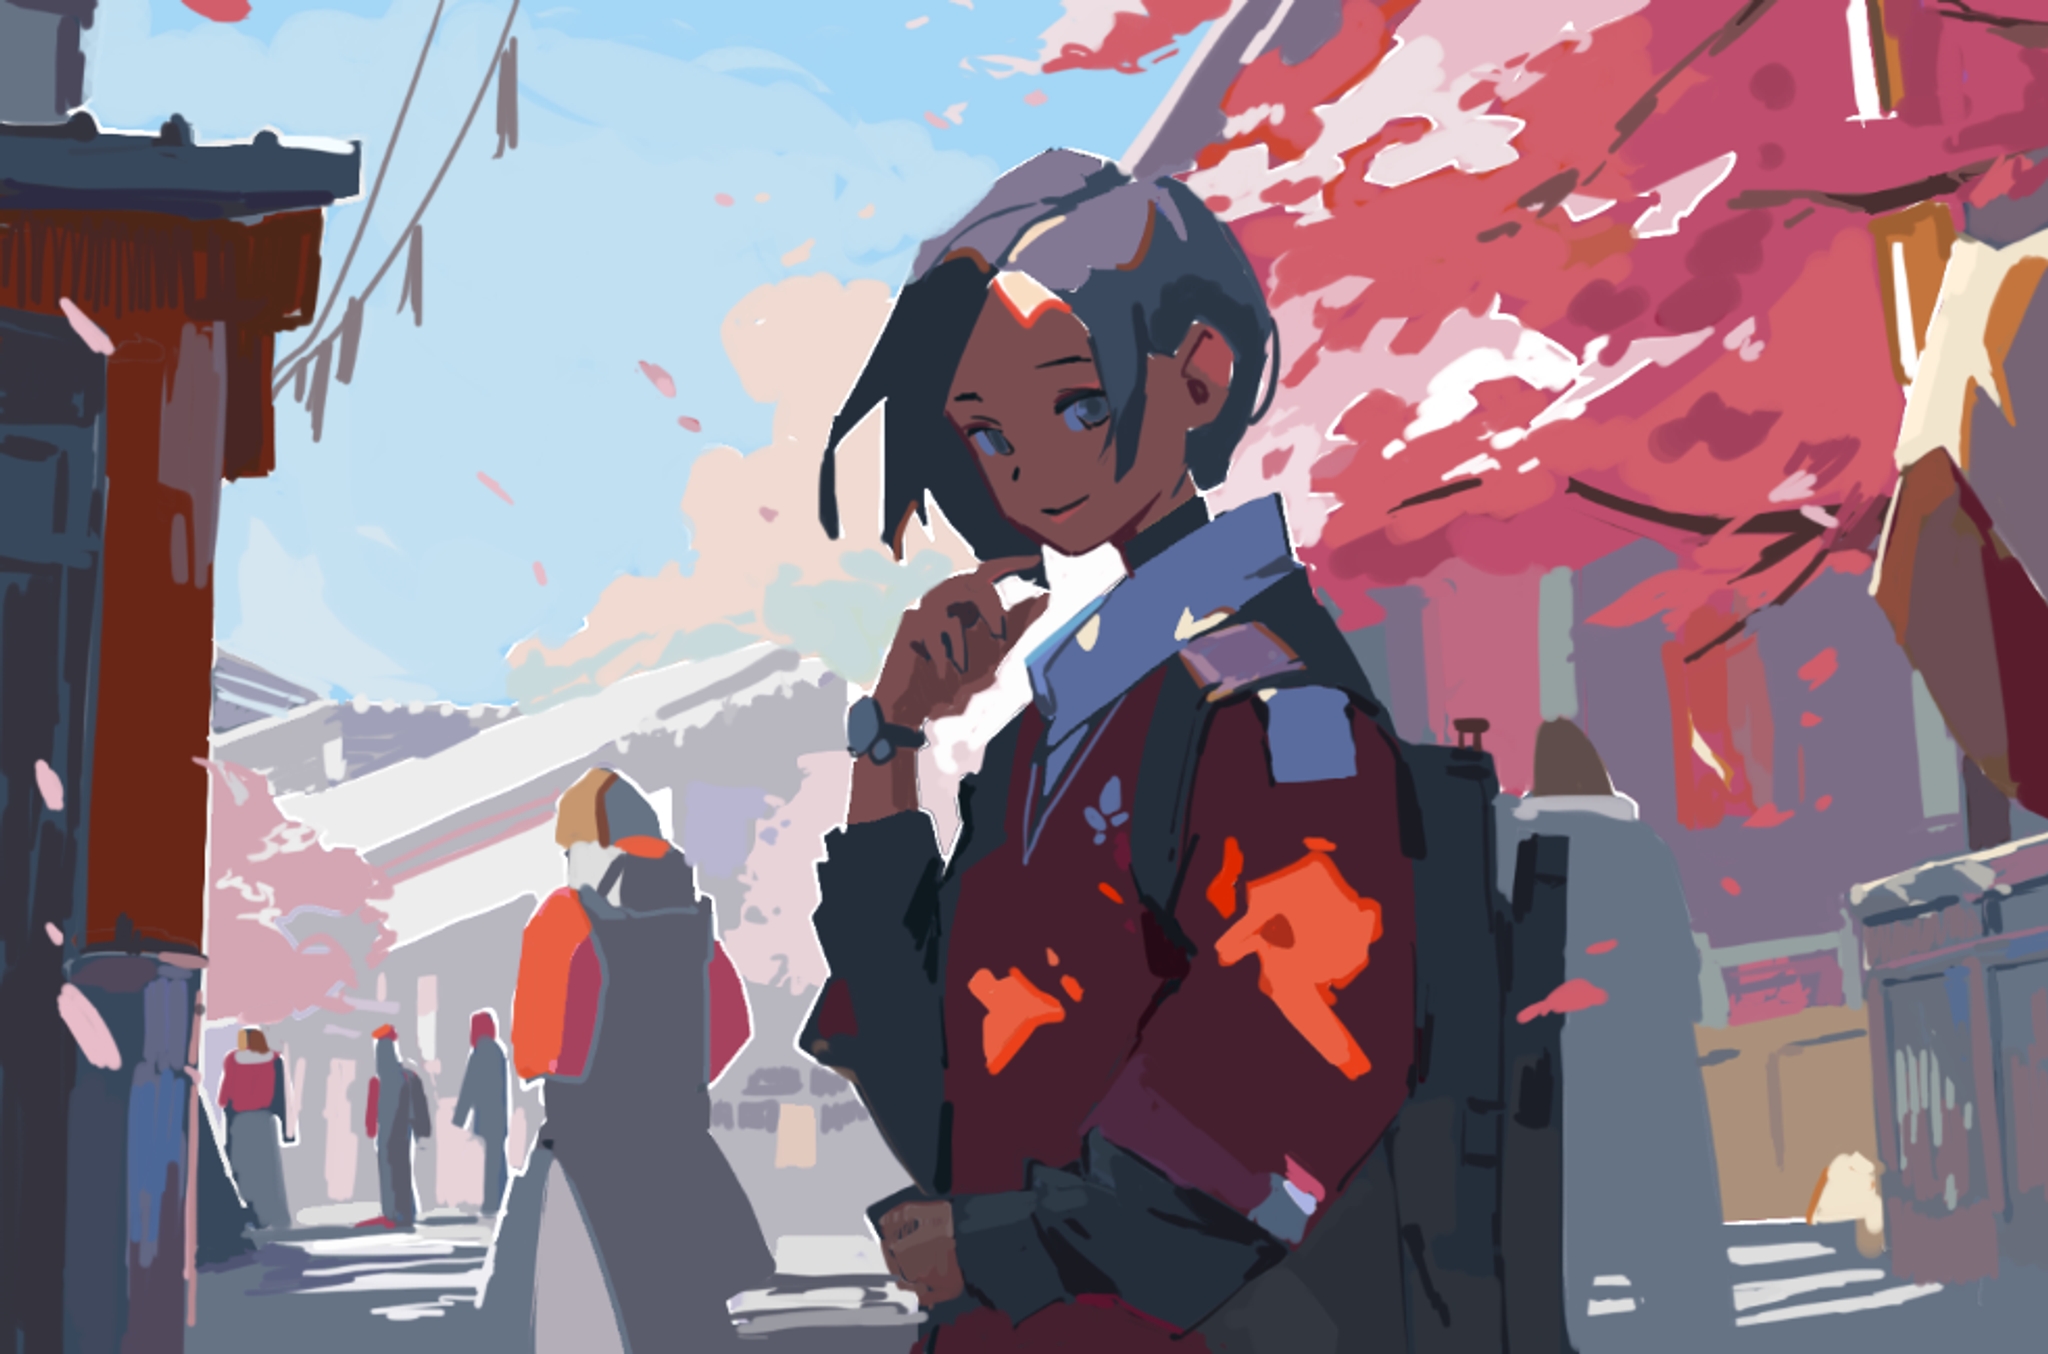
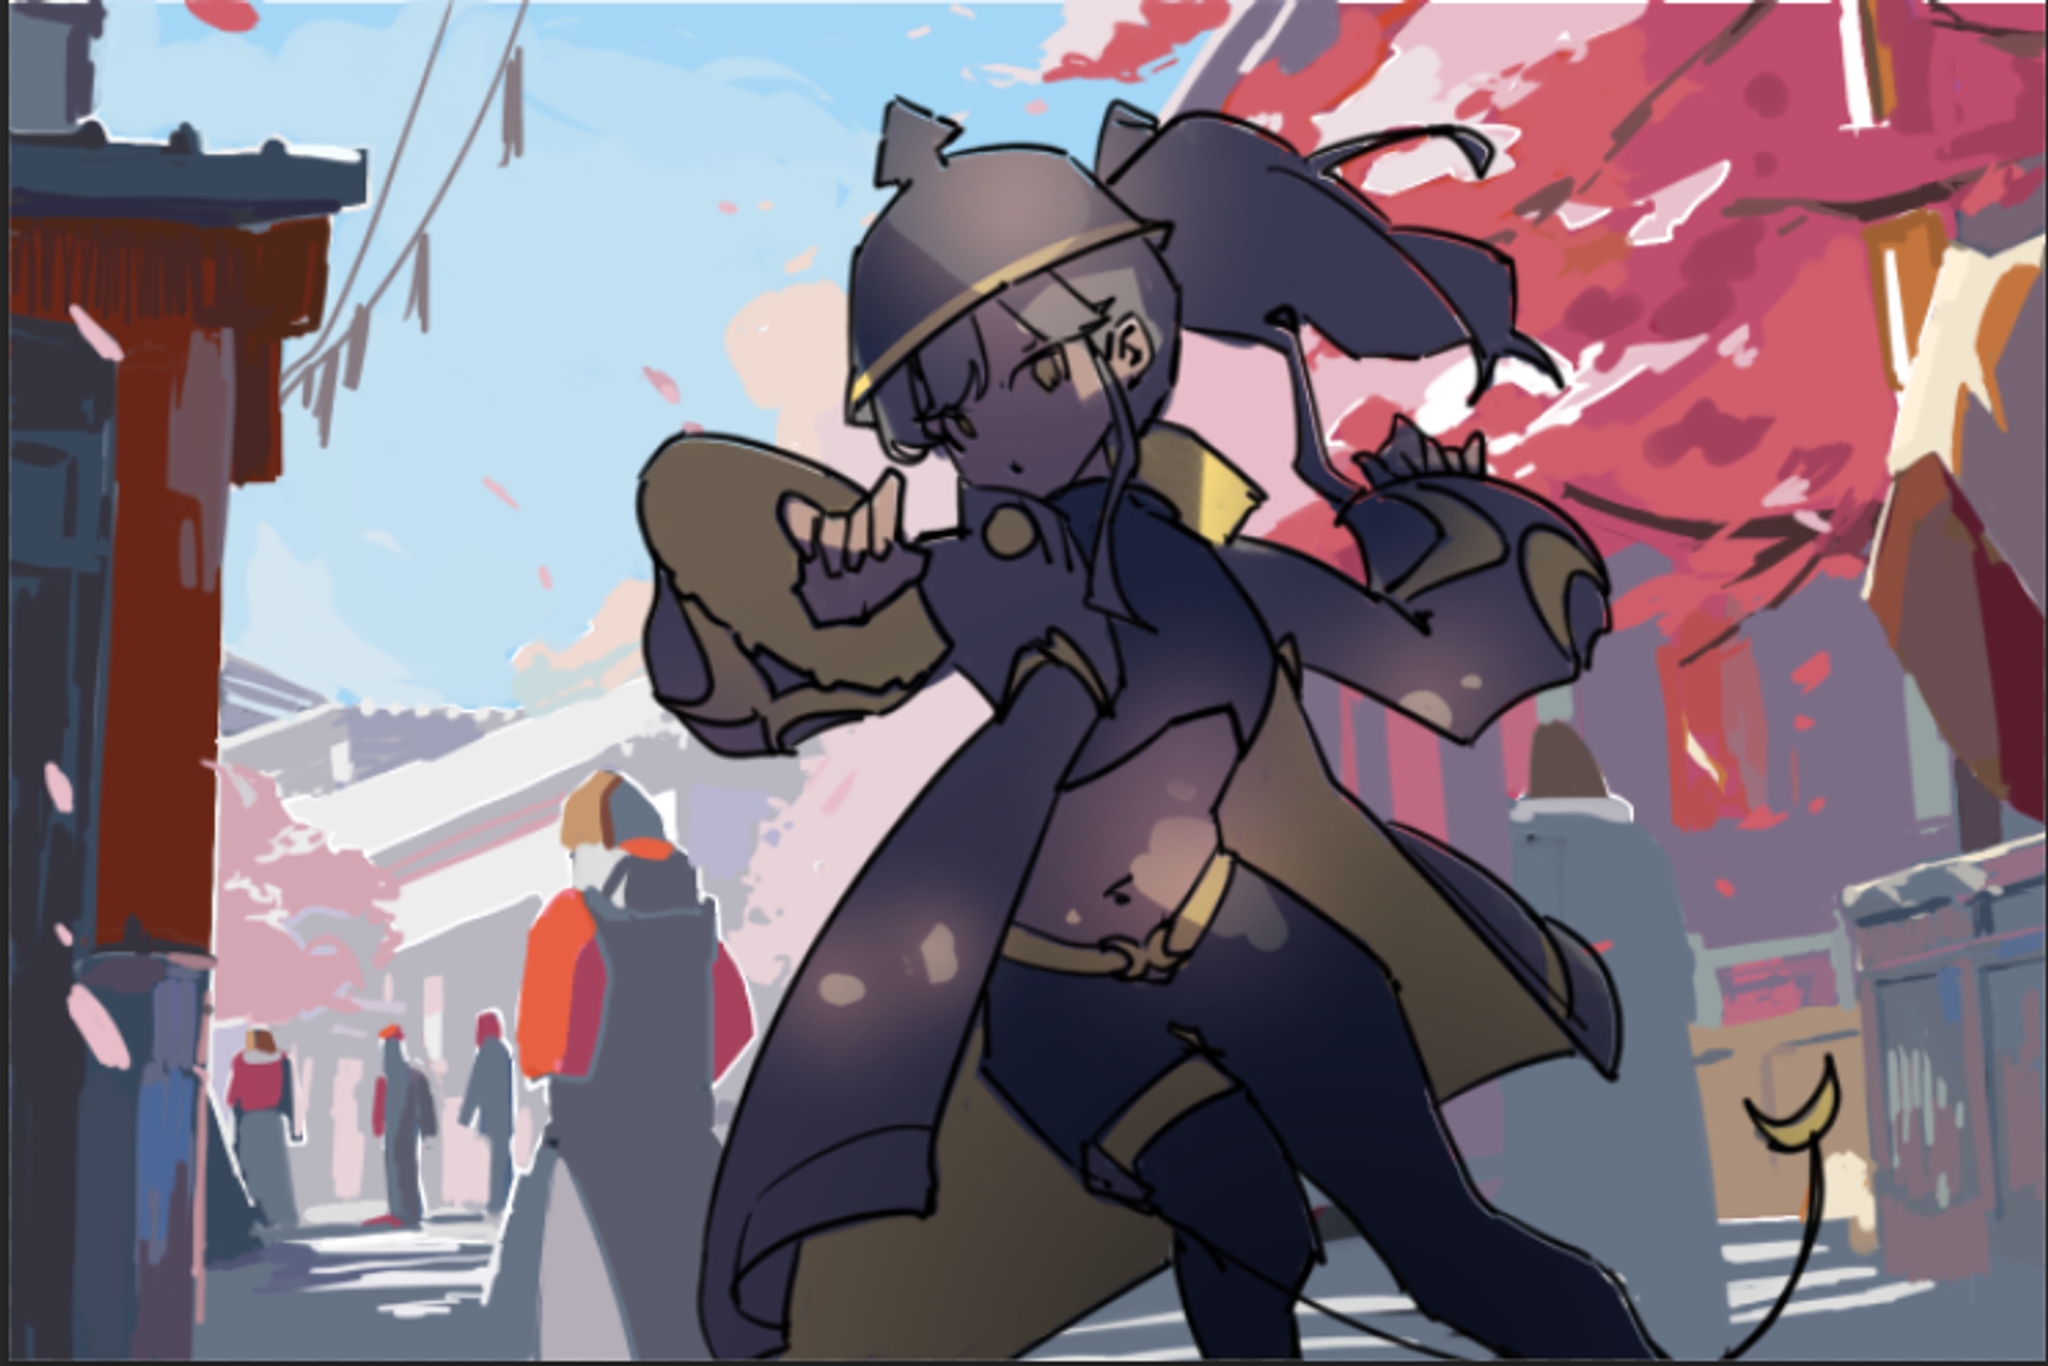
Step 2: Paste the pose results of the last hour in, and cover the base with gray. Feel free to rotate and transform the pose, if necessary!

Step 3: Manipulate the background slightly, to ease the pose in with a clear sihouette.

Step 4: Apply the diffuse color

Step 5: Apply the shadows

When lighting your picture, use a reference! Here, I used the original picture, but you can use any picture from the week 5 exercises as a lighting reference

Step 5: Apply the soft light

Step 6: Done!
Show the exercise to blk cat!


Step 1: Lower the Opacity of the lines to 30%

Step 2: Using the Character sheet and the motif sheet, draw the motif details on your character.

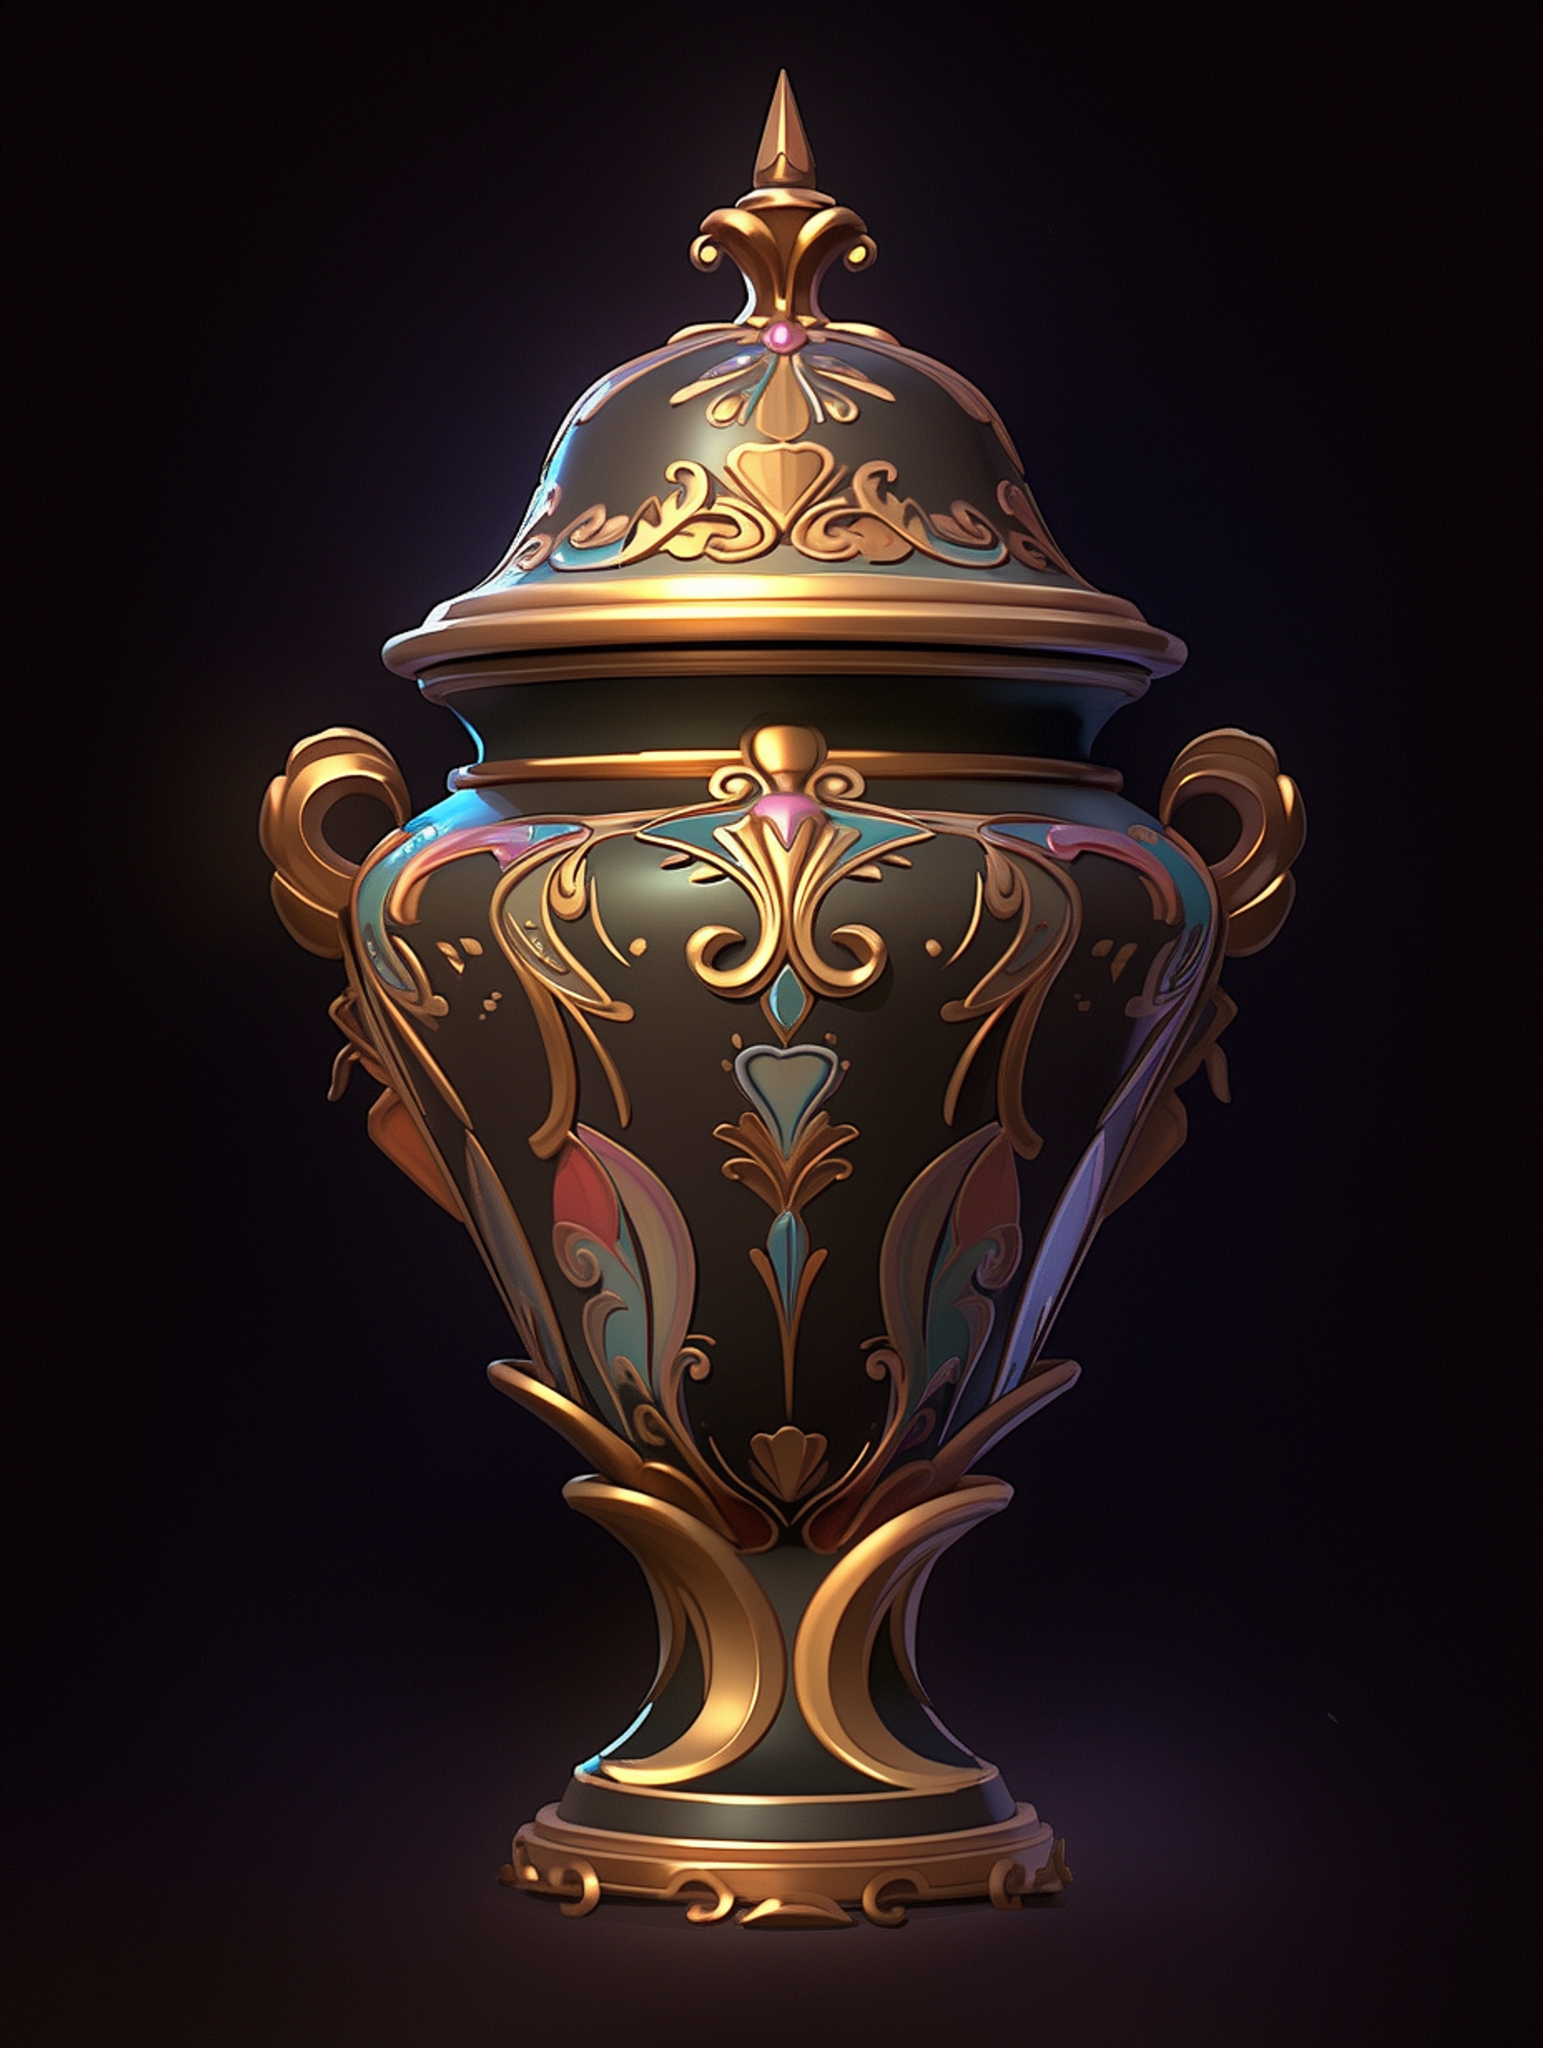

Step 3: Done! Submit this to blk cat


Do not zoom in!
Work at a high level. I did all the rendering at this stage with this as the max size.

Pay attention to the material properties of the motif reference.
I noticed that gold was warmer when it got dark in the motif reference, so I warmed up the yellow shadows in my painting, to make it look more like gold


This also goes for lighting effects, like subsurface scattering
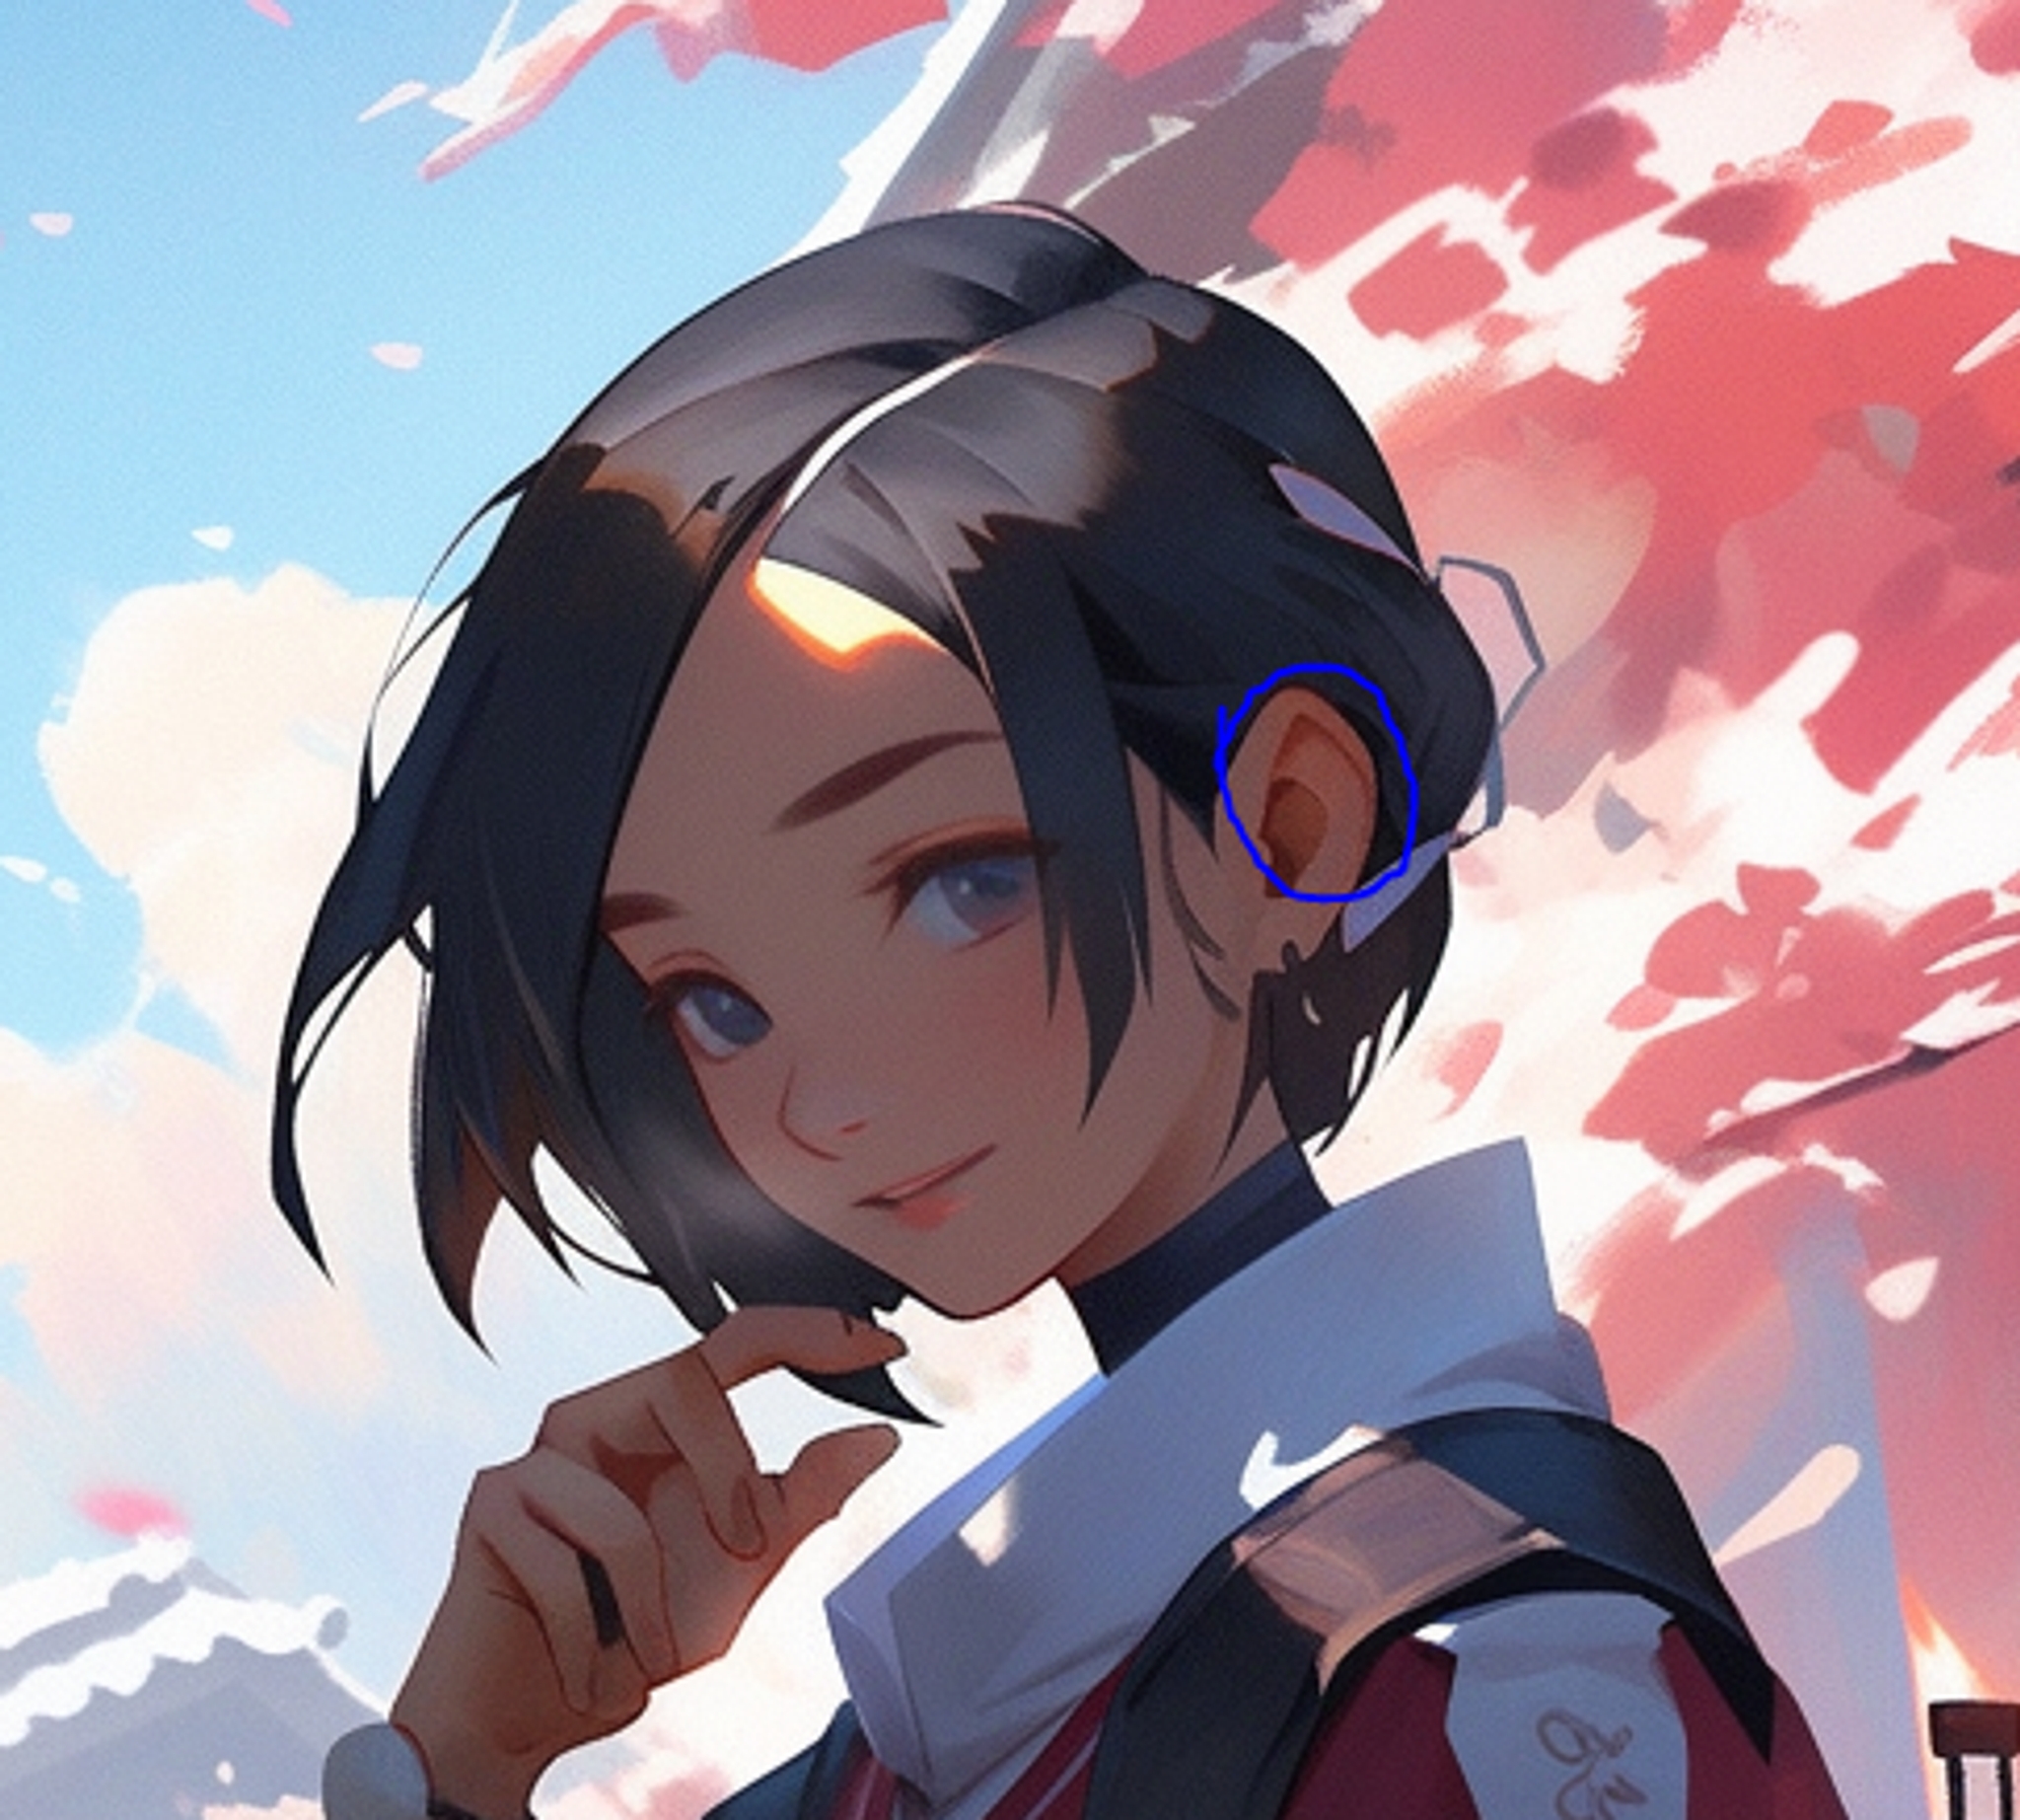

Don’t kill the terminator line!
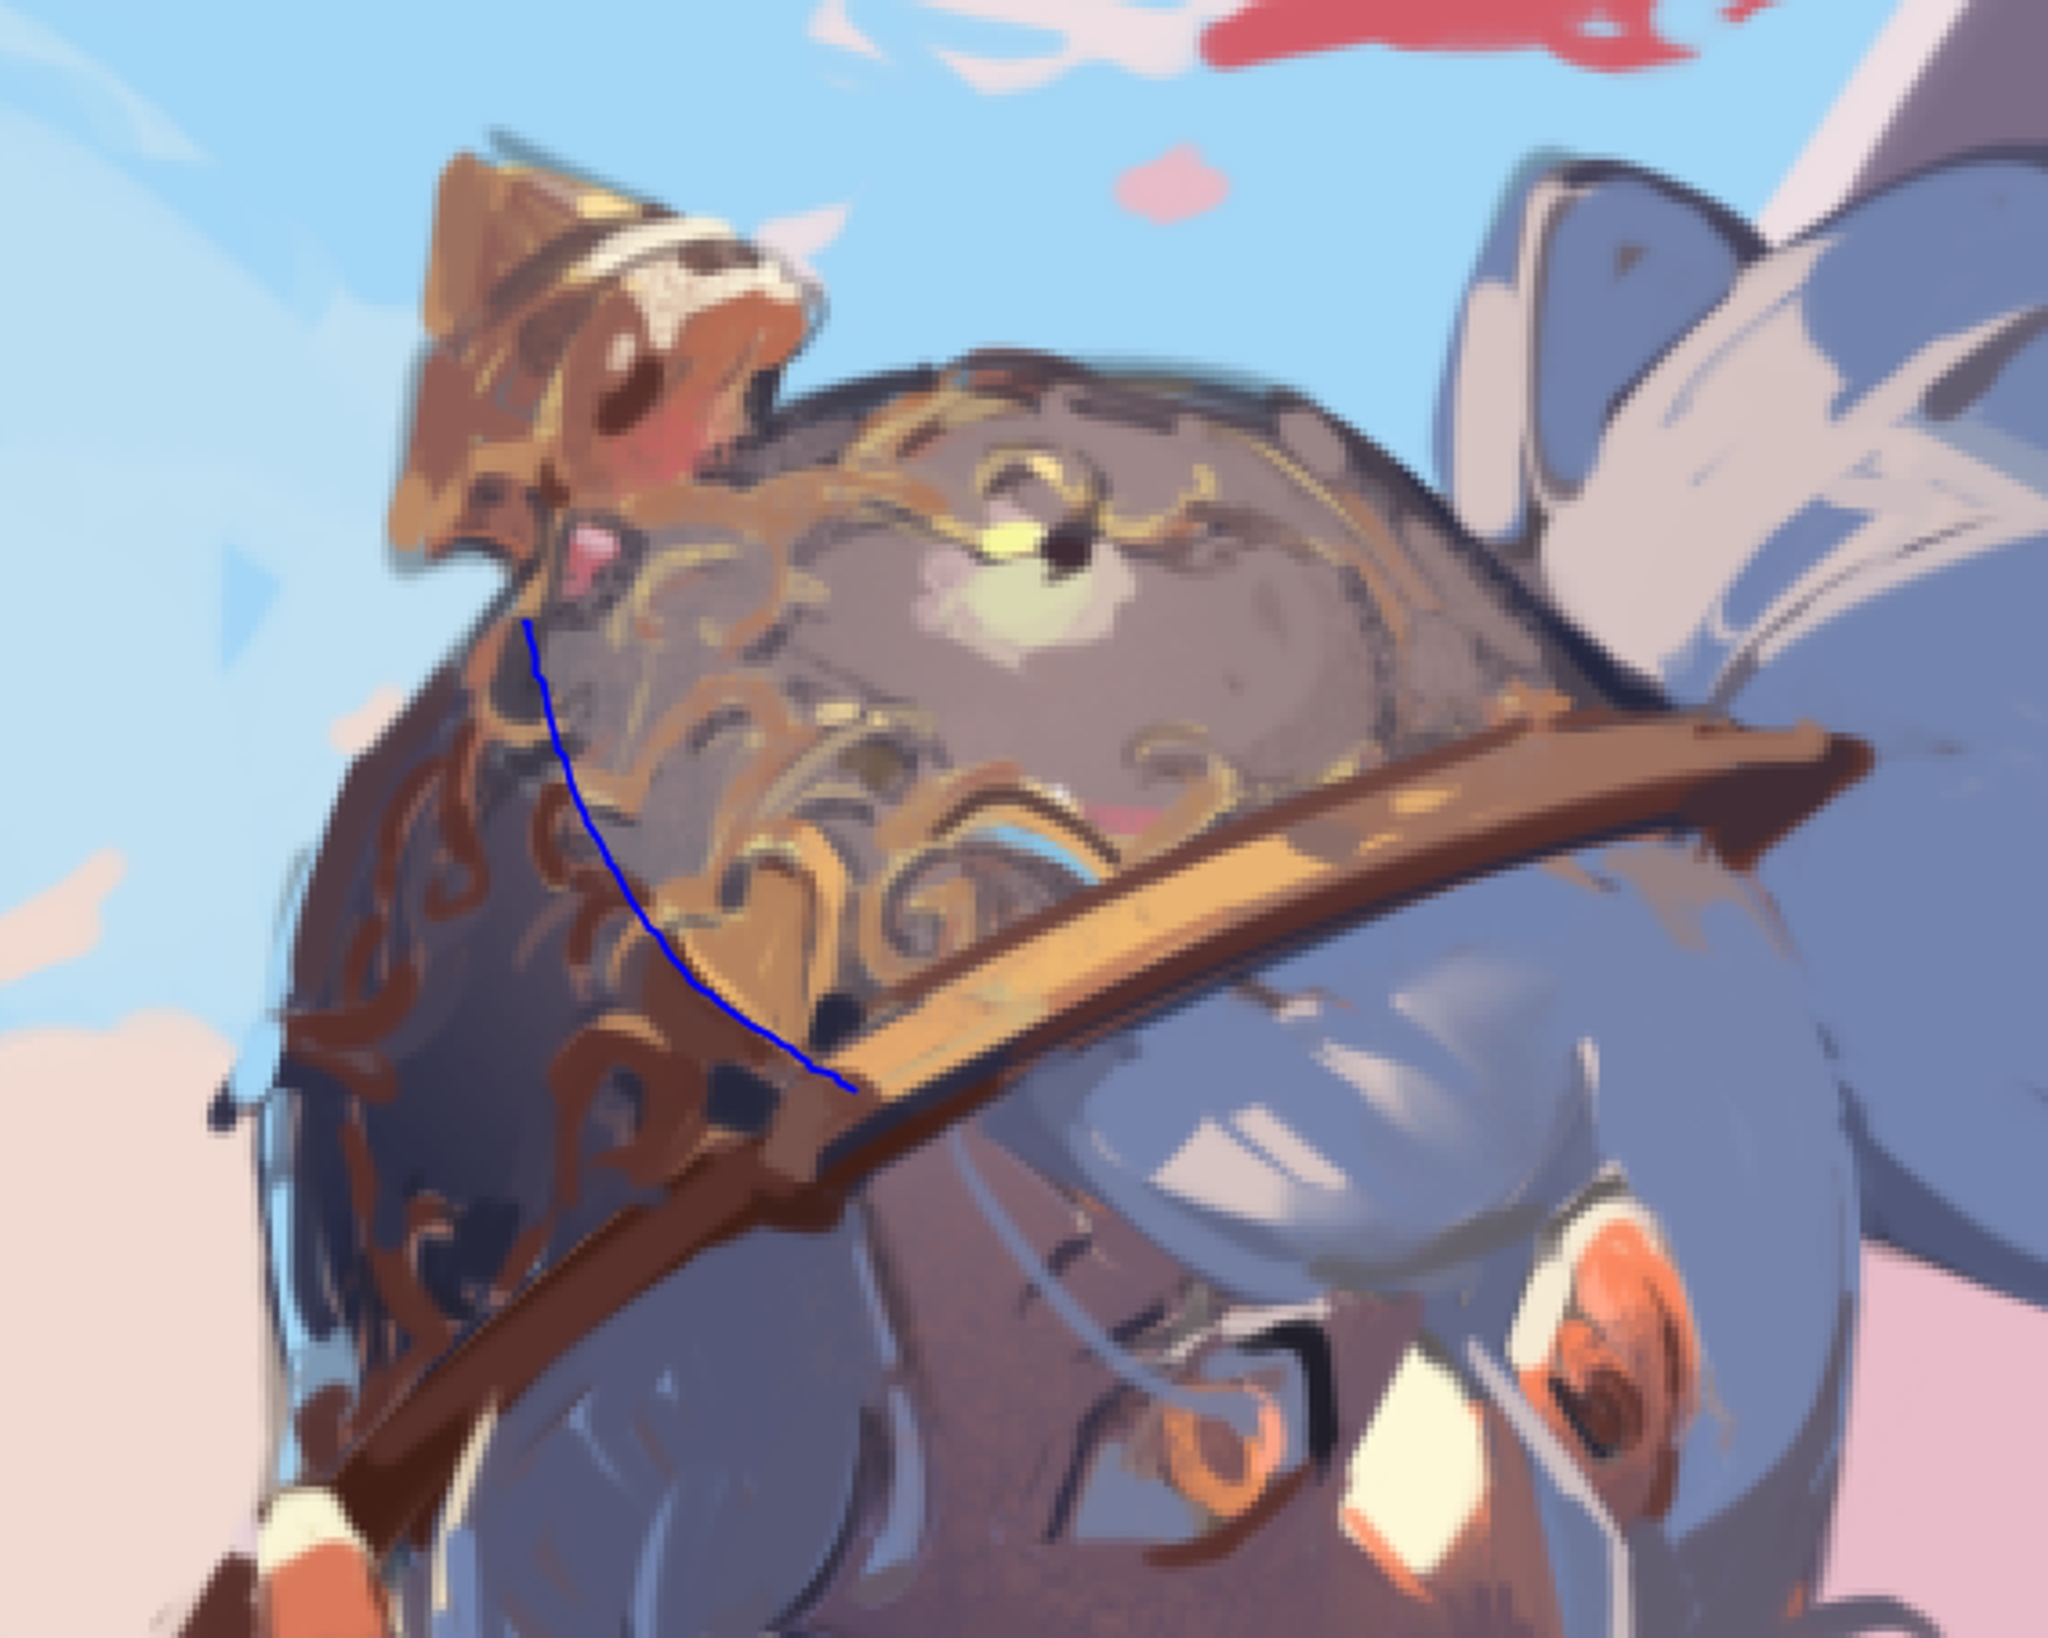
I could have etched in these helmet details a lot more, but I chose to keep them light, so that the terminator line remains the dominant, most attention-grabbing line
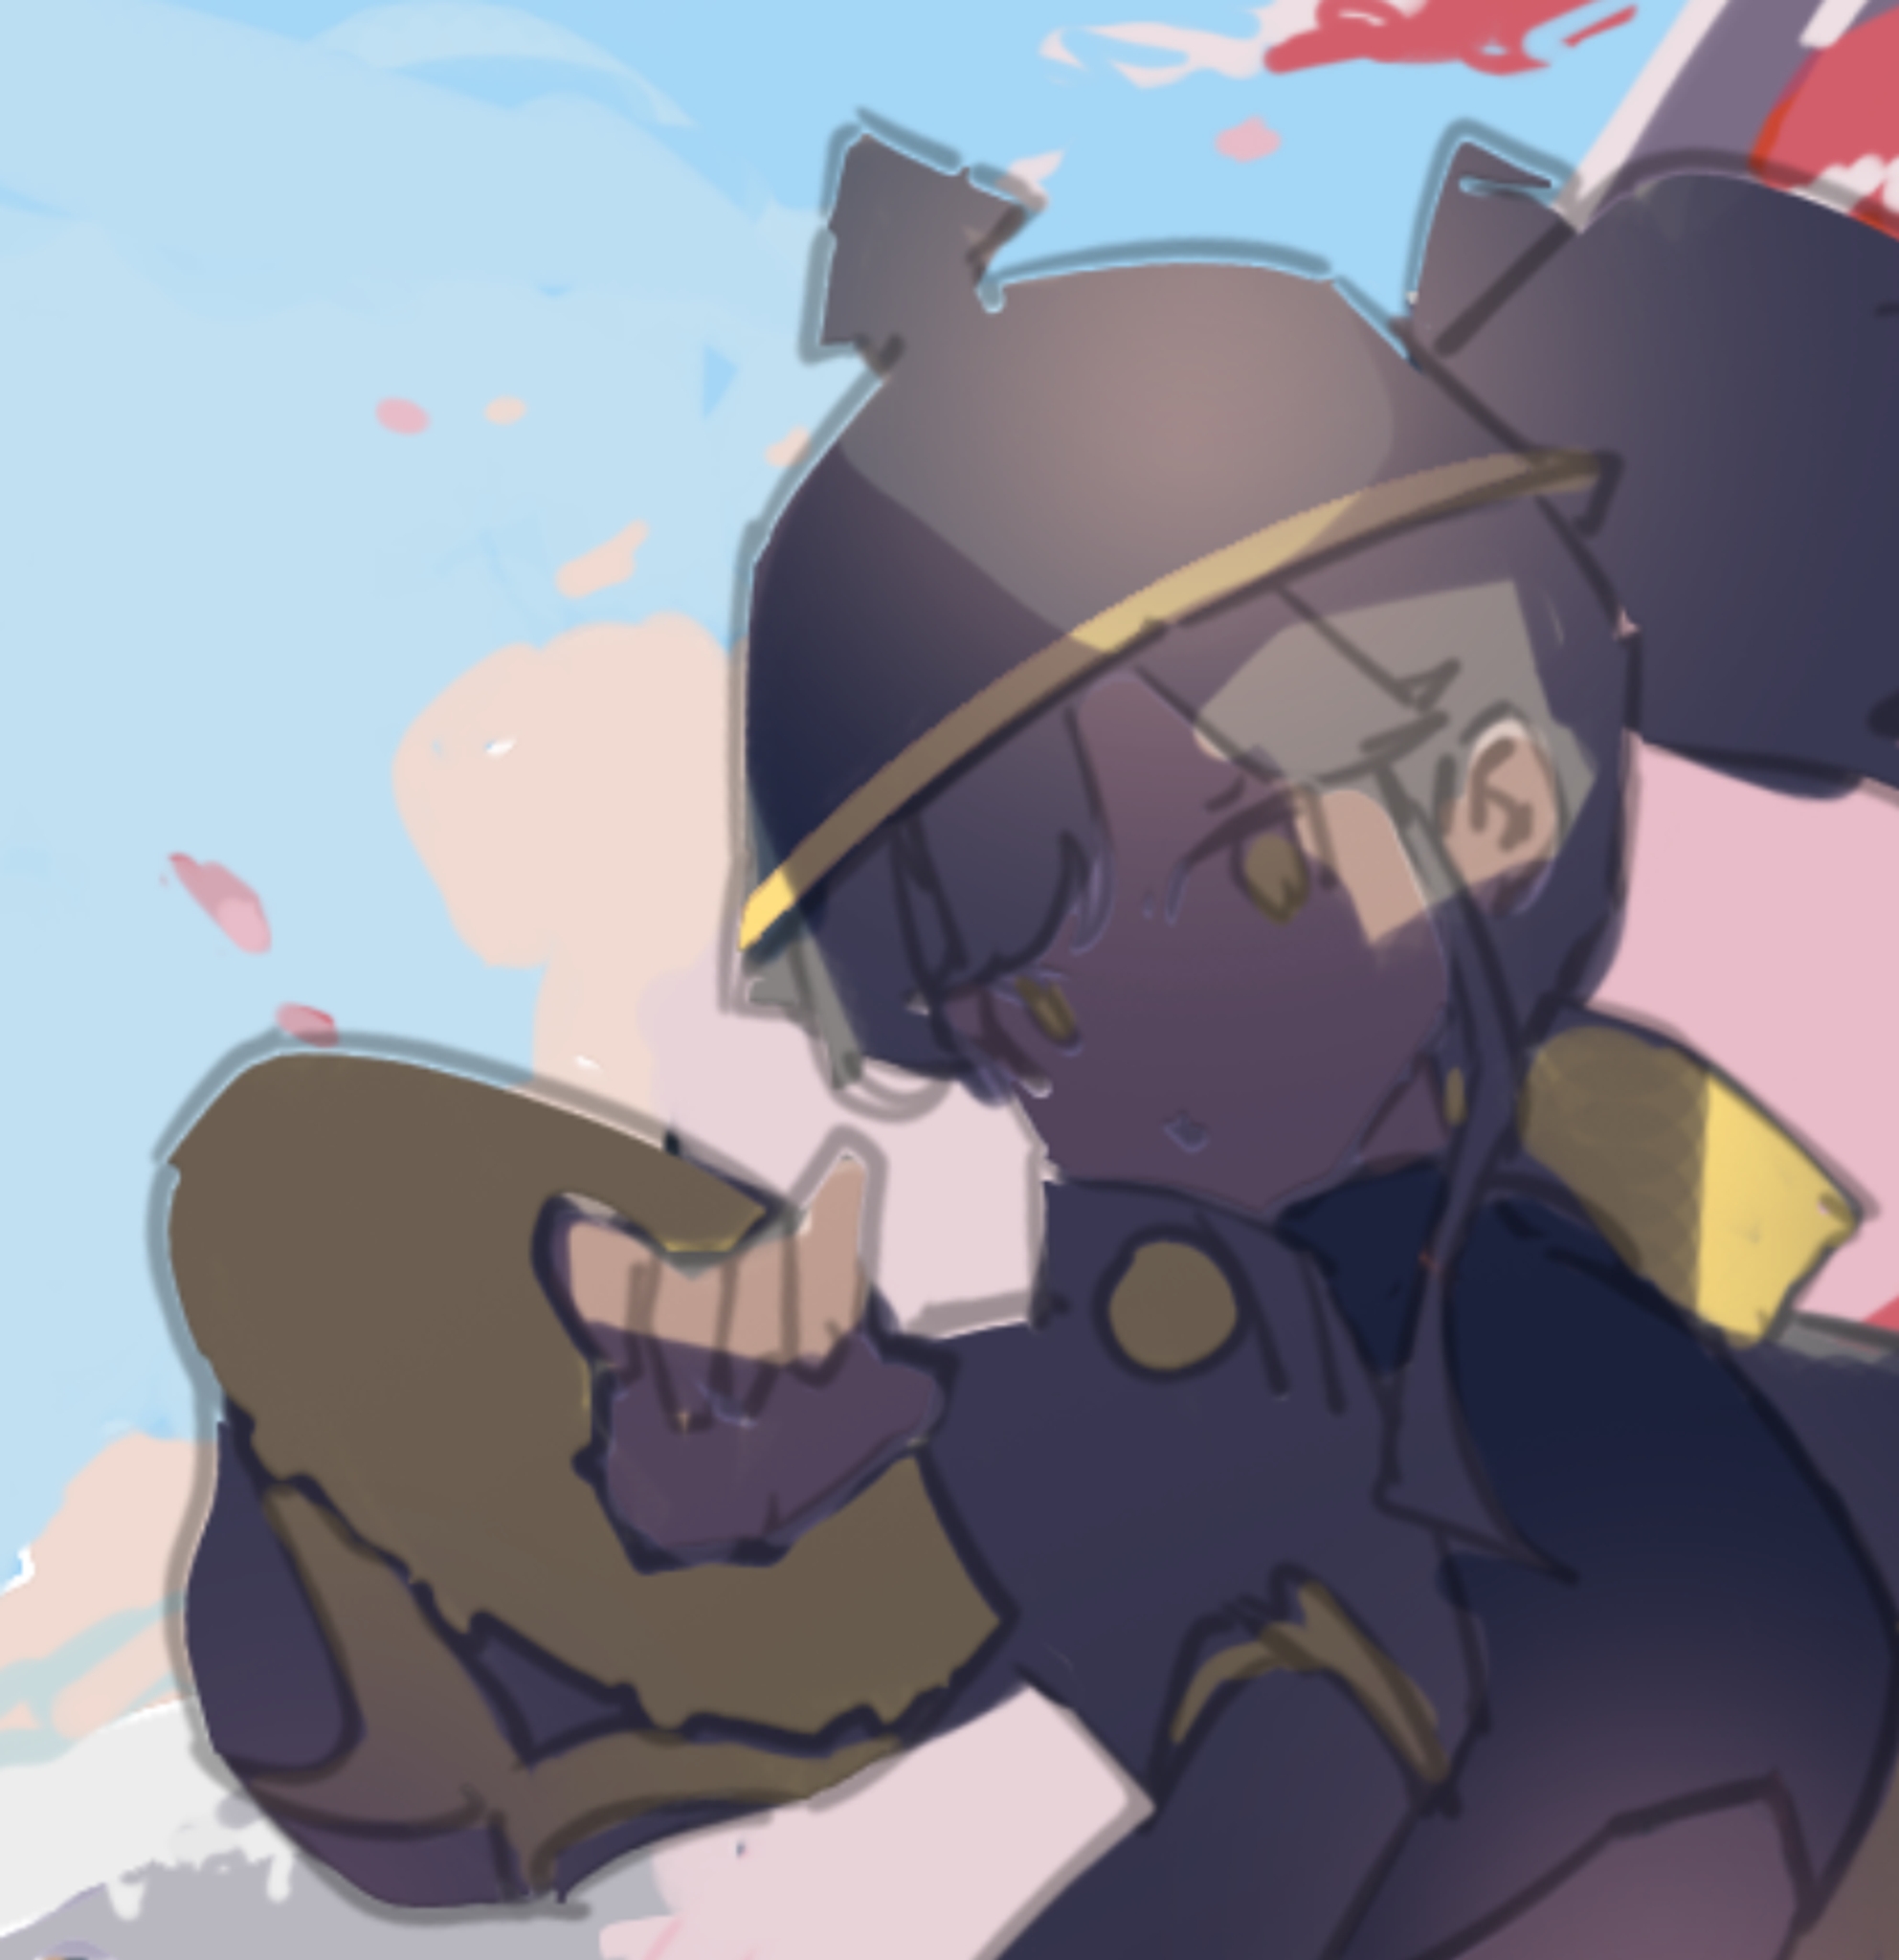
Fix the drawing first
When I started rendering, I noticed that the hand is wrong: there’s no plausible way for it to connect, given that the girl’s cuff link is hard and inflexible. I had mistakenly done the physics of a soft sleeve.
Instead of trying to render on top of the wrong drawing, I moved the position of the hand first. If an element looks wrong to you, don’t try to move onto the next step. Fix the problem first, before moving on.

Step 1: Take the current image and motif sheet, and design a verbal scenario.


Given these two images, I chose “Golden temple”
Step 2: Render the motif onto the background
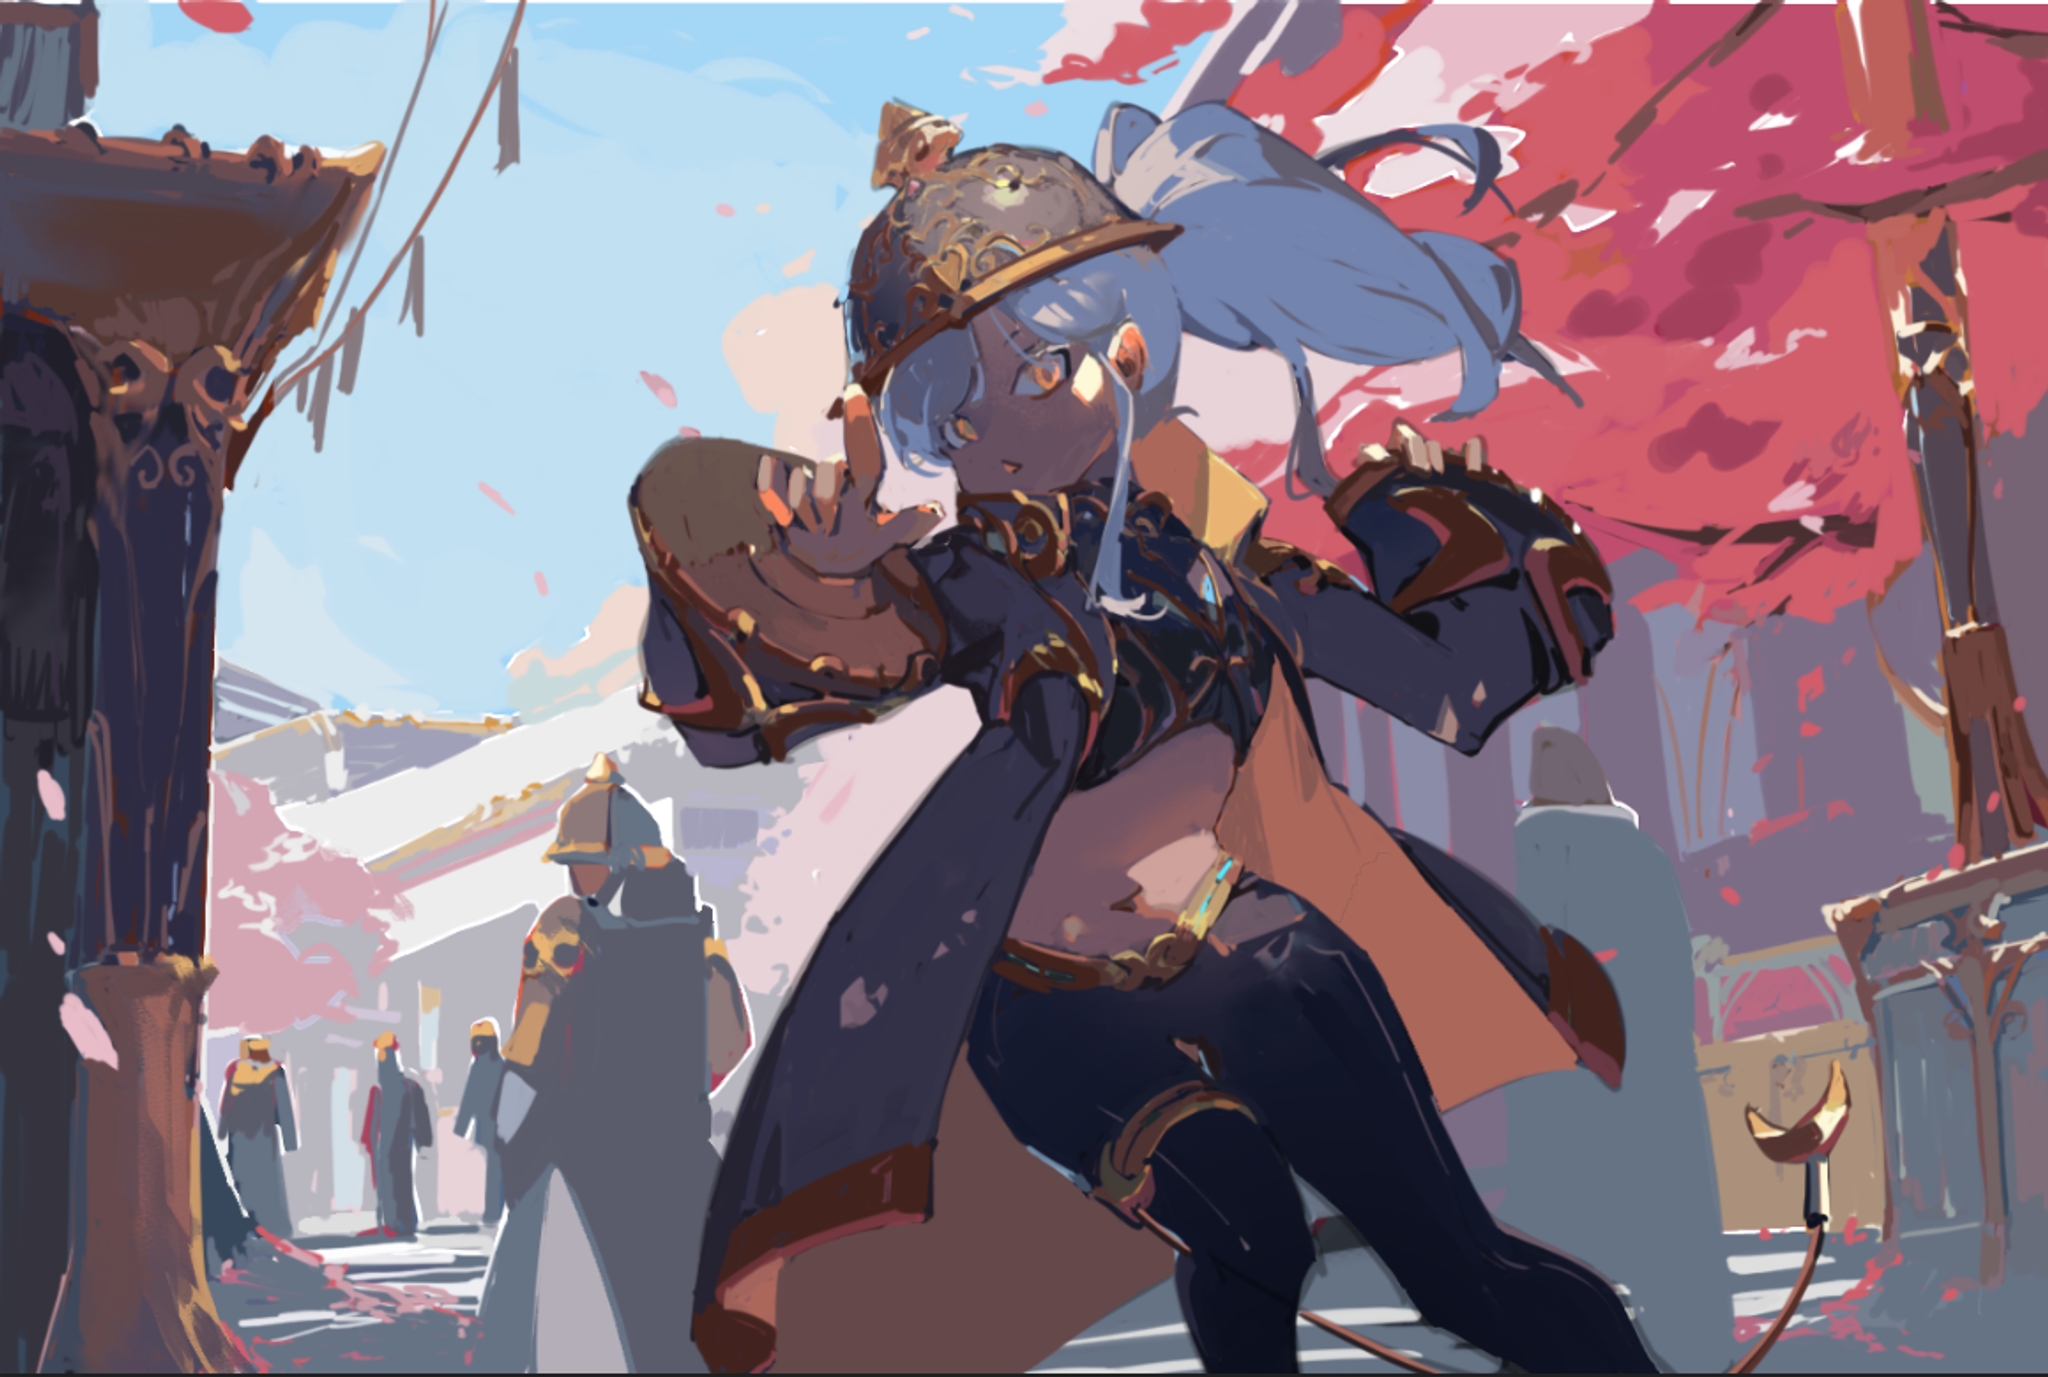
Step 3: Done! Show this to blk cat!


Less is more
The majority of my efforts when into changing these two columns: you don’t need to put the design everywhere. The audience can infer once they see it once or twice.

Step 1: Mark out the places where details should go

Step 2: Zoom in to choice parts of the picture and render the details

Step 3: Done! Show this to blk cat


You can think of rendering as zooming in
For example, this looks ok

But this doesn’t look ok when you zoom in.

Instead, we have to make the picture more detailed, if we want to look at it closer, like so

DO NOT ZOOM INTO EVERYTHING
Very important. Only zoom into one or two spots in your picture. It’s very important to plan out the places where you’re going to zoom in beforehand. It will get very messy, if you don’t. Most areas in the picture should remain undetailed.

For the rest: Fabricate detail with little lights
A few choice highlights indicate detail, without actual rendering. Use these to keep your picture organized!
I like to put the small lights in a line, like so.

Step 1: Think about where in the picture the objects seem more unimportant. These should be opposite to the places where you put your small lights.

Step 2: Using a VERY SOFT, VERY LOW OPACITY brush, gently brush those parts with a light bit of local color, to make fog.

Step 3: You can also do this on the character itself, to get some variation

Step 4: Last minute color adjustments and checks. Here, I blurred the background layer ever so slightly.

Step 5: DONE! Final Project Complete!
Show the piece to blk cat!!
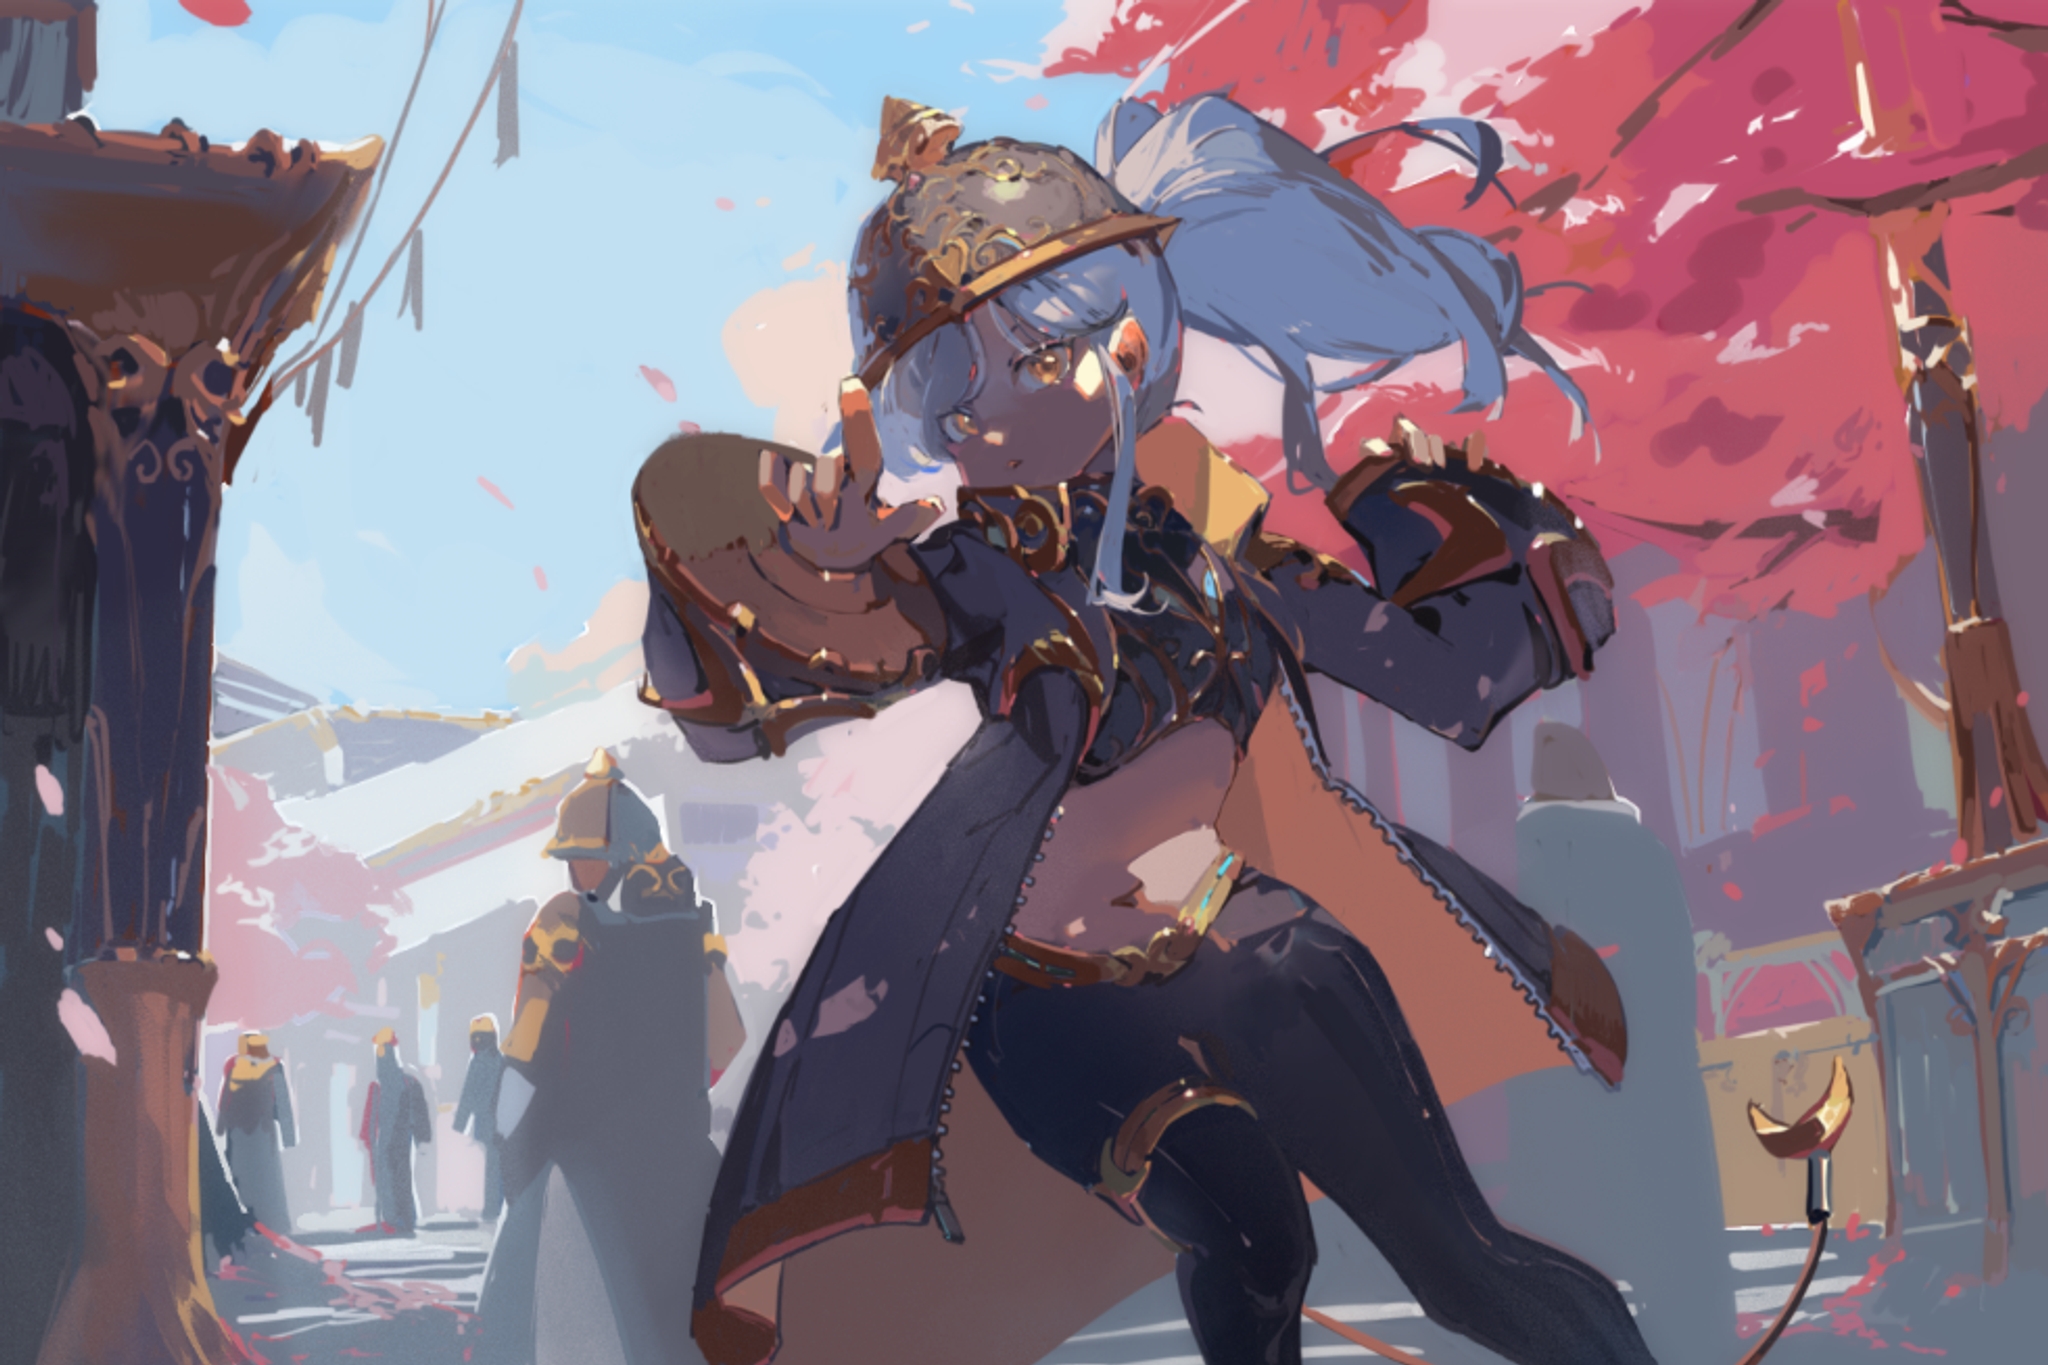
The last class of niji academy is a special one: the instructor will give you personal feedback!
If you would like Chroma to give you feedback on your piece in class, write in the comments of the final piece “Chroma, Please Look!” And Chroma will show you how how to draw it in class.
In class, Chroma demonstrated a more intuitive way of rendering out a character, for advanced techniques!
Step 1: Layout

Step 2: Diffuse Colors

Step 3: Small Details

Step 4: Draw the Shadows. Pay attention to where you want eye to follow, instead of realistic shadows

Step 5: Soft Light

Step 6: Starting to render important areas

Step 7: Continuing the render
관련 기사
니지・저니
니지・저니는 무엇인가요?
당신만을 위한 맞춤형 애니메이션 일러스트레이션을 그리는 최첨단 AI인 니지・저니에 오신 것을 환영합니다! Spellbrush 및 Midjourney의 뛰어난 정신이 함께 디자인한 마법 같은 콜라보레이션. 귀여운 꼬마 캐릭터를 찾든 역동적인 액션 장면을 찾든 니지・저니는 당신의 비전을 실현할 수 있습니다. 무엇을 만드실지 기대되네요!


어디에서 당신을 만날 수 있을까요?
AI 연구원이고 애니메이션을 좋아한다면, [email protected]으로 이메일을 보내주세요.
아니면, 재능이 있고 구직 중이라면, 채용 페이지에서 다른 자리를 찾을 수 있습니다.
상업적 문의 및 스튜디오 라이선스는 [email protected]으로 문의하세요.