Study 2: Notan
2023年7月25日
The lesson for this study can be found here: 🕶️ Lesson 2: The Terminator (Line).
What Does "Notan" Mean in Art? "Notan" is a Japanese word for "light-dark harmony." Artists use "notan studies" to try out different arrangements of light and dark in a painting without worrying about colors, textures, or small details.
Can you express a full picture in only 2 colors?
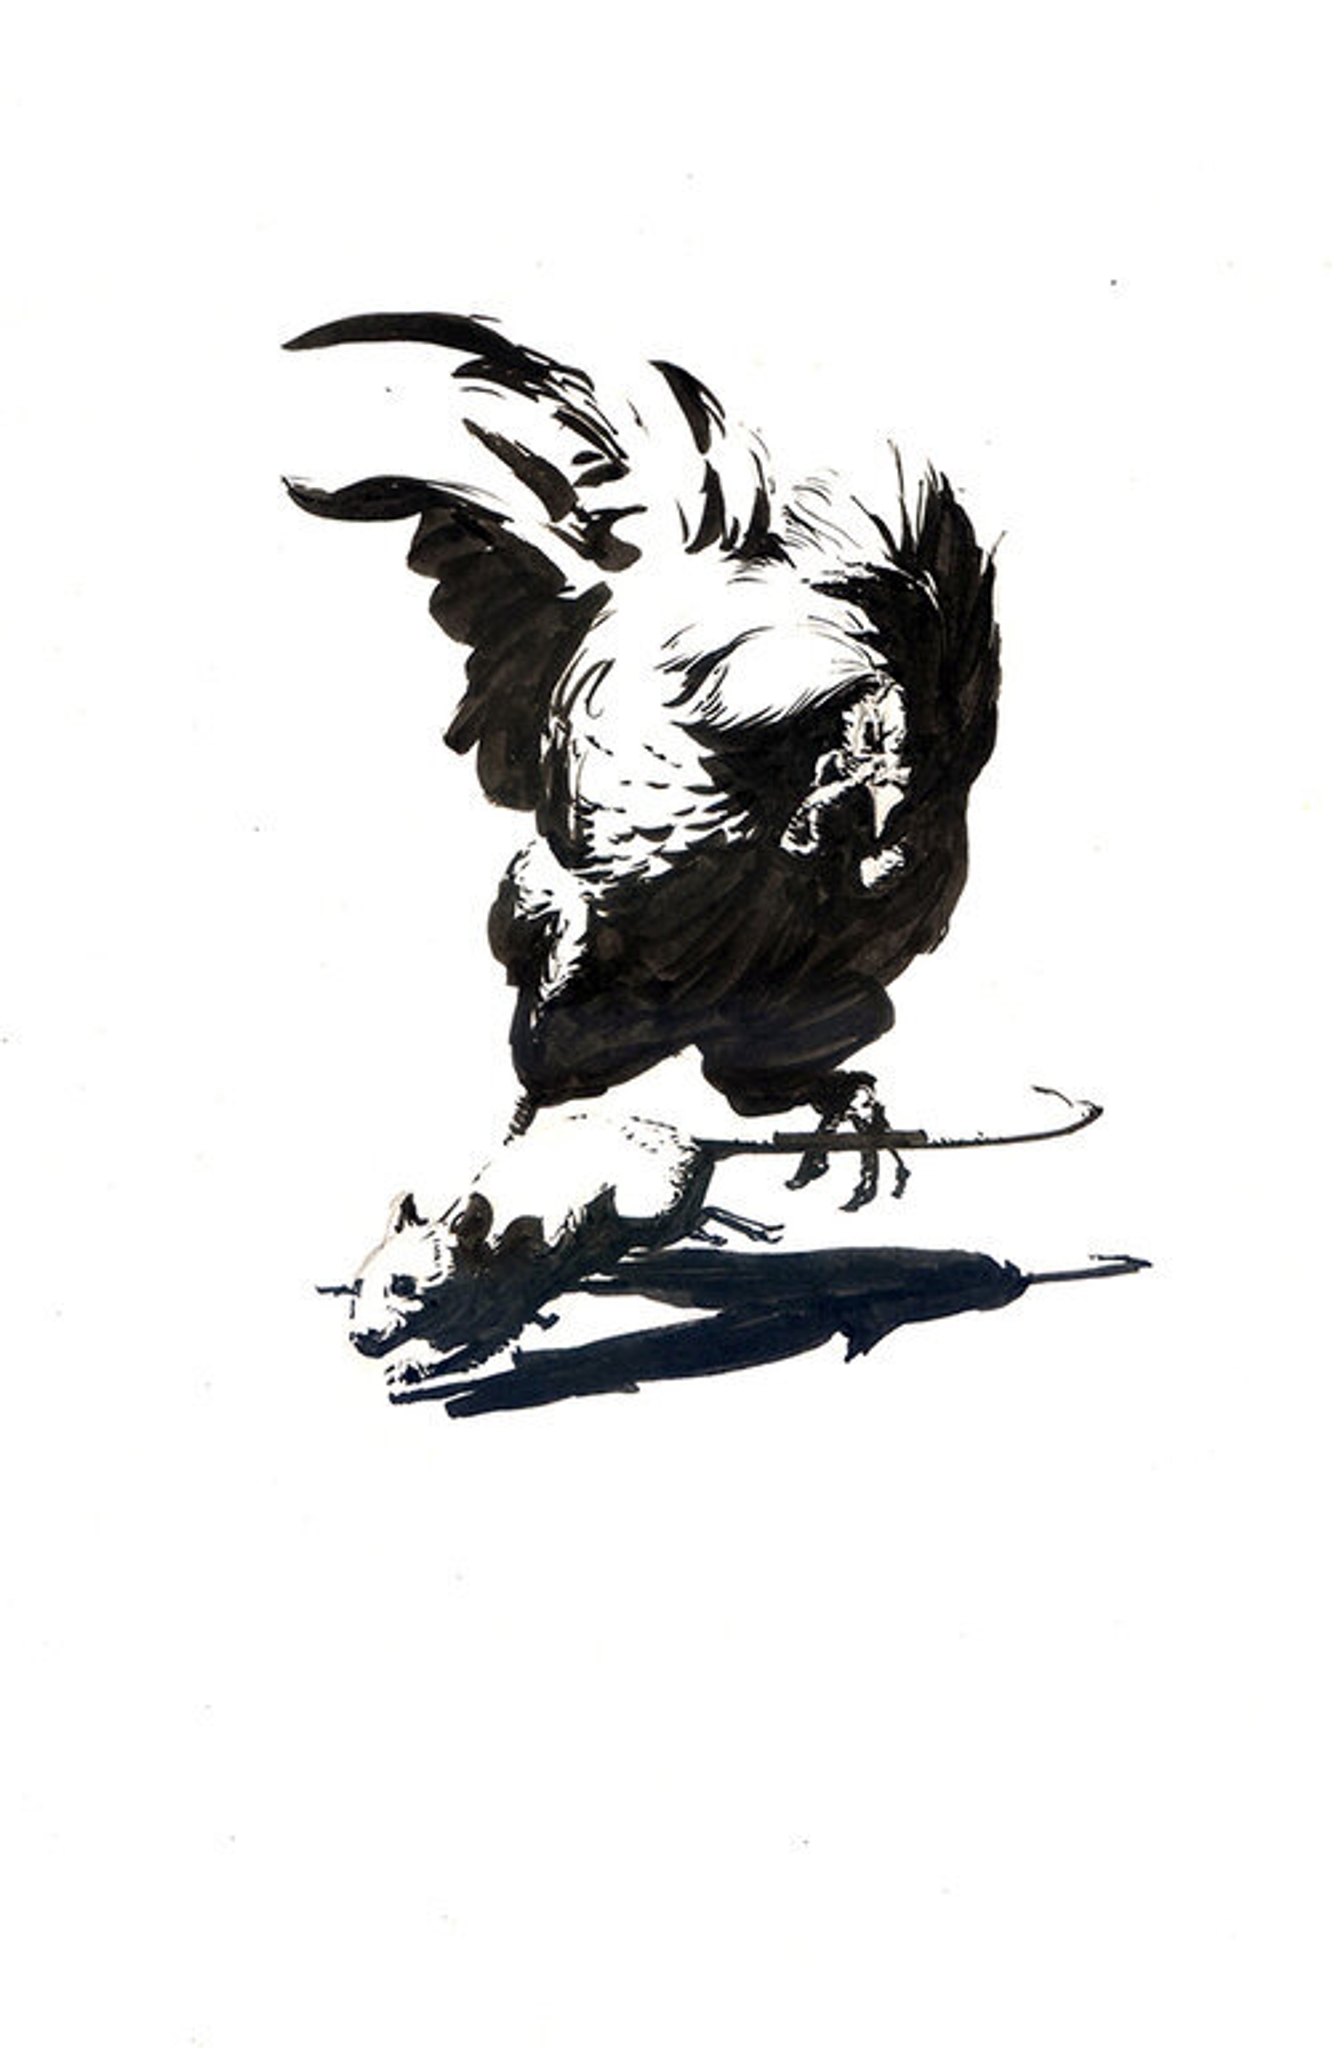
rooster and mouse, by siddarth chaturvedi
The objective of this exercise is to organize areas of light and shadow. Unlike last week, where we start with something with strong lines, this week, we must start with something rendered, with a good 3D shape.
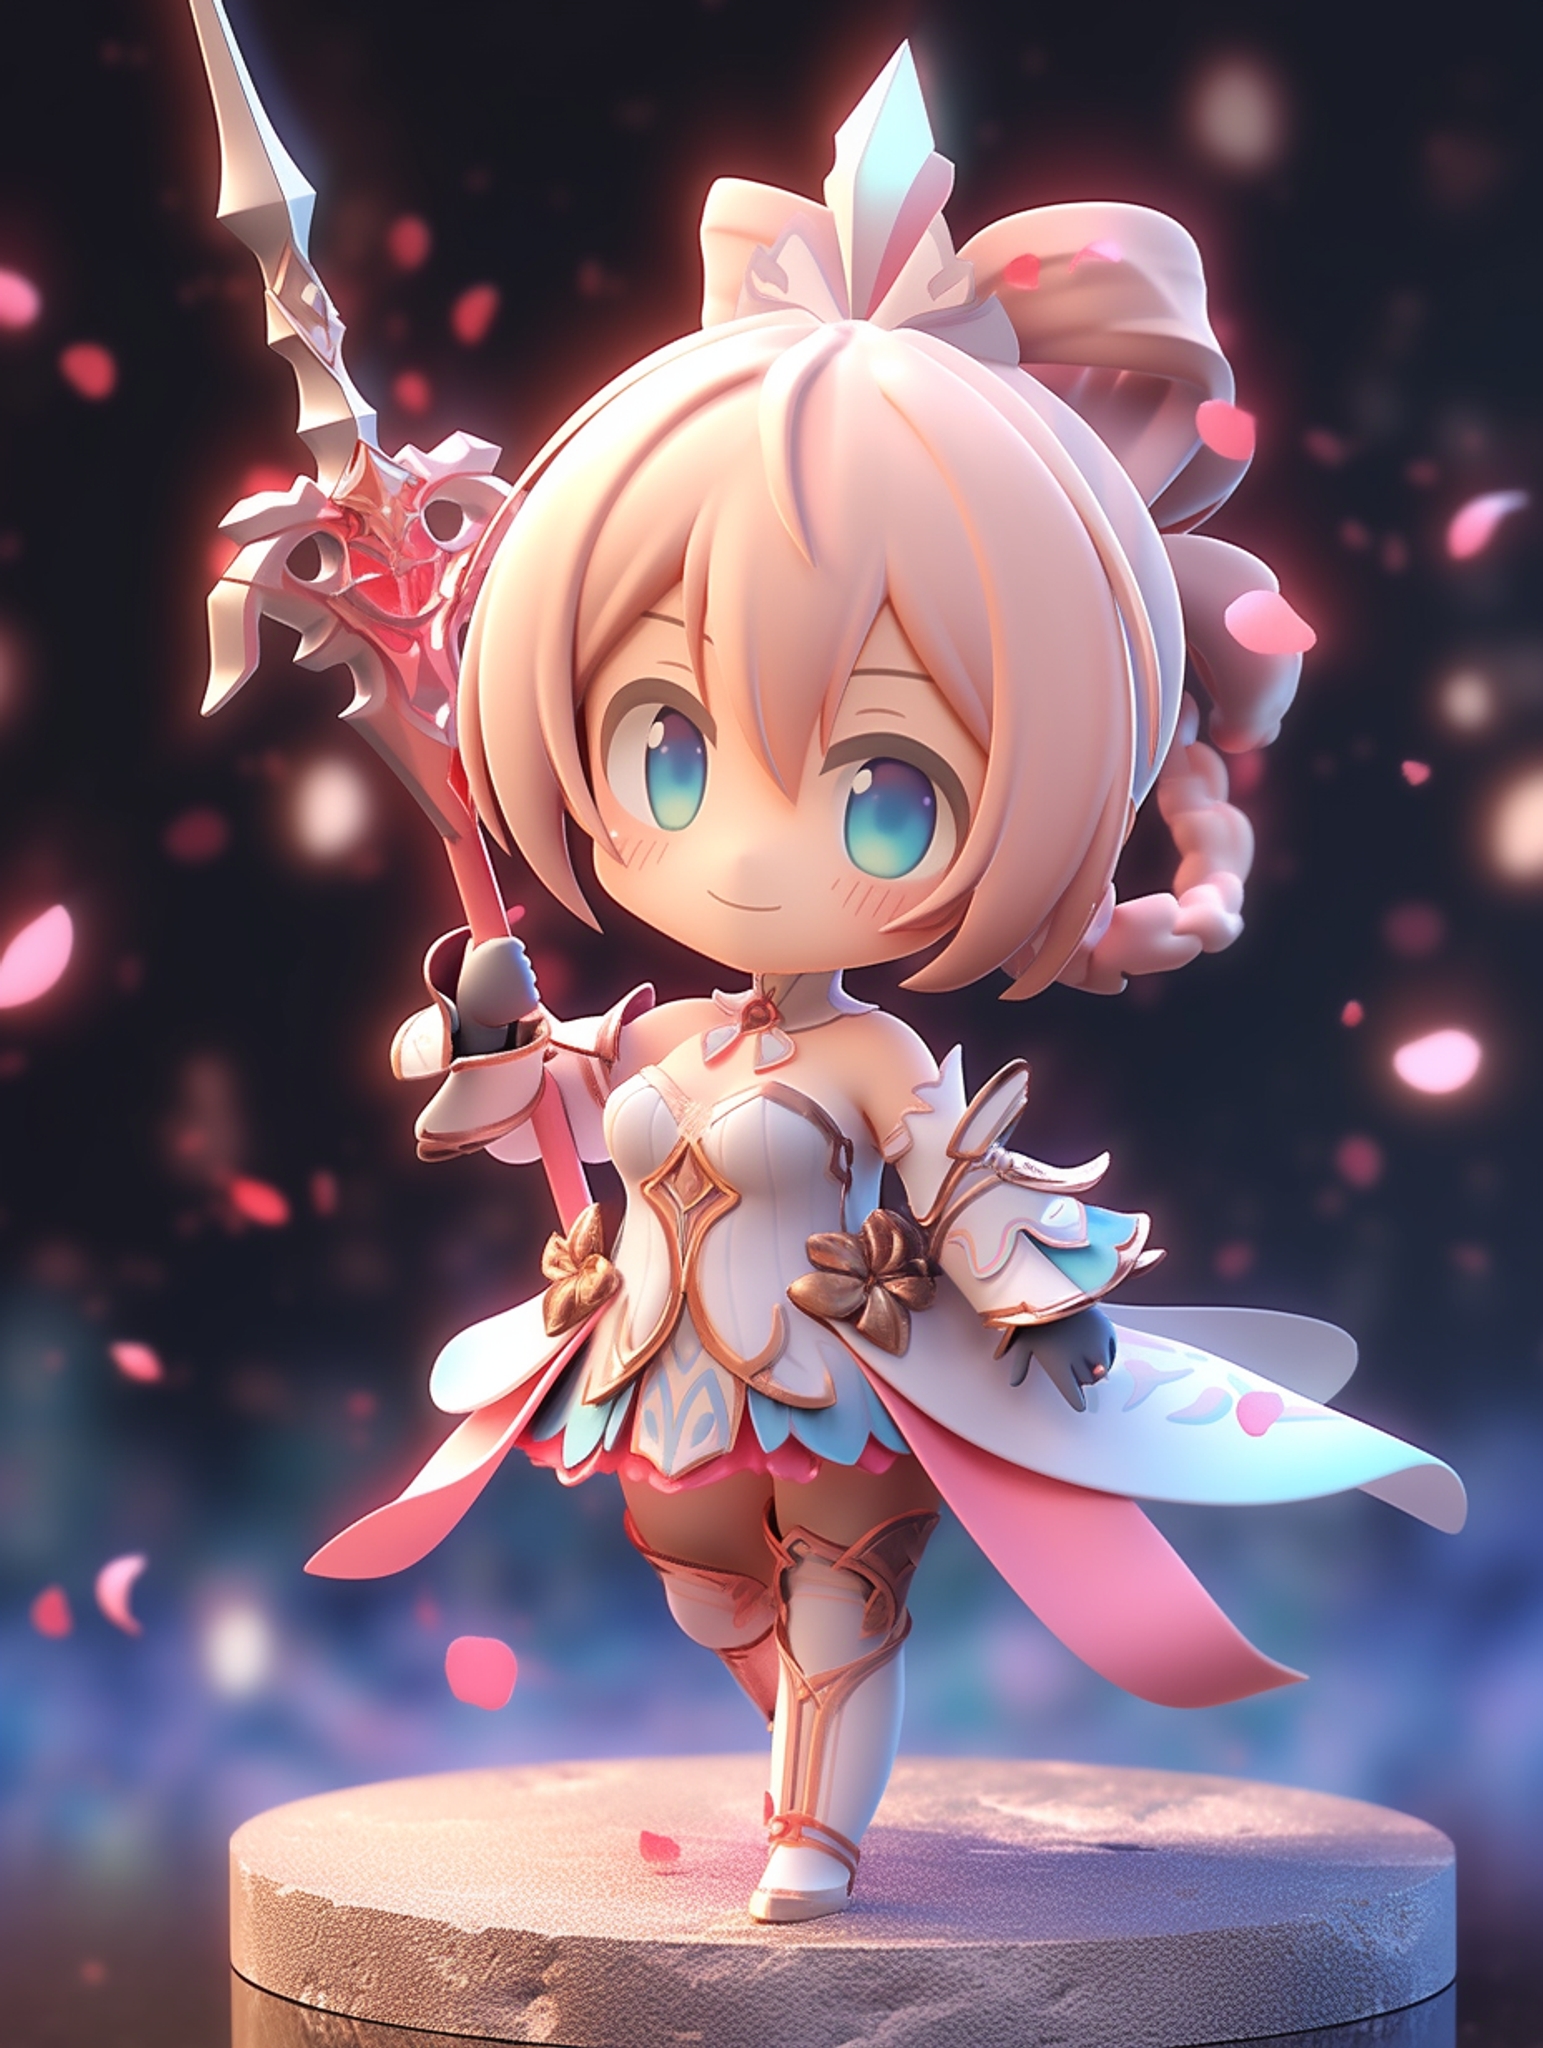
When picking a reference picture, be careful to pick one with a single strong light source: here are some tips on what to avoid:
Don’t pick something that is very 2D

Don’t pick something with too many light sources. One single light source is optimal.
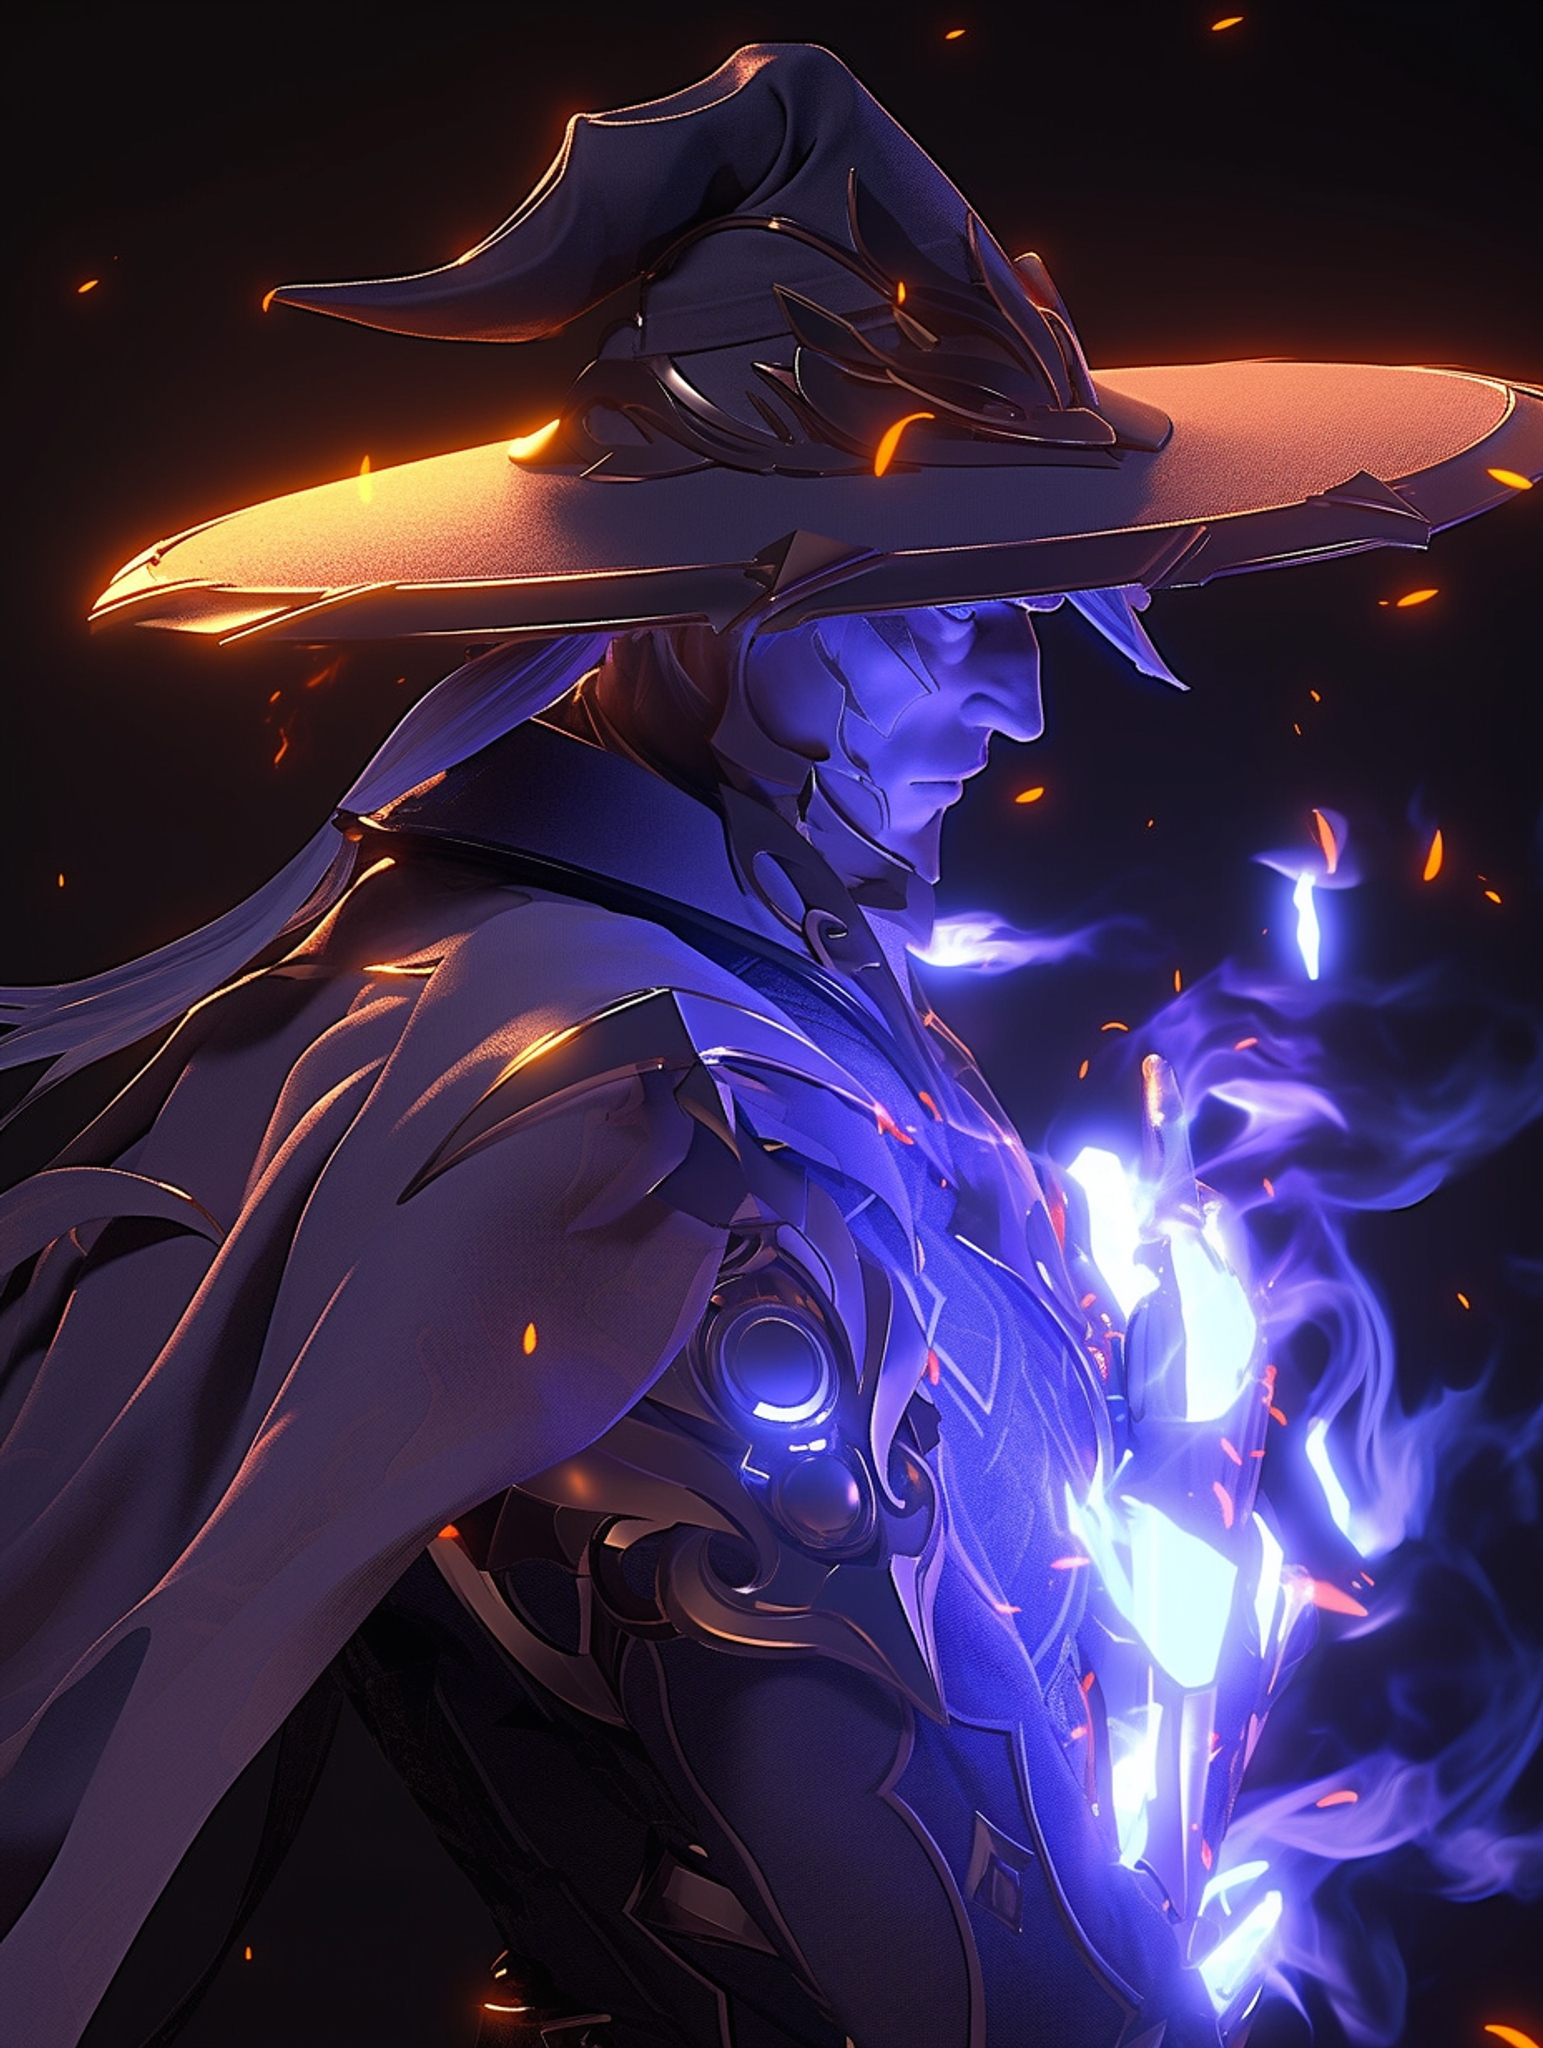
These are examples of good references:


Step 1: put down a rough sketch of the shape being drawn

Step 2: Draw the terminator line, where the light turns into the shadow
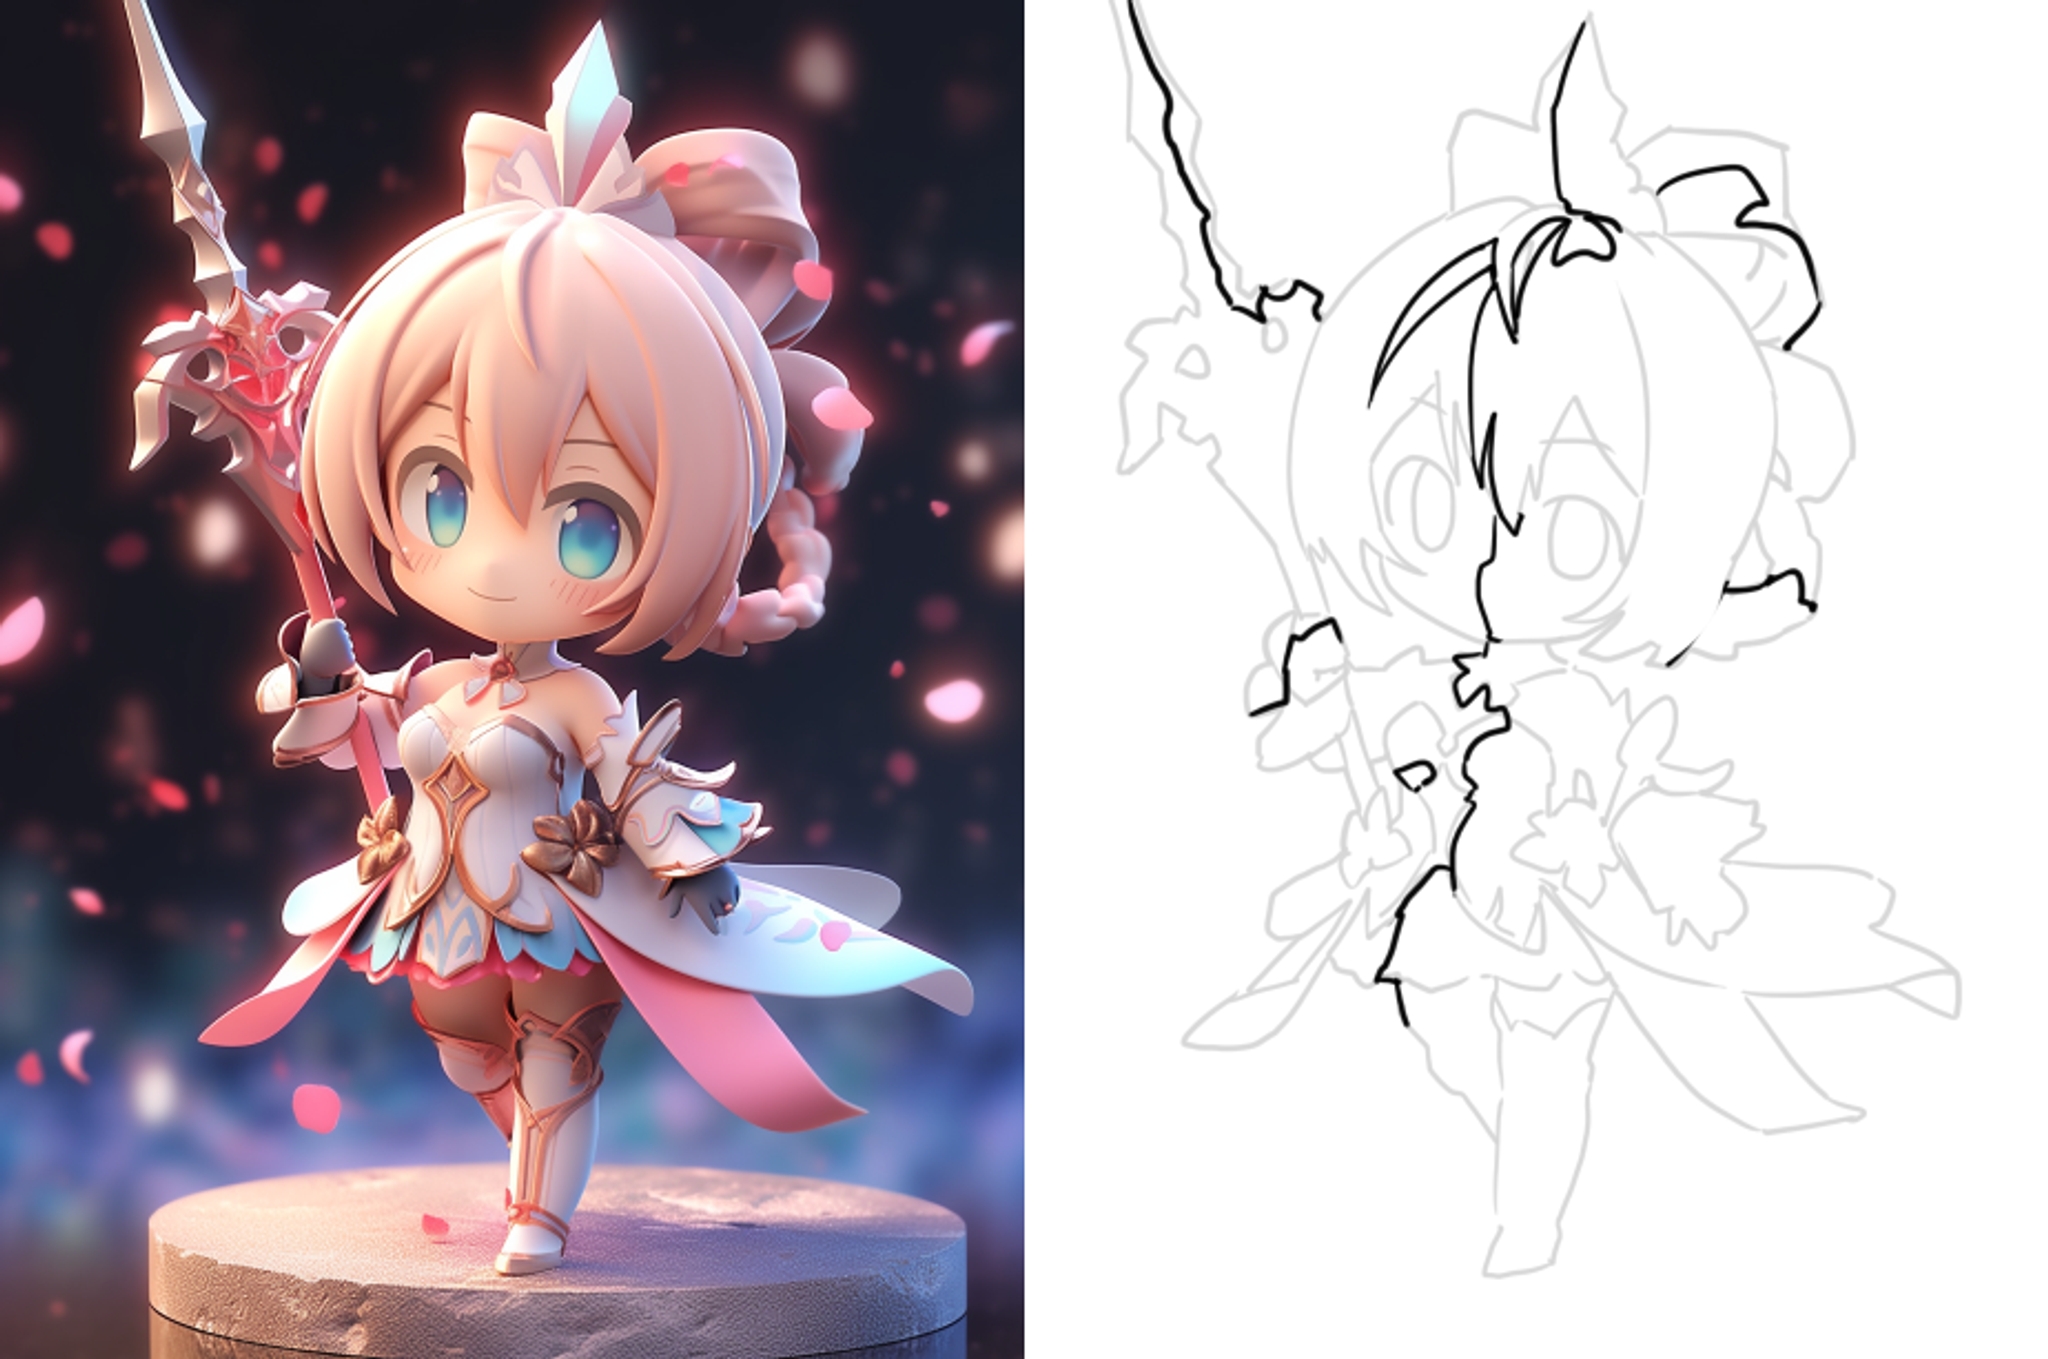
Step 3: fill one half of the terminator line with pure black, using the paint bucket tool

Step 4: Draw the small details on the light side with black

Step 5: Draw the small details on the dark side with white

Step 6: turn the lines off and stylize the places where extra shading needs to be added to see the entire picture

Step 7: Done!
Show it to blk cat with the /submit command at https://discord.com/channels/1017943945214435438/1129477874823479387


Remember, we are rendering only one side of the terminator line. Here, I have put all my details on the light side with small dark edges
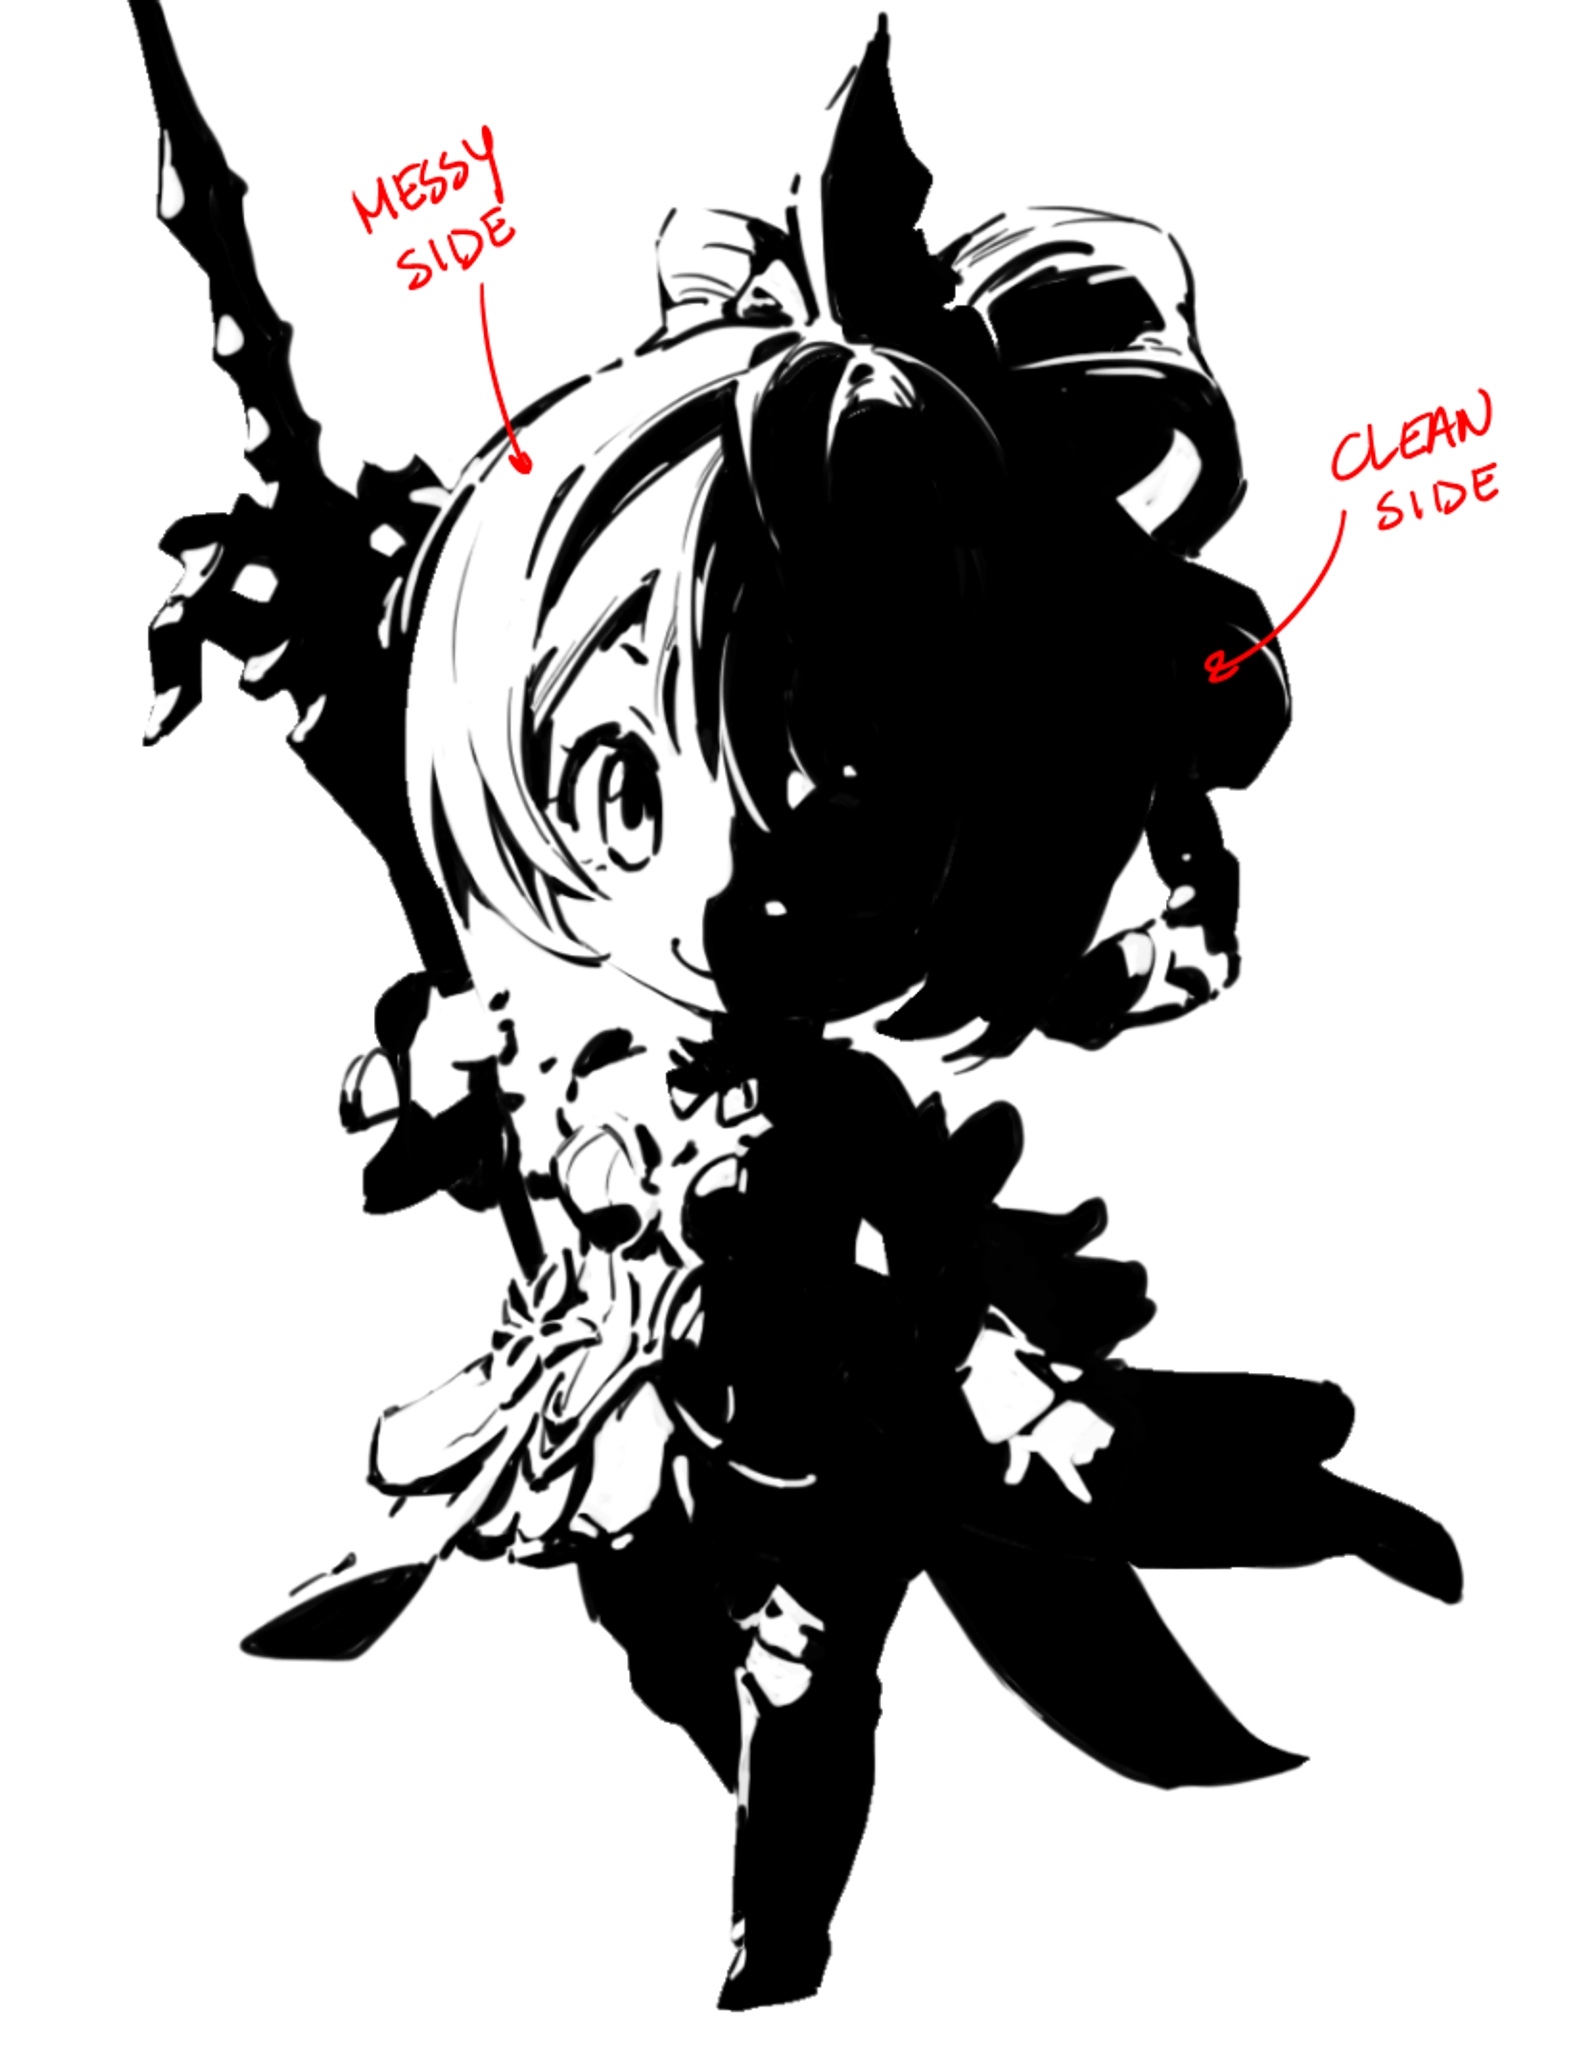

If you have a reference with a secondary light source, do not draw it: that will make the picture hard to read. Here, I don’t draw the rimlight.

Imagine the dark spots as it were liquid pooling at the edges of a cracked surface. You must try your best to avoid drawing lines as lines. Instead, let the dark liquid pooling at the edge define the shape.
Fabricate some spots, only if it feels like the information is necessary
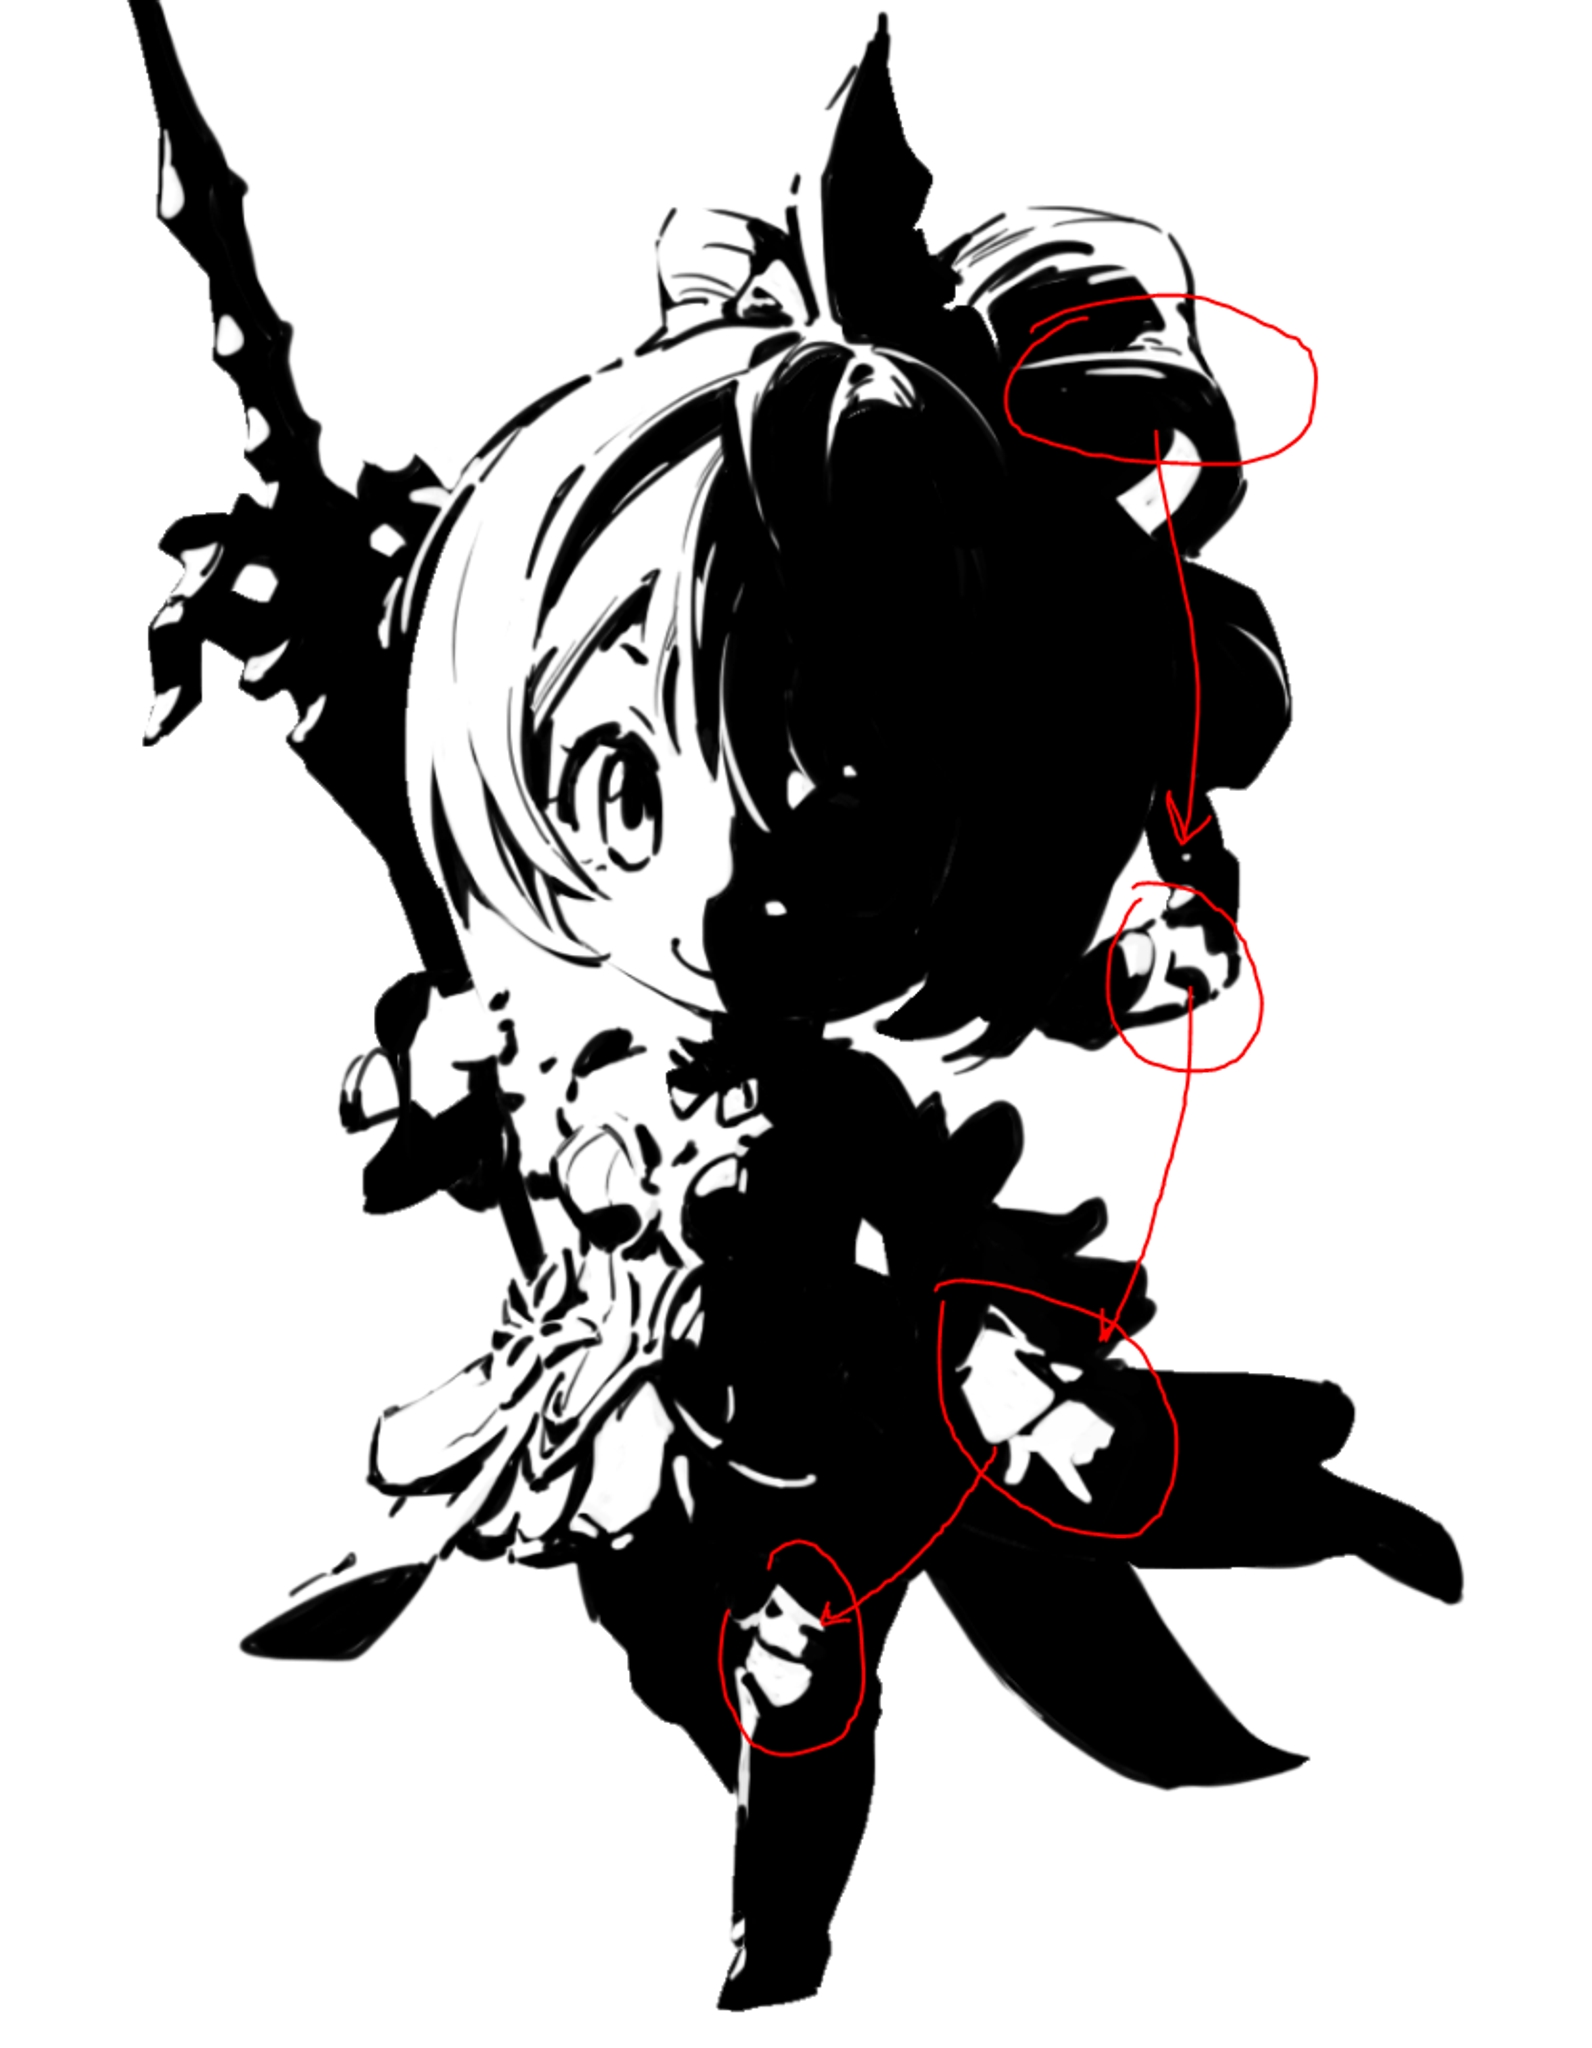
I have fabricated some points of light beyond the terminator line, because I felt it necessary to show this information. These are strictly design choices; they don’t exist in reality, and I was careful to place them where I felt like they would be believable. If you feel daring, you may also design some light spots like this (but understand that you are sacrificing realism when you do so)
Keep the end goal in mind: a picture that looks finished with only black at white. If at any point, it looks like you won’t be able to see the finished object, then you have to redo things until you can see it again. It’s ok to deviate a little from the reference, as long as you can assure yourself that you can see the finished picture in your head.
Try your best to avoid drawing structural lines. Drawing lines will make the drawing flat.
The start of this exercise is where the last exercise left off, so it will take longer. If you don’t have time to do the base drawing, you can trace some reference lines down to make it go faster: for the first step in this example, I traced the silhouette before refining the inner lines by hand.


I hope you have fun!
相关文章
niji・journey
niji・journey 是什么?
欢迎来到 niji・journey。这是一款最先进的 AI 生成器,可以绘制任何二次元风格的图像!本魔法般的工具是由 Spellbrush 与 Midjourney 所共同设计开发的。无论您是在寻找可爱的 Q 版角色还是充满动感的动漫场景,niji・journey 都能将您的想象变为现实。我们迫不及待地想看看您创造了什么!


我们可以在哪里找到您?
如果您是一名 AI 研究人员并且喜欢二次元,欢迎将履历寄至 [email protected]。
如果您是位才华横溢的求知者,可以前往我们的招聘页面上查看其他空缺职位。
如需商业咨询和工作室授权等,请联系 [email protected]。